Now Reading: Samsung Galaxy A71 Screen Replacement | Full Step-by-step Guide
-
01
Samsung Galaxy A71 Screen Replacement | Full Step-by-step Guide

Samsung Galaxy A71 Screen Replacement | Full Step-by-step Guide
Hi everyone, welcome back to Geardo.
Today, we are going to show you how to replace the LCD touch screen display on the Samsung Galaxy A71 4G mobile phone.
If your screen is cracked, unresponsive, or showing display issues like lines or black spots, replacing the screen assembly is the best solution. This guide is written for beginners, so take your time and follow each step carefully.
🔧 Repair Overview
- Device Type: Smartphone
- Repair Type: LCD Touch Screen Display Replacement
- Repair Difficulty: ⭐⭐⭐⭐⭐ (Hard)
- Estimated Time: 60–90 minutes
🔍 Reasons for Screen Replacement
- Cracked or shattered screen
- Touch not responding properly
- Display flickering or showing lines
- Black spots or dead pixels
- Screen completely not working
Before You Begin
Compatibility and Model Numbers
- Samsung Galaxy A71 4G
This repair guide based on Samsung Galaxy A71 4G Model.
Model Numbers | SM-A715F, SM-A715F/DS, SM-A715F/DSN, SM-A715F/DSM, SM-A715W, SM-A715X
Tools Required
- Mobile phone heating pad or hairdryer/heat gun
- Plastic pry tool / card pry
- Suction cups
- Phillips #00/#000 screwdrivers
- Tweezers (for connectors)
- B7000 glue or double-sided adhesive (for back cover)
- Rubber bands or bonding clips to secure the back cover
Using proper tools reduces the risk of damaging the phone.
How to Find Tools and Parts
- Heating pad – https://amzn.to/3H0tHzJ
- Portable Heat Gun – https://amzn.to/4mszih1
- Clamps https://amzn.to/3GYJT4w
- STREBITO 142 Piece Repair Tool Kit https://amzn.to/3UO1jUx
- Glue | Adhesive https://amzn.to/46exVxe
- Compatible Parts –
- Battery – https://amzn.to/4ogQEhS
- Screen – https://amzn.to/43nafEZ
- Other Parts – https://amzn.to/4oqla9h
- Silicone Work Repair Mat https://amzn.to/45Emz5l
Protect Your Galaxy A71
- Best Rated Case https://amzn.to/3WDBTd9
- Screen Protector https://amzn.to/42IPsvz
📱 Step-by-Step Screen Replacement Guide
Step 1: Heat the Back Cover
Gently heat around the back cover edges to soften the adhesive using a heating pad, heat gun, or hairdryer.
Step 2: Create Opening
Use a suction cup to create a gap between the back cover and frame.
Step 3: Remove Back Cover
Insert a plastic card or pry tool and carefully cut through the adhesive. Remove the back cover.
Step 4: Remove SIM Tray
Eject the SIM tray before proceeding.
Step 5: Remove Screws
Unscrew all 14 screws securing the mid-frame.
Step 6: Remove Mid-Frame
Use a plastic pry tool to gently release clips and remove the mid-frame.
Step 7: Disconnect Battery
Disconnect the battery connector to ensure safety.
Step 8: Disconnect Main Flex Cable
Detach the main flex cable from both ends.
Step 9: Remove Battery
Apply heat to soften the adhesive under the battery.
Carefully remove it using a plastic pry tool.
Step 10: Disconnect Components
Disconnect:
- Antenna cable
- Front camera
Step 11: Remove Logic Board
Unscrew and carefully lift out the logic board.
Step 12: Remove Small Components
Apply heat and remove:
- Vibrator motor
- Earpiece speaker
Step 13: Remove Fingerprint Sensor
Unscrew and remove the fingerprint (touch ID) module.
Step 14: Remove Charging Board
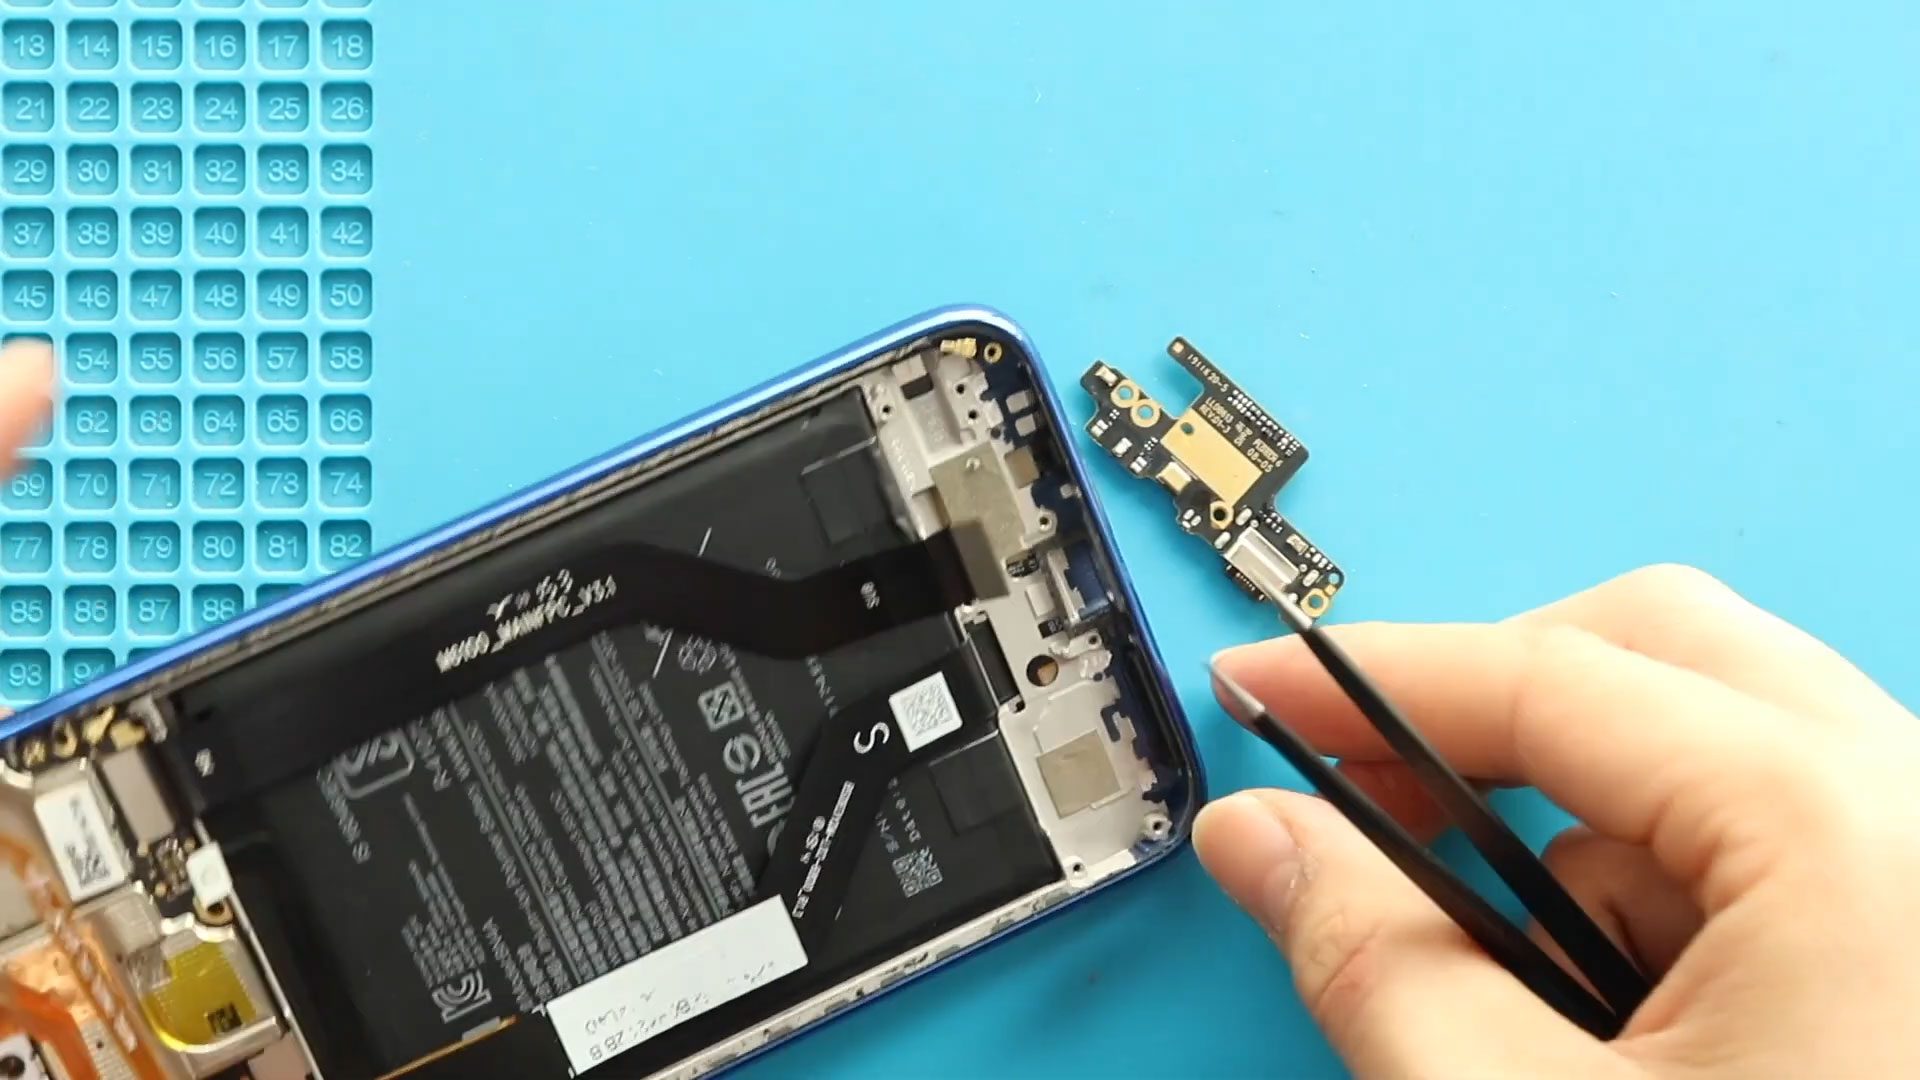
Disconnect the LCD plug, apply heat, and remove the charging port board along with the antenna.
Step 15: Prepare New Screen Assembly
Now only the broken display frame remains.
Choose a replacement:
- Screen with frame (recommended – easier)
- Screen without frame (advanced repair)
👉 It can be original, refurbished, or aftermarket.
👉 A screen with frame is easier and only slightly more expensive — highly recommended.
Step 16: Transfer Components to New Frame
Install all removed parts onto the new screen frame:
- Vibrator motor
- Earpiece speaker
- Logic board (secure with screw)
- Front camera
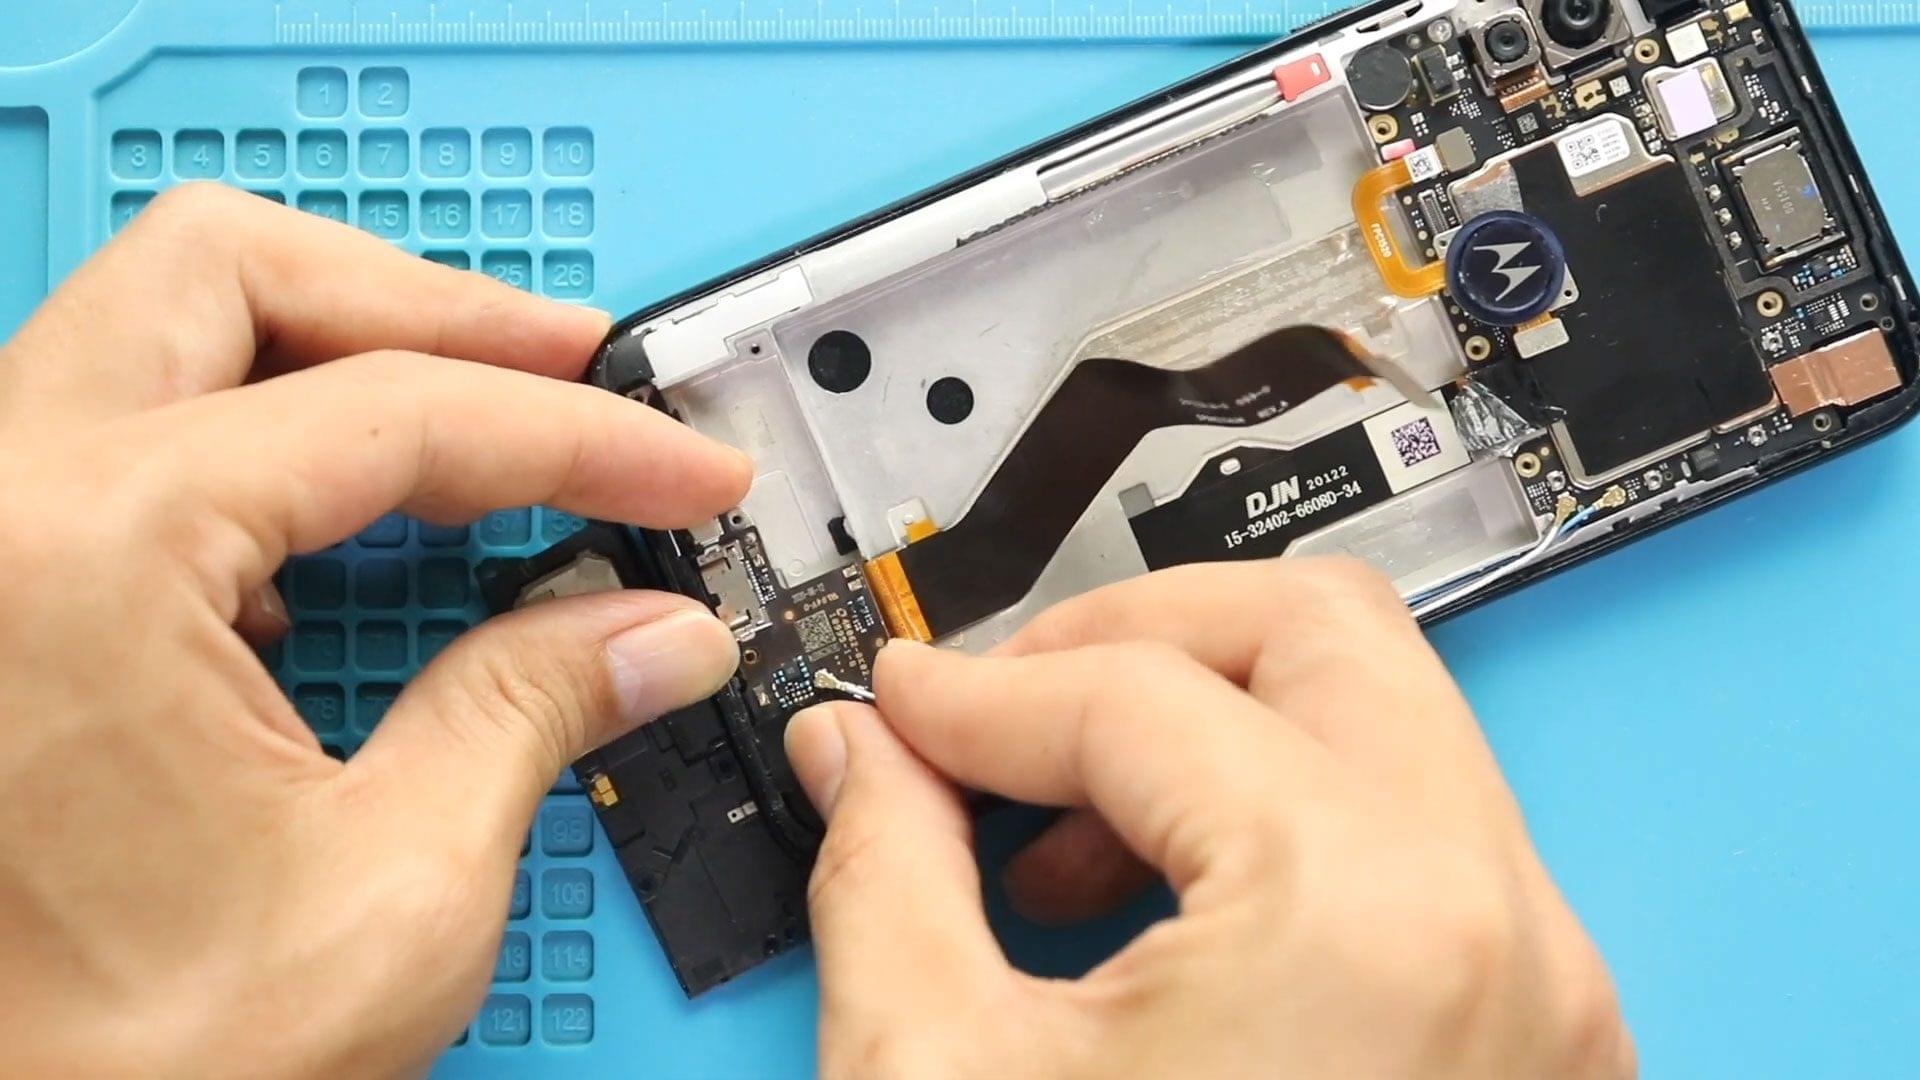
- Charging port board with antenna
- Fingerprint sensor (secure with screws)
Step 17: Reconnect Components
Reconnect:
- LCD connector
- Antenna cable
- Main flex cable
- Battery connector
Step 18: Install Battery
Place the battery using fresh adhesive.
Step 19: Reassemble Mid-Frame
Attach the mid-frame, secure clips, and tighten all screws.
Step 20: Test Before Closing
Power on the device and check:
- Display
- Touch response
- Camera
- Charging
Step 21: Seal Back Cover
Apply adhesive if needed and place the back cover.
Step 22: Final Assembly
Use clips or rubber bands to secure the back cover and allow proper bonding.
❓ FAQ (Frequently Asked Questions)
Q1: Should I choose a screen with frame or without frame?
A screen with frame is much easier and recommended for beginners.
Q2: Will replacing the screen fix touch issues?
Yes, since the display and touch are combined.
Q3: Is this repair difficult?
Yes, it is considered a hard repair due to full disassembly.
Q4: Can I reuse the old battery adhesive?
Not recommended. Use fresh adhesive.
Q5: How do I test before sealing the phone?
Power on the device and check display, touch, and other functions.
🔧 Troubleshooting (After The Repair)
Q1: Screen not turning on after replacement?
Check the LCD connector and battery connection.
Q2: Touch not working?
Ensure the display cable is properly connected.
Q3: No signal after repair?
Reconnect the antenna cable properly.
Q4: Phone not powering on?
Check battery connection and charge the device.
Q5: Display flickering or lines?
This may indicate a faulty or low-quality replacement screen.
✅ Final Thoughts
Replacing the LCD screen on the Samsung Galaxy A71 4G is a complex repair, but it becomes much easier if you use a screen with a frame. Take your time, stay organized, and double-check all connections before sealing the device.
If you have any questions, feel free to ask.
Related Guides