Now Reading: iPhone XS Battery Replacement Guide | Step-by-Step DIY Repair
-
01
iPhone XS Battery Replacement Guide | Step-by-Step DIY Repair
iPhone XS Battery Replacement Guide | Step-by-Step DIY Repair
Hi everyone, welcome back to DIYGeardo. Today, we will show you how to replace the battery on the iPhone XS mobile phone.
If your iPhone XS is draining quickly, shutting down unexpectedly, or no longer holding charge, a battery replacement can bring it back to life. This guide is designed for beginners, with clear and simple steps to help you safely complete the repair at home.
Before starting, make sure you have the right tools to proceed with the repair (you can find them in the description of our video or toolkit list).
Repair Overview
- Device Type: Smartphone
- Device Model: iPhone XS
- Repair Type: Battery Replacement
Repair Difficulty
⭐⭐⭐☆☆ (3/5 – Moderate)
Estimated Time: 30–60 minutes
Reasons for Battery Replacement
- Battery drains too fast
- Phone shuts down randomly
- Device overheats during use
- Battery health below 80%
- Phone only works when plugged in
Before You Begin
Compatibility and Model Numbers
- iPhone XS
This repair guide based on iPhone XS Model.
Model Numbers | A2097, A1920, A2100, A2098
Tools Required
- Heating pad / heat gun / hairdryer
- Suction cup
- Plastic card pry tools / opening picks
- Phillips PH000 screwdriver
- Pentalobe P2 Screwdriver (for bottom screws)
- Tri-Point Y000 Screwdriver
- Adhesive (B7000 or double-sided frame adhesive)
- Bonding clips or rubber bands (optional but recommended)
Using proper tools reduces the risk of damaging the phone.
How to Find Tools and Parts
- Heating pad – https://amzn.to/3H0tHzJ
- Portable Heat Gun – https://amzn.to/4mszih1
- Clamps https://amzn.to/3GYJT4w
- STREBITO 142 Piece Repair Tool Kit https://amzn.to/3UO1jUx
- Glue | Adhesive https://amzn.to/46exVxe
- Compatible Parts –
- Battery – https://amzn.to/4fI15YG
- Screen – https://amzn.to/3VIu2KN
- Other Parts – https://amzn.to/4n2vPq4
- Silicone Work Repair Mat https://amzn.to/45Emz5l
✅ Protect Your iPhone X
2 in 1 Protection for Your iPhone XS https://amzn.to/46apLVC
Step-by-Step iPhone XS Battery Replacement Guide
Step 1: Power Off & Remove Screws
Turn off the phone.
Remove the SIM tray.
Undo the two bottom screws using a Pentalobe screwdriver.
Step 2: Open the Display
Use a suction cup (or double-sided suction tool) to lift the screen.
If using a regular suction cup:
- Lift the screen slightly
- Insert a plastic pry tool or triangle picker
- Carefully separate the screen and loosen the adhesive
Step 3: Open Like a Book
Lift the display gently from the side, opening it like a book.
Do not pull it completely off yet.
Step 4: Remove Shield Plates
Remove two protective shields by unscrewing a total of seven screws.
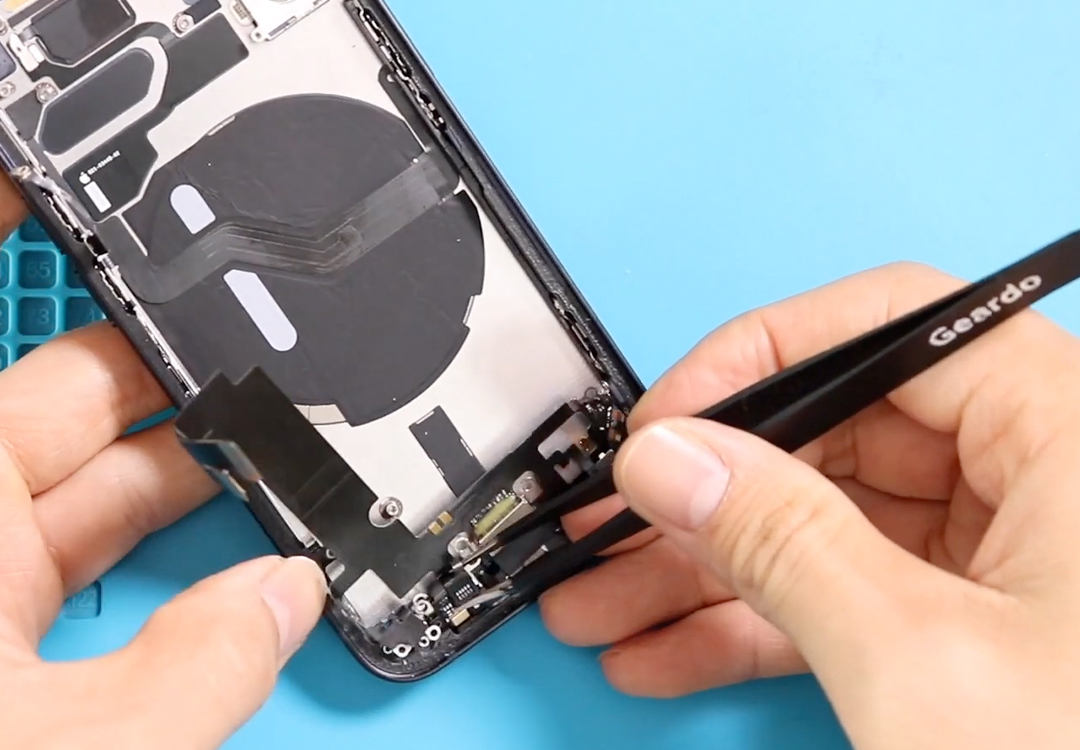
Step 5: Disconnect Components
Disconnect the following connectors:
- Battery
- Touch
- LCD
- Earpiece assembly
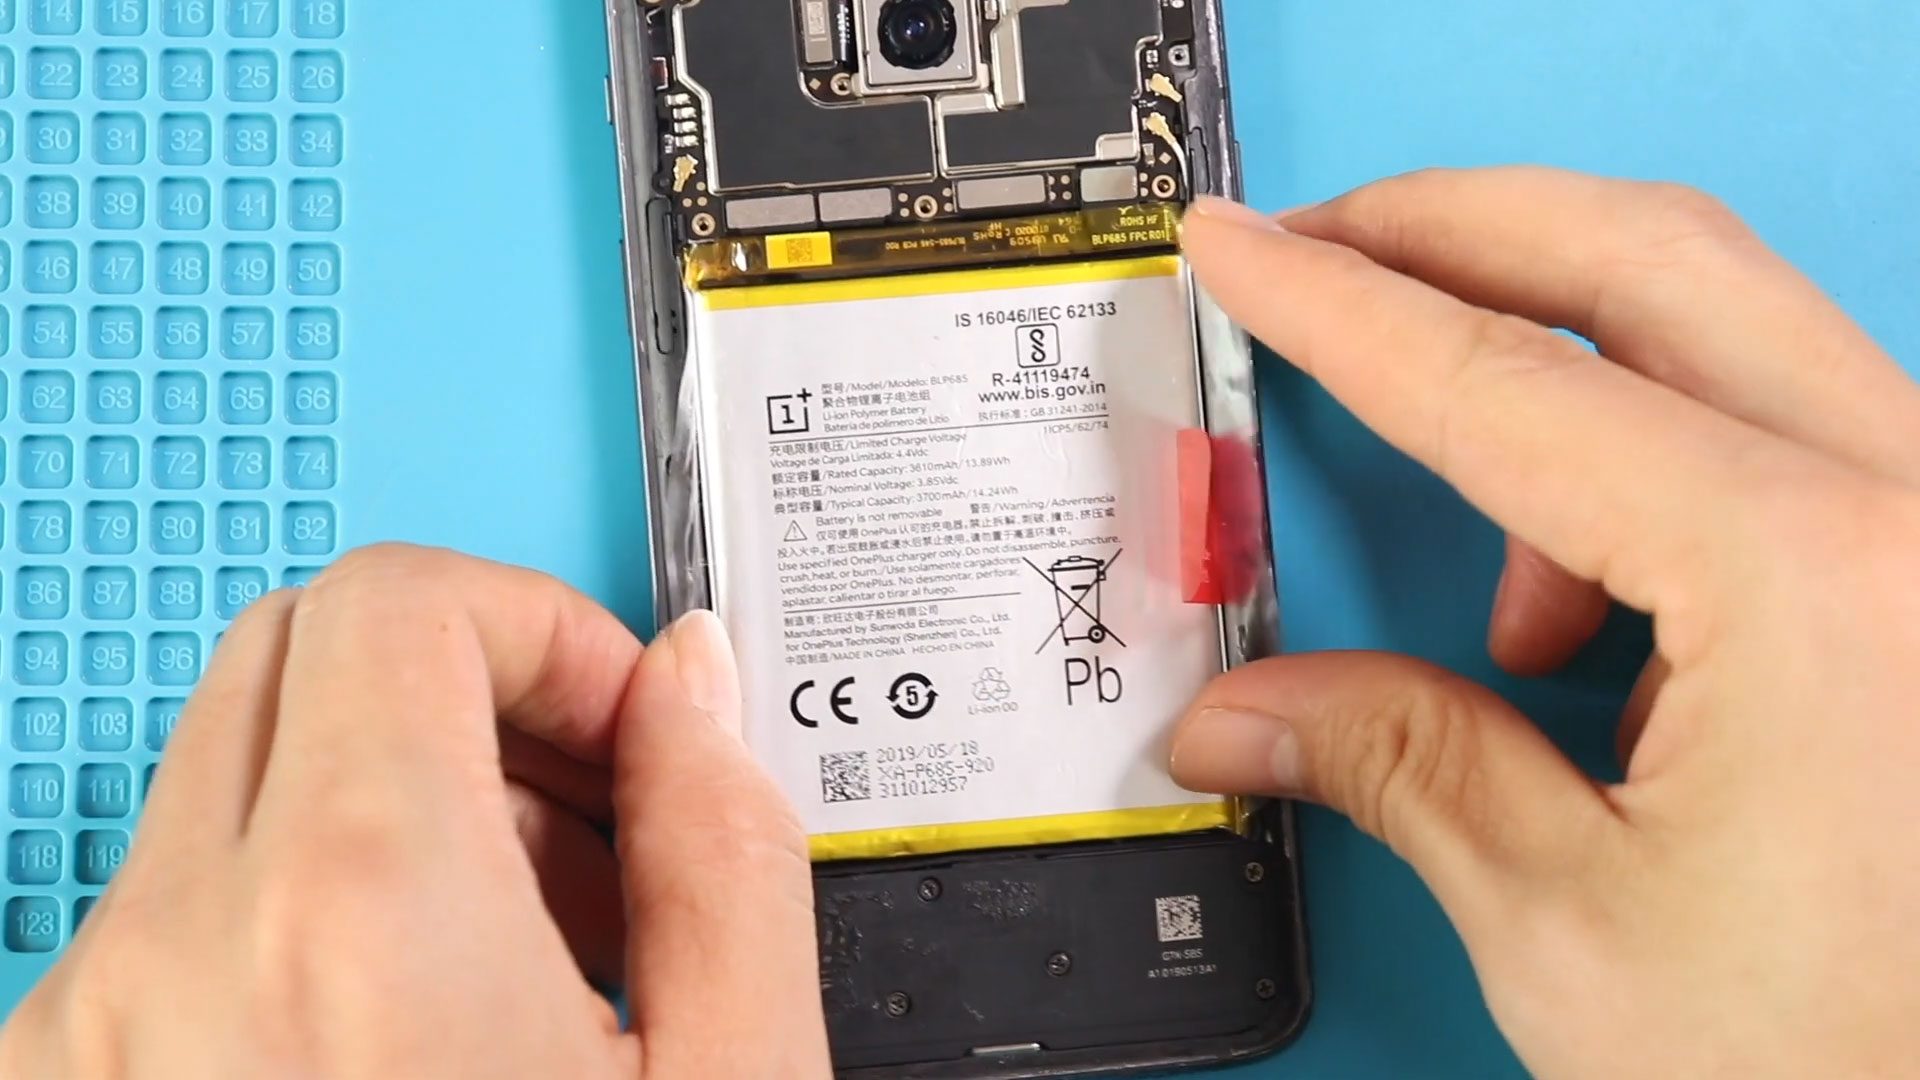
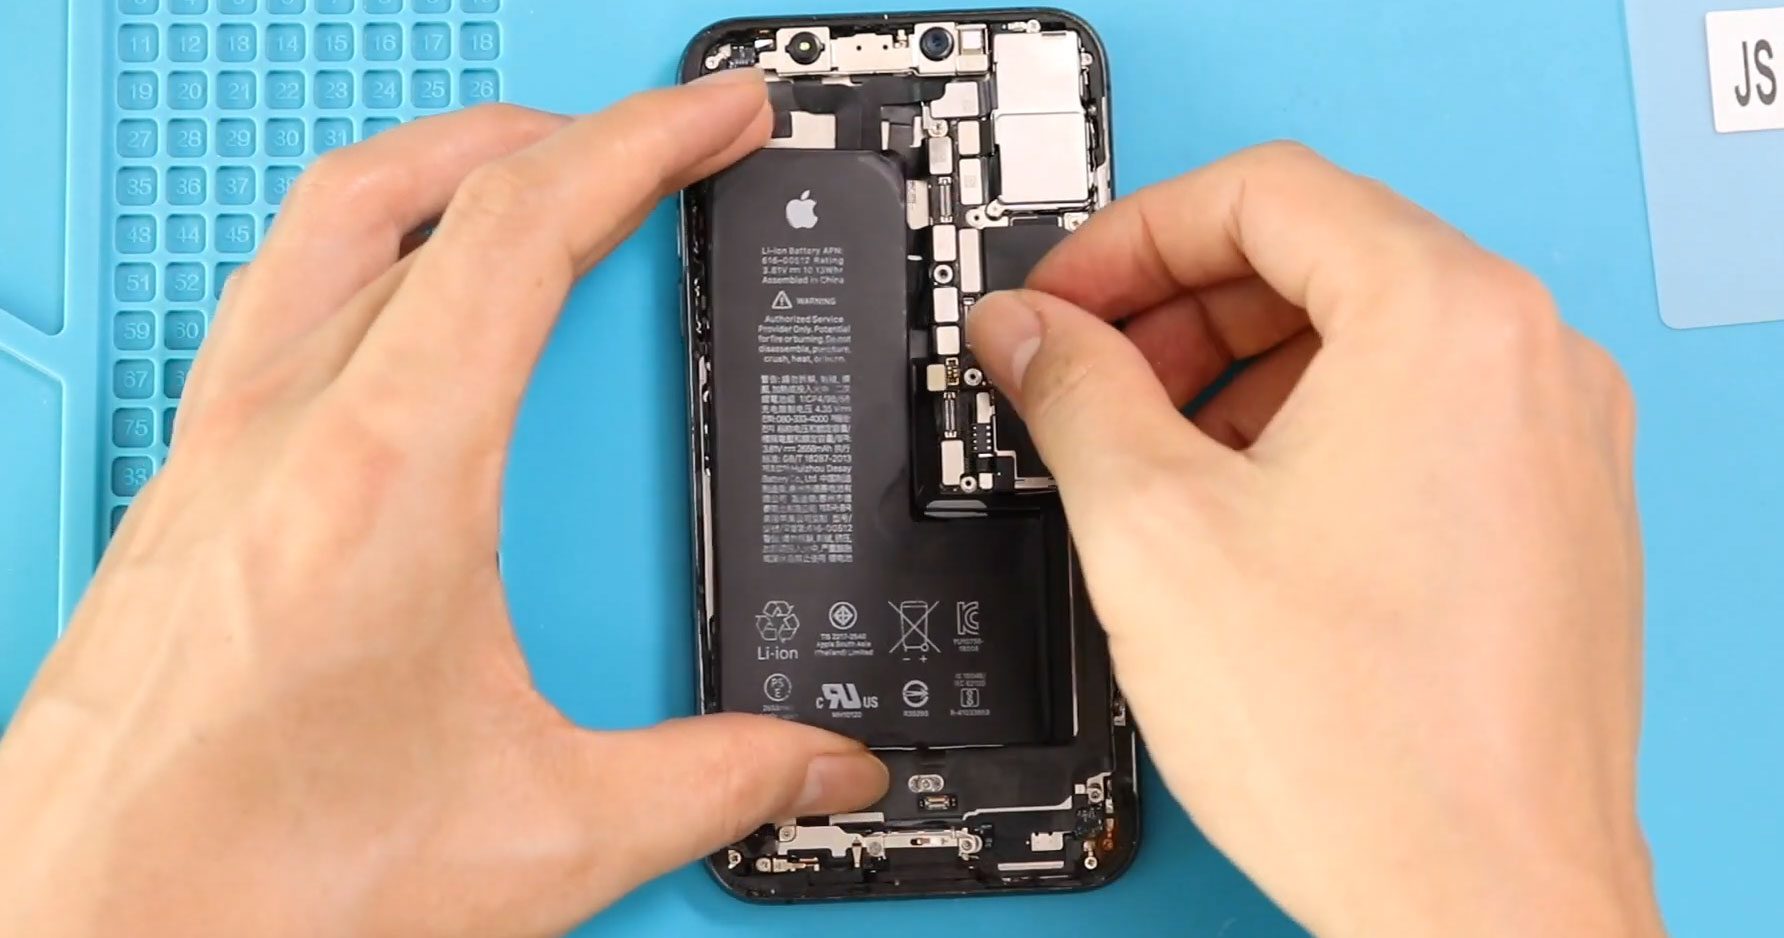
Step 6: Remove the Battery
Locate the three adhesive tabs (one at the top, two at the bottom).
Gently pull each adhesive strip using your fingers or tweezers.
Pull slowly and steadily to avoid tearing.
Step 7: Replace the Battery
Remove the old battery.
Place the new battery into position.
Add fresh adhesive strips to secure it properly.
Step 8: Apply Water Seal
Add the pre-cut water seal adhesive around the frame.
⚠️ Note: This does not fully waterproof the device, but helps with basic sealing.
Step 9: Reconnect Components
Reconnect in this order:
- LCD & touch connectors
- Earpiece assembly connector
- Battery connector
Ensure all connections are secure.
Reinstall both shields using the seven screws.
Step 10: Close the Phone
Align the screen and press it back into place:
- Start from the top
- Then press the sides
- Finish with the bottom
Apply even pressure along the frame.
Step 11: Final Assembly
Reinsert the SIM tray.
Tighten the two bottom screws.
FAQs
1. Is it safe to replace the iPhone XS battery myself?
Yes, if you follow the steps carefully and use proper tools, it is safe for beginners.
2. Will replacing the battery improve performance?
Yes, a new battery can improve battery life, stability, and overall performance.
3. Do I need to calibrate the new battery?
It’s recommended to fully charge to 100% and then discharge to around 10% once or twice for better calibration.
4. Can I reuse the old adhesive strips?
No, always use new adhesive for proper battery placement and safety.
5. Will the phone remain waterproof after repair?
No, the original water resistance is compromised. The new seal only offers limited protection.
Troubleshooting (After The Repair)
1. Phone not turning on after repair
- Check battery connector is properly connected
- Ensure battery is charged
- Reconnect display cables
2. Screen not responding
- Check touch connector alignment
- Ensure no connectors are loose
3. Phone overheating
- Make sure battery is installed correctly
- Avoid using damaged or low-quality batteries
4. Battery draining quickly
- Calibrate the new battery
- Check for background apps consuming power
5. Display not fitting properly
- Ensure no cables are trapped
- Align top edge first before pressing down
Final Thoughts
That’s it! You’ve successfully replaced the iPhone XS battery.
This repair can significantly extend the life of your device and save you money compared to professional repairs. Just take your time, follow each step carefully, and you’ll get great results.
Hope you enjoyed this repair guide.
Let us know if you have any questions—feel free to like, share, and comment on our content!
Related Guides
View Other iPhone XS Repair Guides