Now Reading: Samsung Galaxy A16 5G Speaker Replacement Guide | DIY Repair
-
01
Samsung Galaxy A16 5G Speaker Replacement Guide | DIY Repair
Samsung Galaxy A16 5G Speaker Replacement Guide | DIY Repair
In today’s guide, we’re going through the complete process of replacing the loudspeaker on the Samsung Galaxy A16 5G. If your phone has low sound, distorted audio, or no loudspeaker output at all, this step-by-step repair tutorial will help you fix it at home using basic tools.
Before you begin, make sure you have the proper tools ready. We have listed all recommended tools in the description of the video and on the blog page. Using the correct tools will help you avoid damage during disassembly.
Compatibility and Model Numbers
This repair guide based on Samsung Galaxy A16 5G mobile phone, but it is also compatible with Galaxy A16 4g model too.
Compatible Mode Numbers l SM-A166B, SM-A166B/DS, SM-A166P, SM-A166P/DS, SM-A166E, SM-A166E/DS, SM-A166W, SM-A166U, SM-A166U1, SM-A165F, SM-A165F/DS, SM-A165M, SM-A165M/DS, SM-A165F/DSB
Tools You Need
- Heating pad / heat gun / hairdryer
- Suction cup
- Plastic card pry tools / opening picks
- Phillips PH00 screwdriver
- Adhesive (B7000 or double-sided back cover adhesive)
- Bonding clips or rubber bands (optional but recommended)
How to Find Tools and Parts
- Heating pad – https://amzn.to/3H0tHzJ
- Portable Heat Gun – https://amzn.to/4mszih1
- Clamps https://amzn.to/3GYJT4w
- STREBITO 142 Piece Repair Tool Kit https://amzn.to/3UO1jUx
- Glue | Adhesive https://amzn.to/46exVxe
- Compatible Parts https://amzn.to/4pOwJIM
- Silicone Work Repair Mat https://amzn.to/45Emz5l
Step 1 – Power Off the Device
Start by switching off the Samsung Galaxy A16 5G completely.
Next, eject and remove the SIM tray. This prevents any accidental damage while opening the phone.
Step 2 – Heat the Back Cover
To remove the back cover, the adhesive around the edges needs to be softened.
You can use:
- A heating pad
- A heat gun
- A regular hairdryer
If you’re using a heating pad, place the phone with the back cover facing down, choose the mobile heating option, and allow the cycle to complete.
If using a heat gun or hairdryer, apply warm air evenly around the edges. Avoid direct and long heating on one spot, as excessive heat can warp the plastic or harm components.
How to Use the Heating Pad Properly
Step 3 – Open the Back Cover
Once heated, position a suction cup at the bottom section of the back cover and pull gently to create a small gap.
Slide a plastic pry tool or opening card into the gap and work your way around the edges.
Use only the tip of the tool and keep it flat to avoid damaging the frame or internal flex cables.
This step takes patience—continue until the adhesive fully releases.
After that, lift the back cover and keep it aside.

Step 4 – Remove the Mid-Frame
Double-check that the SIM tray is out.
Now remove the 15 screws securing the mid-frame.
After removing the screws:
- Disconnect the fingerprint/power key connector
- Use a plastic pry tool to release the mid-frame clips
- Lift and separate the mid-frame from the phone body
Work gently because the clips can crack if forced.
Step 5 – Disconnect the Battery
Before touching any internal component, disconnect the battery connector.
This step ensures safe repair and prevents short-circuits.
Step 6 – Remove the Faulty Loudspeaker
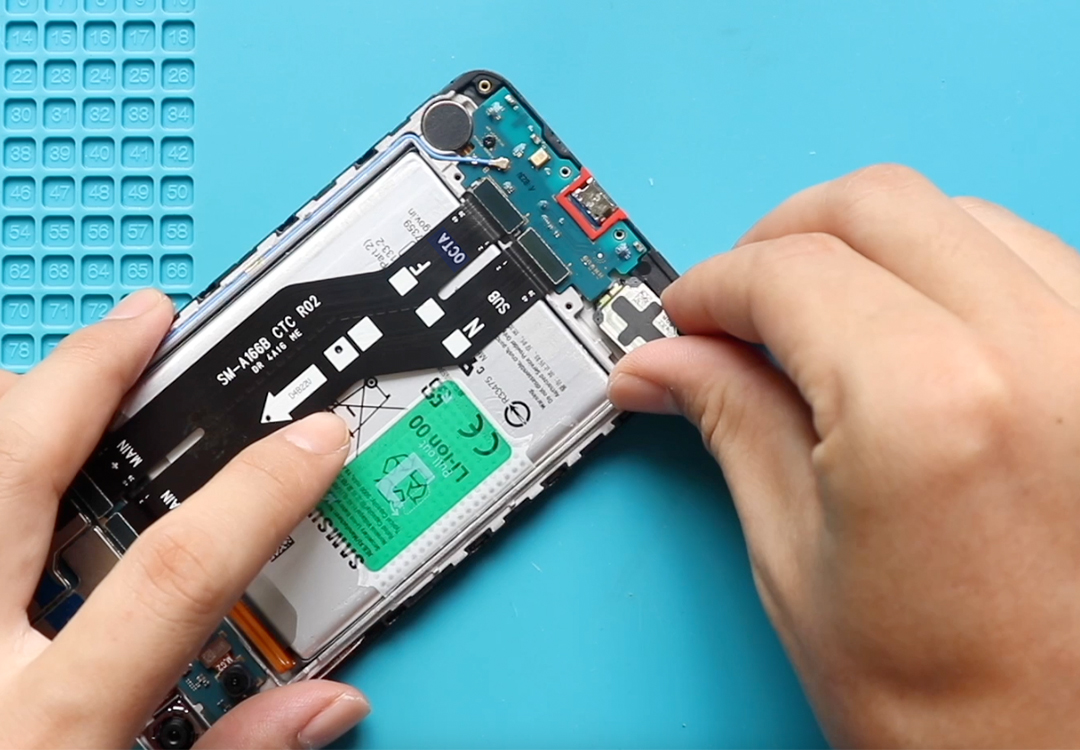
The loudspeaker is located at the bottom section of the frame.
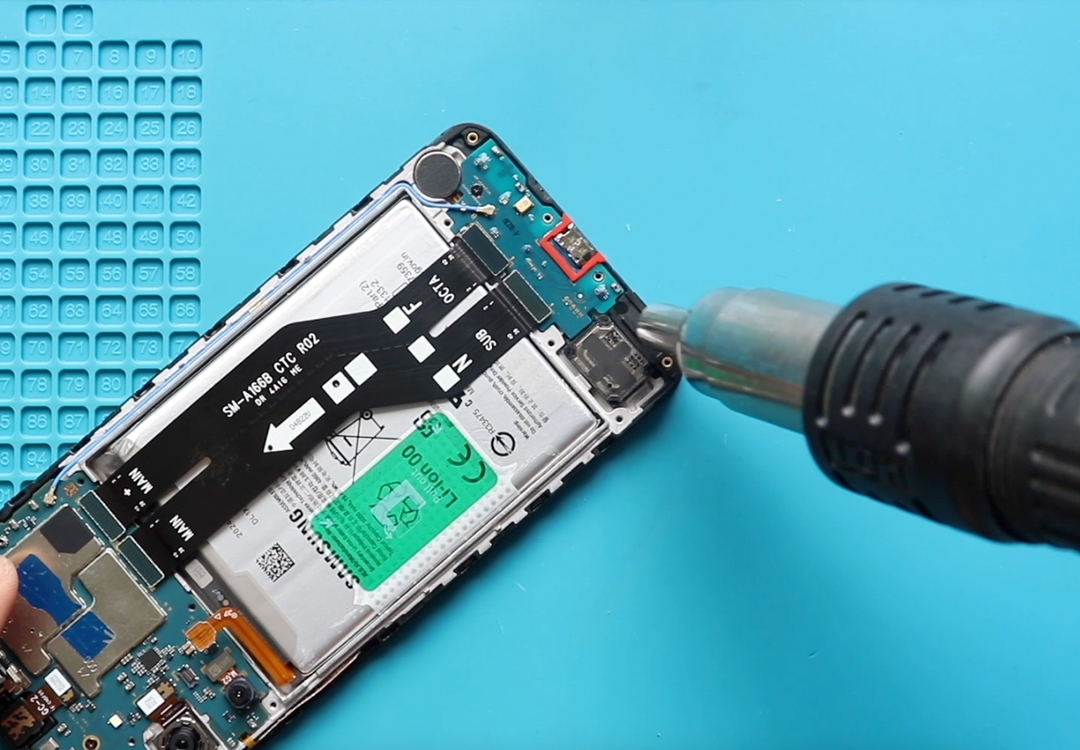
Apply slight heat to loosen the adhesive holding the speaker.
Gently pry and lift the non-working loudspeaker out of the housing.
Step 7 – Install the New Loudspeaker
Place the replacement loudspeaker in position and press it down so it sits properly inside the frame.
Reconnect the battery connector once the speaker is secured.
Step 8 – Reassemble the Phone
Place the mid-frame back and ensure all plastic clips snap correctly into place.
Reinstall all 15 screws.
Reconnect the fingerprint button connector plug.
Insert the SIM tray.
Before closing the back cover, check if it still has enough adhesive.
If not, apply B7000 glue or use a new double-sided adhesive sheet.
Press the back cover onto the phone and use bonding clips or rubber bands to maintain even pressure. Leave them on for some time for proper bonding.
That’s it! Your Samsung Galaxy A16 5G loudspeaker replacement is complete.
If you found this guide helpful, feel free to like, share, or comment with any questions.
Frequently Asked Questions
1. How do I know if my loudspeaker is faulty?
If your phone has no sound during videos, music, ringtones, or notifications—but works fine with headphones—that usually means the loudspeaker is faulty.
2. Is heating mandatory for removing the back cover?
Yes. The back cover is strongly glued, so heating makes it safe and reduces the risk of cracks.
3. Will replacing the speaker affect water resistance?
The Galaxy A16 5G is not fully waterproof, but improper sealing after repair can reduce splash resistance. Always bond the back cover firmly.
Related Repair Guides