Now Reading: Samsung Galaxy A20 Power Volume Button Flex Replacement Guide
-
01
Samsung Galaxy A20 Power Volume Button Flex Replacement Guide
Samsung Galaxy A20 Power Volume Button Flex Replacement Guide
Power button or volume key failures can make daily smartphone use frustrating. If the phone does not respond when pressing the power button, cannot adjust volume levels, or randomly activates buttons without touching them, the flex cable underneath the buttons is usually damaged.
This detailed DIY repair guide explains how to replace the power and volume button flex cable on the Samsung Galaxy A20 safely using standard mobile repair tools. Replacing this small internal component can restore full button functionality without replacing the entire device.
Protect Your Galaxy A20
Protector For The Screen https://amzn.to/46pNwKl
Best Rated Case https://amzn.to/41Czn
Repair Information
Repair Difficulty: ★★★☆☆ Moderate
Estimated Repair Time: 20 — 30 Minutes
Device Type: Smartphone
Repair Type: Power Button & Volume Key Flex Cable Replacement
Reasons to Replace the Power Volume Flex
You may need this repair if:
- Power button not responding
- Volume buttons stuck or unresponsive
- Phone restarting randomly
- Buttons working only when pressed hard
- Physical damage after dropping the phone
- Dust or moisture affecting button contacts
Before You Begin
Compatibility and Model Numbers
- Samsung Galaxy A20
This repair guide based on Samsung Galaxy A20 Model.
Model Numbers | SM-A205F, SM-A205FN, SM-A205GN, SM-A205YN, SM-A205G, SM-A205W, SM-A205U, SM-A205S, SM-S205DL, SM-A205U1
Tools Required
- Mobile phone heating pad or hairdryer/heat gun
- Plastic pry tool / card pry
- Suction cups
- Phillips #00/#000 screwdrivers
- Tweezers (for connectors)
- B7000 glue or double-sided adhesive (for back cover)
- Rubber bands or bonding clips to secure the back cover
Using proper tools reduces the risk of damaging the phone.
How to Find Tools and Parts
- Heating pad – https://amzn.to/3H0tHzJ
- Portable Heat Gun – https://amzn.to/4mszih1
- Clamps https://amzn.to/3GYJT4w
- STREBITO 142 Piece Repair Tool Kit https://amzn.to/3UO1jUx
- Glue | Adhesive https://amzn.to/46exVxe
- Compatible Parts –
- Battery – https://amzn.to/4g9ncaI
- Screen – https://amzn.to/47tyHYp
- Other Parts – https://amzn.to/4pjvdyb
- Silicone Work Repair Mat https://amzn.to/45Emz5l
Samsung Galaxy A20 Power Volume Flex Replacement — Step-by-Step Repair
Step 1 — Power Off the Device
Turn off the device completely before starting the repair. This prevents electrical damage and accidental short circuits.
Step 2 — Heat and Remove the Back Cover
The rear cover is sealed using adhesive.
Apply gentle heat evenly around the edges using a heating pad, heat gun, or hair dryer until the adhesive softens.
Use a suction cup to lift a small gap between the frame and back cover.
Insert a plastic pry tool or card carefully and slide around the edges to separate adhesive.
⚠️ Lift slowly because the fingerprint sensor flex cable remains attached.
Step 3 — Disconnect Fingerprint Sensor
Disconnect the fingerprint sensor flex cable carefully before removing the back cover completely.
Set the cover aside safely.
Step 4 — Remove SIM Tray and Midframe
Remove the SIM tray first.
Using a Phillips screwdriver:
Remove all screws securing the midframe.
Insert a plastic pry tool along the edges and gently release plastic clips.
Lift the midframe away from the device.
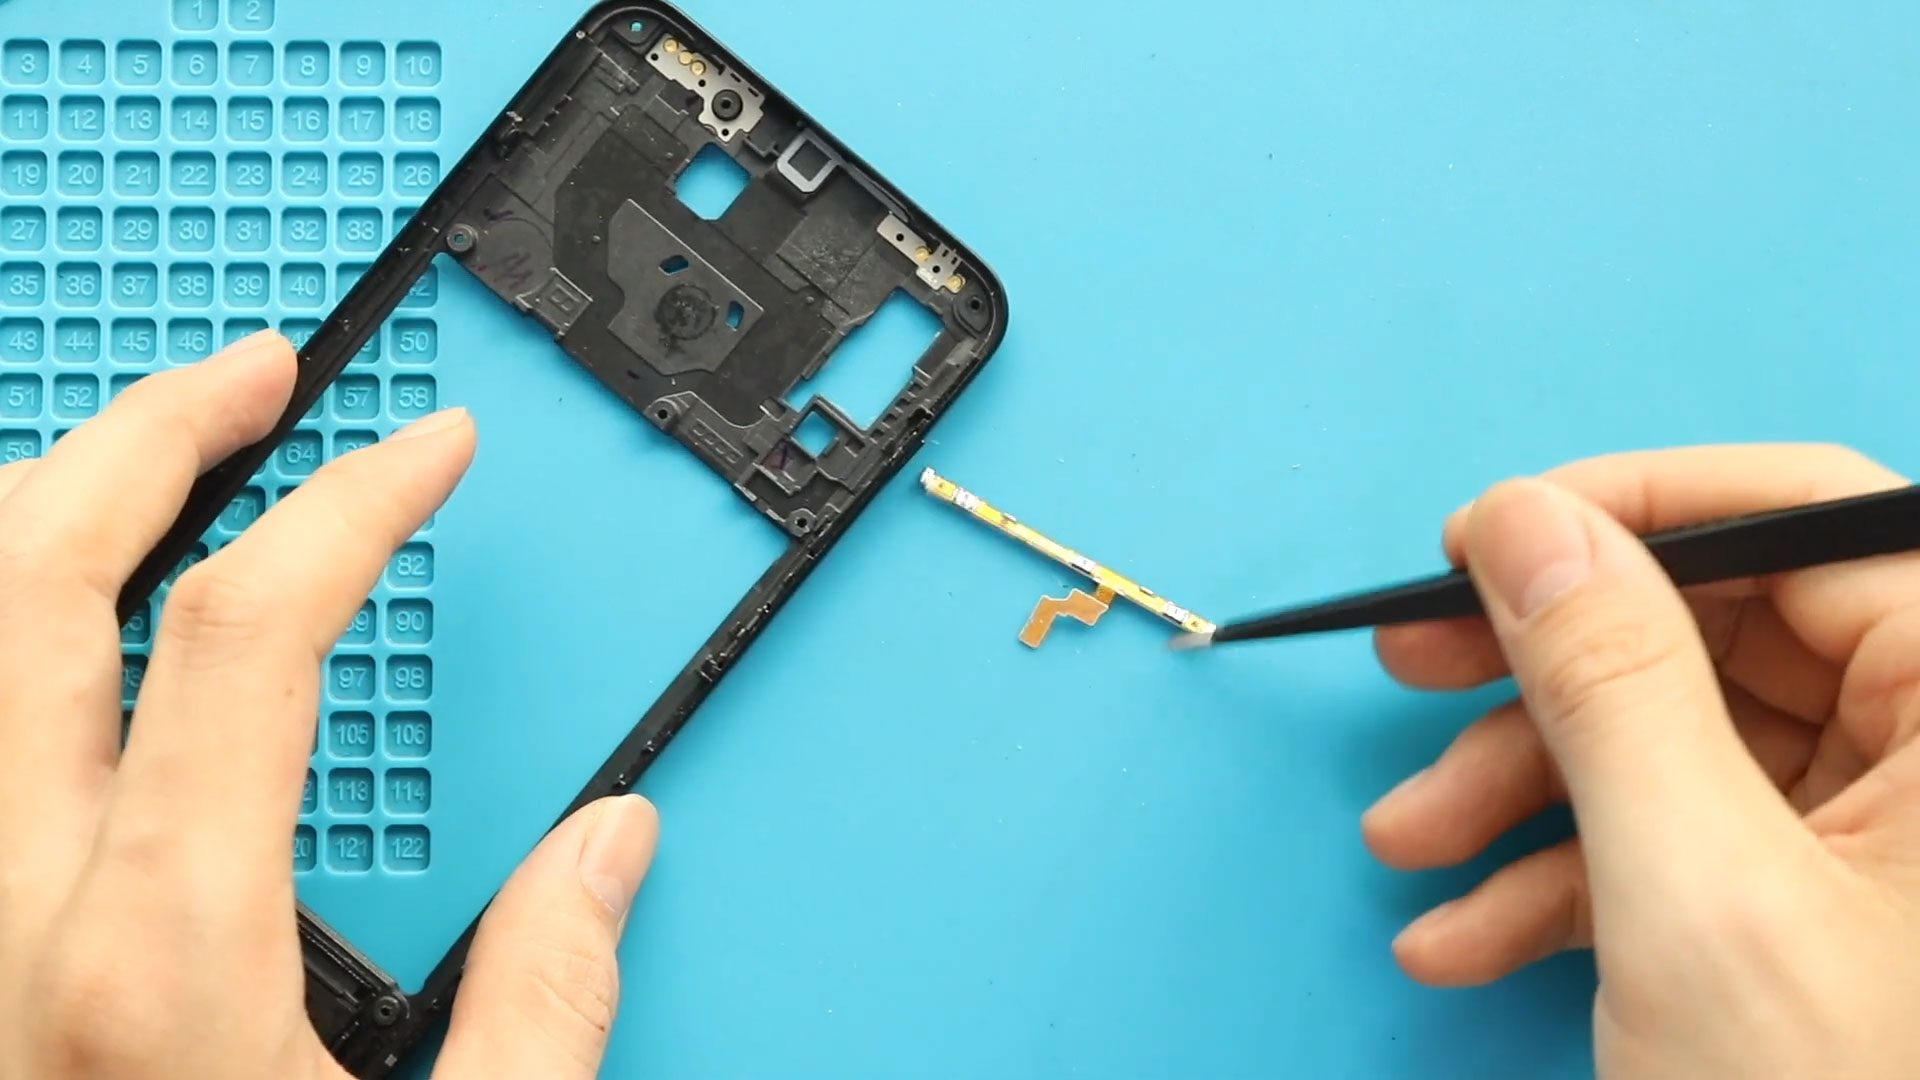
Step 5 — Remove Faulty Power Volume Flex Cable
Locate the power and volume button flex cable along the side frame.
Disconnect the flex cable carefully.
If adhesive holds it in place, apply a small amount of heat to soften it.
Lift and remove the damaged flex cable slowly to avoid tearing connectors.
Step 6 — Install New Power Volume Flex
Place the replacement flex cable into position along the frame.
Ensure proper alignment with external button openings.
Reconnect the flex connector securely to the motherboard.
Press gently along adhesive areas to secure placement.
Step 7 — Reinstall Midframe
Position the midframe back onto the device.
Ensure plastic clips snap into place evenly.
Reinstall all screws securely.
Step 8 — Reconnect Fingerprint Sensor
Reconnect the fingerprint sensor flex cable carefully.
Check alignment before closing the phone.
Step 9 — Seal the Back Cover
Inspect the adhesive condition on the rear cover.
If required:
- Apply B7000 glue, or
- Install new double-sided adhesive tape.
Press evenly along edges.
Use bonding clips or rubber bands to hold the back cover tightly while adhesive cures.
Frequently Asked Questions (FAQ)
Q1. Will replacing the power button flex erase data?
No. This repair does not affect stored files or applications.
Q2. Why does my phone randomly restart?
A damaged power flex cable can send false signals to the motherboard causing unexpected restarts.
Q3. Can I reuse old adhesive?
Fresh adhesive is recommended for proper sealing and durability.
Q4. Should I test buttons before closing?
Yes. Power on the device and test power and volume buttons before sealing the back cover.
Troubleshooting After Replacement
Q1. Power button still not working?
Check flex connector seating and ensure it is properly aligned.
Q2. Volume buttons responding intermittently?
Verify flex cable alignment with external buttons.
Q3. Fingerprint sensor stopped working?
Reconnect the fingerprint flex cable and inspect connector pins.
Q4. Back cover lifting after repair?
Apply additional adhesive and allow longer curing time using clips or rubber bands.
Related Guides