Now Reading: Samsung Galaxy A52 5G Camera Lens Glass & Back Cover Replacement Guide
-
01
Samsung Galaxy A52 5G Camera Lens Glass & Back Cover Replacement Guide

If your Samsung Galaxy A52 camera lens glass is cracked, scratched, or broken, your photos may appear blurry or hazy even though the internal camera module is working fine. Replacing only the outer camera lens glass is a cost-effective repair that restores image clarity without replacing the entire camera module.
In this step-by-step DIY repair guide, we’ll show you how to replace the camera lens glass and lens ring frame on the Samsung Galaxy A52 series safely and correctly.
Repair Difficulty
Device Type: Smartphone
Type of Repair: Rear Camera Lens Glass / Lens Ring Replacement
Repair Difficulty: ⭐⭐⭐☆☆ (Moderate)
Estimated Time: 45–60 Minutes
Reasons for Camera Lens Replacement
- Cracked or shattered rear camera glass
- Scratched lens causing blurry images
- Dust entering camera area
- Cosmetic damage after a drop
- Hazy or foggy photo quality
- Exposed camera modules
If only the outer glass is damaged and the camera itself works fine, replacing the lens glass is the ideal solution.
Before You Begin
Compatibility and Model Numbers
- Samsung Galaxy A52 5G
- Samsung Galaxy A52
- Samsung Galaxy A52s 5G
This repair guide based on Samsung Galaxy A52 5G Model.
Model Numbers | SM-A525F, SM-A525F/DS, SM-A525M, SM-A525M/DS, SM-A526B, SM-A526B/DS, SM-A5260, SM-A526W, SM-A526U, SM-A526U1, SM-A528B, SM-A528B/DS, SM-A528N
Tools Required
- Mobile phone heating pad or hairdryer/heat gun
- Plastic pry tool / card pry
- Suction cups
- Phillips #00/#000 screwdrivers
- Tweezers (for connectors)
- B7000 glue or double-sided adhesive (for back cover)
- Rubber bands or bonding clips to secure the back cover
Using proper tools reduces the risk of damaging the phone.
How to Find Tools and Parts
- Heating pad – https://amzn.to/3H0tHzJ
- Portable Heat Gun – https://amzn.to/4mszih1
- Clamps https://amzn.to/3GYJT4w
- STREBITO 142 Piece Repair Tool Kit https://amzn.to/3UO1jUx
- Glue | Adhesive https://amzn.to/46exVxe
- Compatible Parts –
- Battery – https://amzn.to/4fSiTAz
- Screen – https://amzn.to/45RzEY3
- Other Parts – https://amzn.to/3HrvhuG
- Silicone Work Repair Mat https://amzn.to/45Emz5l
Protect Your Samsung Galaxy A52 5G
- Protector For The Screen https://amzn.to/3VcdiLJ
- Best Rated Case https://amzn.to/4mzbjNU
Step-by-Step Samsung Galaxy A52 Camera Lens Replacement
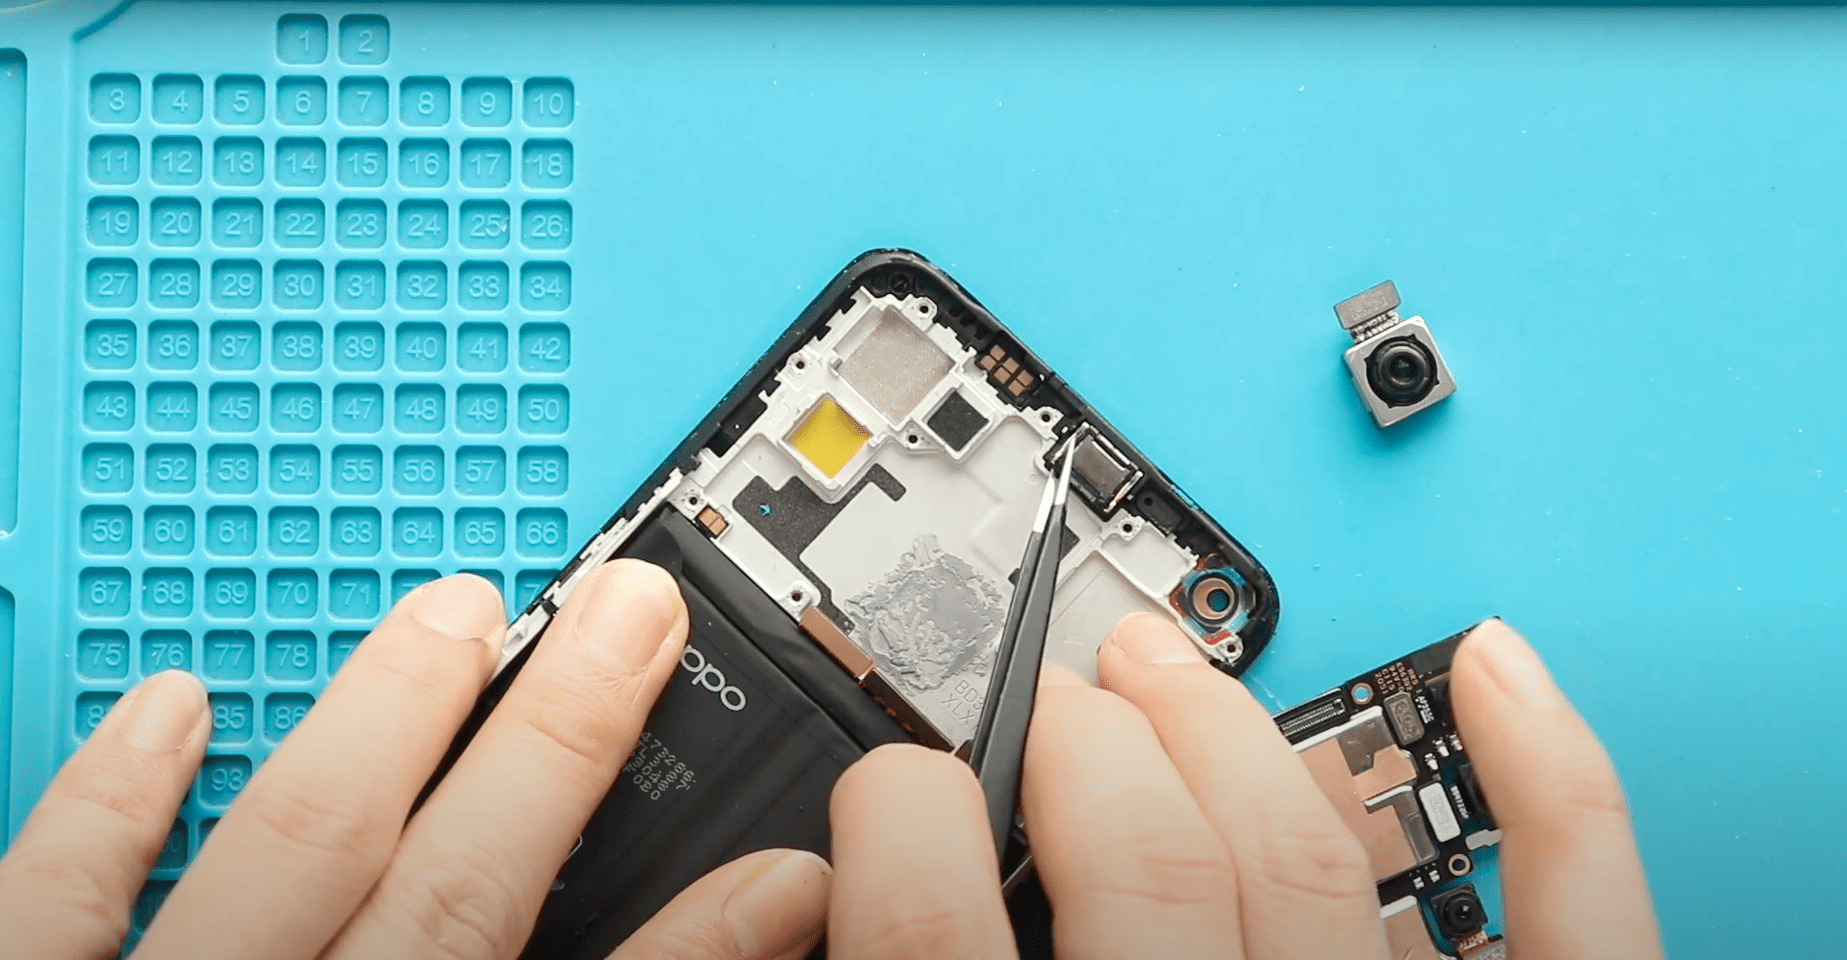
Step 1: Remove SIM Tray
Power off the phone.
Remove the SIM tray using a SIM ejector tool.
Step 2: Heat and Remove the Back Cover
The rear cover is secured with adhesive.
- Gently heat around the edges using a heating pad.
- Alternatively, use a heat gun or hairdryer evenly around the edges.
- Once the adhesive softens, use a suction cup to create a small gap.
- Insert a plastic pry tool or card and carefully cut the adhesive around the back cover.
Remove the rear cover carefully.
Step 3: Heat the Camera Lens Area
Now focus on the rear cover (not the phone body).
- Apply heat to the back side of the rear cover where the camera lens frame is located.
- This softens the adhesive securing the camera lens frame.
Step 4: Remove the Camera Lens with Frame
- Carefully lift and remove the camera lens frame from the rear cover.
- Apply gentle pressure from the inside if needed.
Avoid damaging the surrounding plastic frame.
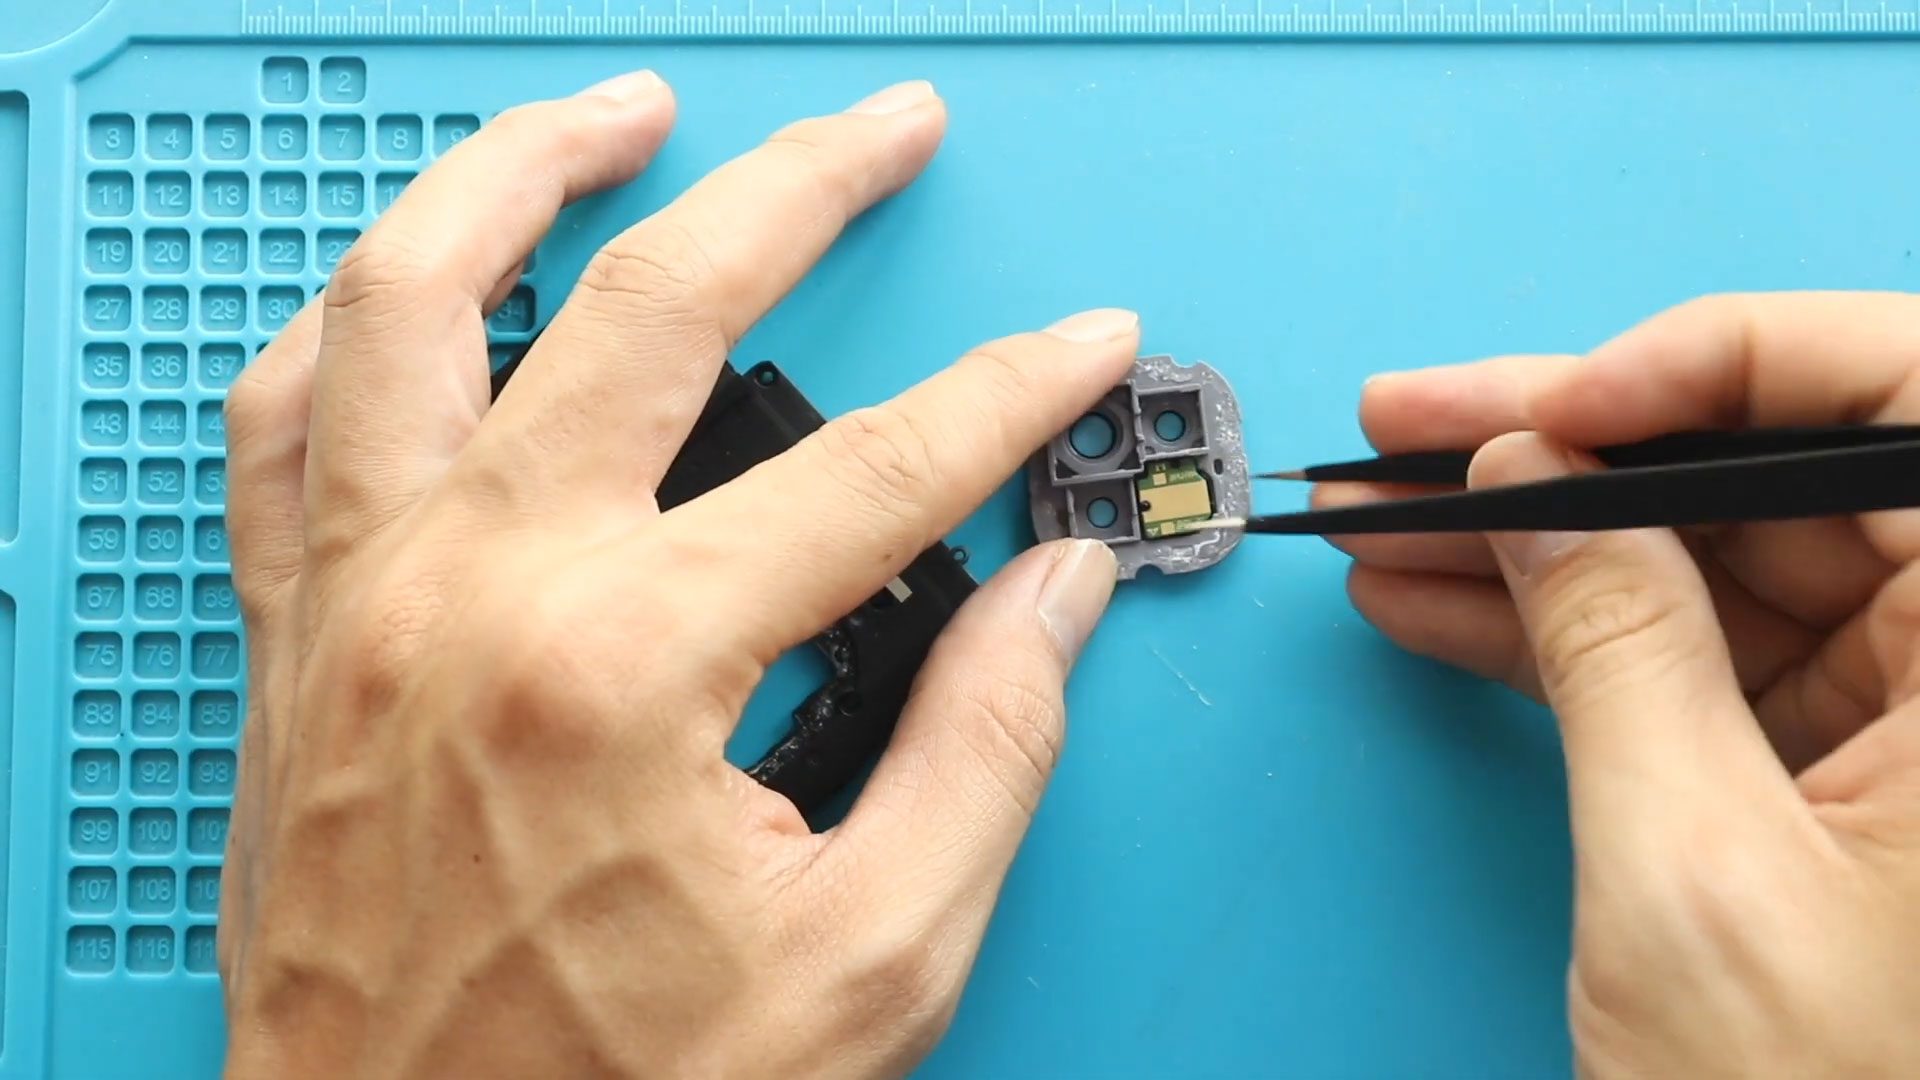
Step 5: Remove the Broken Camera Lens Ring
- Apply heat directly to the individual camera lens rings.
- From the rear side, gently push out the broken lens ring.
⚠️ Be careful not to damage the plastic frame or leave glass fragments inside.
Step 6: Install the New Camera Lens Ring
- Place the new camera lens ring with adhesive into position.
- Press firmly to ensure proper alignment and sealing.
Make sure:
- The lens sits flat
- No dust or debris is trapped inside
Step 7: Reattach the Camera Lens Frame
- Apply glue (B7000 recommended) to the frame edges.
- Position the camera lens frame back onto the rear cover.
- Press firmly for proper bonding.
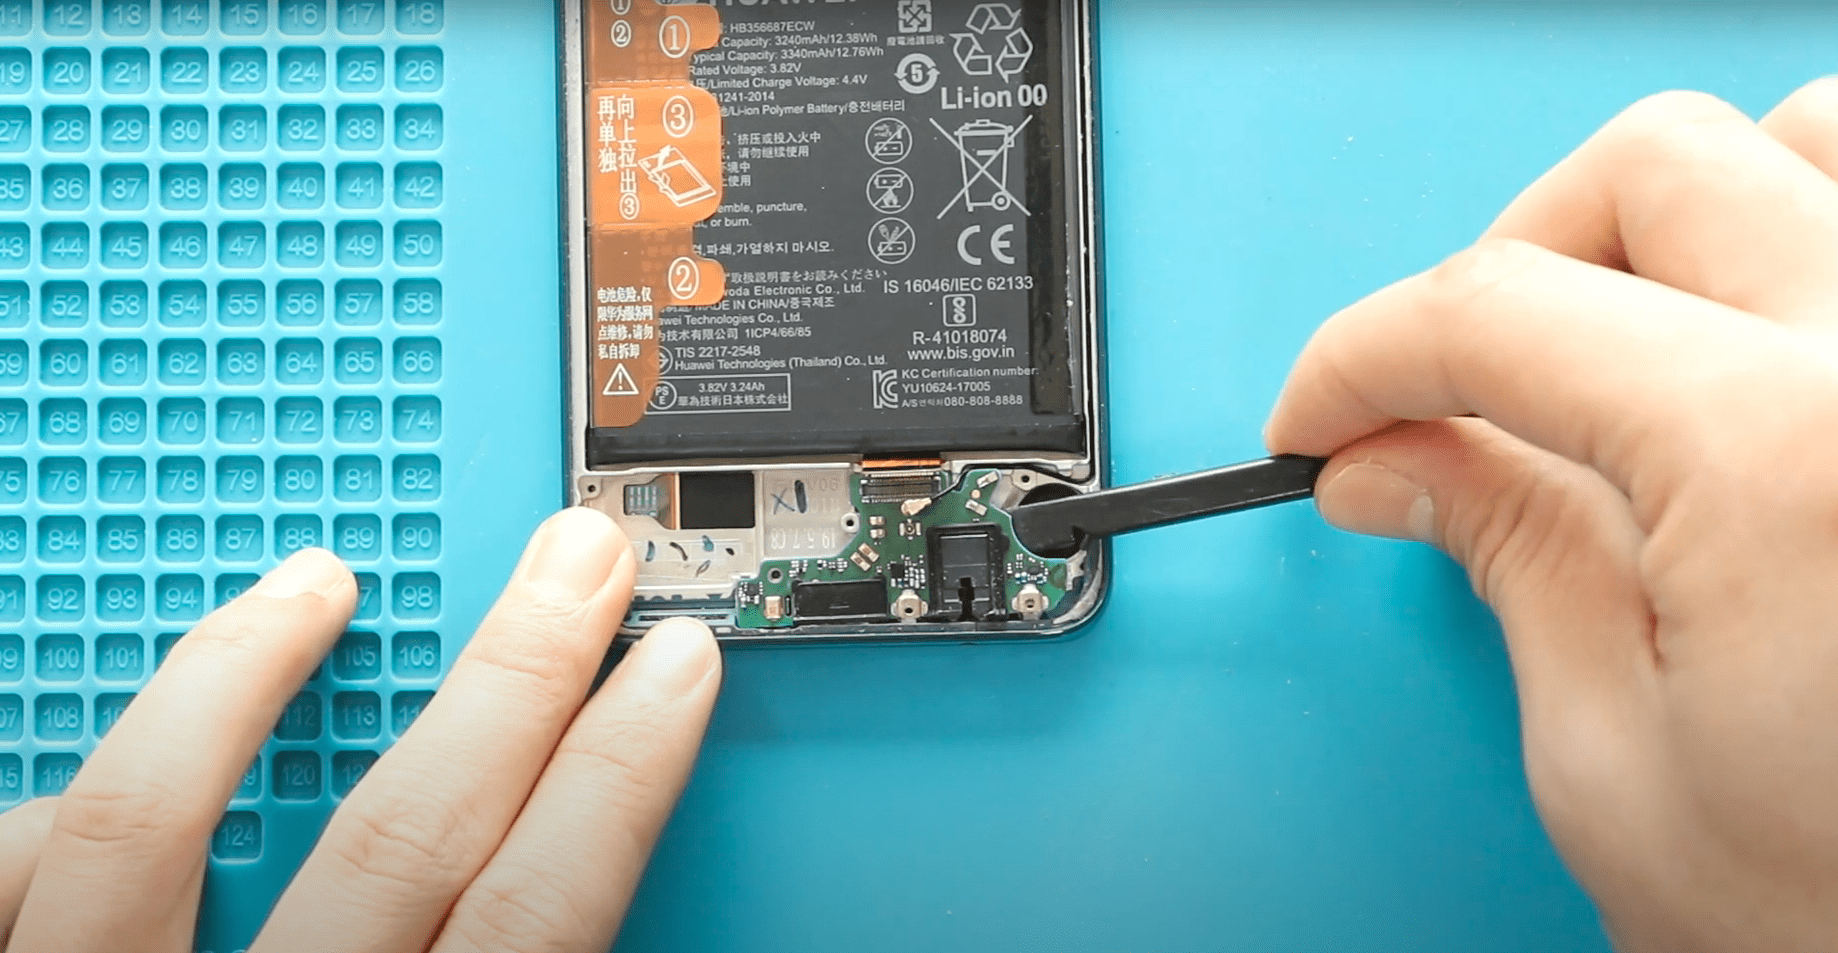
Step 8: Reinstall the Back Cover
- Check if the back cover adhesive is sufficient.
- If not, apply new adhesive or B7000 glue.
- Align and place the back cover onto the phone body.
- Use bonding clips or rubber bands to apply pressure.
- Leave it secured for some time to ensure strong adhesion.
FAQ – Samsung Galaxy A52 Camera Lens Repair
Q1: Can I replace only the camera lens glass?
Yes. If the camera module is working fine, only the outer lens glass needs replacement.
Q2: Will this repair fix blurry photos?
If blur is caused by cracked or scratched lens glass, yes. If blur is due to internal camera damage, you may need a full camera replacement.
Q3: Do I need to remove the motherboard?
No. Camera lens replacement only requires removing the back cover.
Q4: Is heating necessary?
Yes. Heat softens the adhesive and prevents cracking the plastic frame.
Q5: Can I use super glue?
No. Use B7000 glue or proper double-sided adhesive designed for phone repairs.
Troubleshooting After Replacement
Q1: Photos are still blurry after lens replacement.
Check for:
- Dust inside the lens area
- Fingerprints on the camera module
- Improper lens alignment
Clean gently before resealing.
Q2: Lens is not sticking properly.
Use fresh adhesive and apply firm pressure with clips for at least 30–60 minutes.
Q3: Dust appears inside the camera after repair.
The lens may not be sealed properly. Reopen carefully and reseal using proper adhesive.
Q4: Back cover is lifting from edges.
Apply new adhesive and clamp properly until fully bonded.
Conclusion
Replacing the camera lens glass on the Samsung Galaxy A52 is a practical and affordable repair if the outer glass is cracked but the internal cameras are working fine. With proper tools and careful handling, you can restore your phone’s camera clarity and protection.
More Repair Guides