Now Reading: Samsung Galaxy A70 Camera Replacement Guide | (Front / Rear) Galaxy A70s
-
01
Samsung Galaxy A70 Camera Replacement Guide | (Front / Rear) Galaxy A70s
If your Samsung Galaxy A70 camera becomes blurry, fails to focus, shows a black screen, or stops opening completely, replacing the faulty camera module can restore full photo and video performance. Camera issues often occur due to accidental drops, internal connector damage, moisture exposure, or hardware failure over time.
Fortunately, both the front selfie camera and rear camera modules on this device are modular components, meaning they can be replaced without soldering when handled carefully.
This step-by-step DIY repair guide explains how to safely open the device, remove internal components, and install new camera modules using proper smartphone repair techniques.
Protect Your Galaxy A70
- Best Rated Case https://amzn.to/42GYY28
- Screen Protector https://amzn.to/3KS1kFu
Repair Overview
Device Type: Smartphone
Repair Type: Front Camera & Rear Camera Replacement
Repair Difficulty ⭐⭐⭐☆☆ — Moderate Difficulty)
Estimated Repair Time: 35 — 50 Minutes
Reasons for Samsung Galaxy A70 Camera Replacement
You may need to replace the camera modules if:
- Camera app shows black screen
- Blurry or unfocused images
- Camera shaking or vibrating during recording
- Camera app crashes frequently
- Dust or moisture inside camera lens
- Physical damage after drops
Before You Begin
Compatibility and Model Numbers
- Samsung Galaxy A70
- Samsung Galaxy A70S
This repair guide based on Samsung Galaxy A70 Model.
Model Numbers | SM-A705F, SM-A705FN, SM-A705GM, SM-A705MN, SM-A7050, SM-A705W, SM-A705YN, SM-A705X, SM-A705U, SM-A707F, SM-A707FN, SM-A707GM, SM-A707MN, SM-A7070, SM-A707W
Tools Required
- Mobile phone heating pad or hairdryer/heat gun
- Plastic pry tool / card pry
- Suction cups
- Phillips #00/#000 screwdrivers
- Tweezers (for connectors)
- B7000 glue or double-sided adhesive (for back cover)
- Rubber bands or bonding clips to secure the back cover
Using proper tools reduces the risk of damaging the phone.
How to Find Tools and Parts
- Heating pad – https://amzn.to/3H0tHzJ
- Portable Heat Gun – https://amzn.to/4mszih1
- Clamps https://amzn.to/3GYJT4w
- STREBITO 142 Piece Repair Tool Kit https://amzn.to/3UO1jUx
- Glue | Adhesive https://amzn.to/46exVxe
- Compatible Parts –
- Battery – https://amzn.to/4ogQEhS
- Screen – https://amzn.to/43nafEZ
- Other Parts – https://amzn.to/4oqla9h
- Silicone Work Repair Mat https://amzn.to/45Emz5l
Step-by-Step Samsung Galaxy A70 Camera Replacement
Step 1 — Power Off the Phone
Switch off the phone completely before starting the repair to avoid electrical damage.
Remove the SIM tray if required.
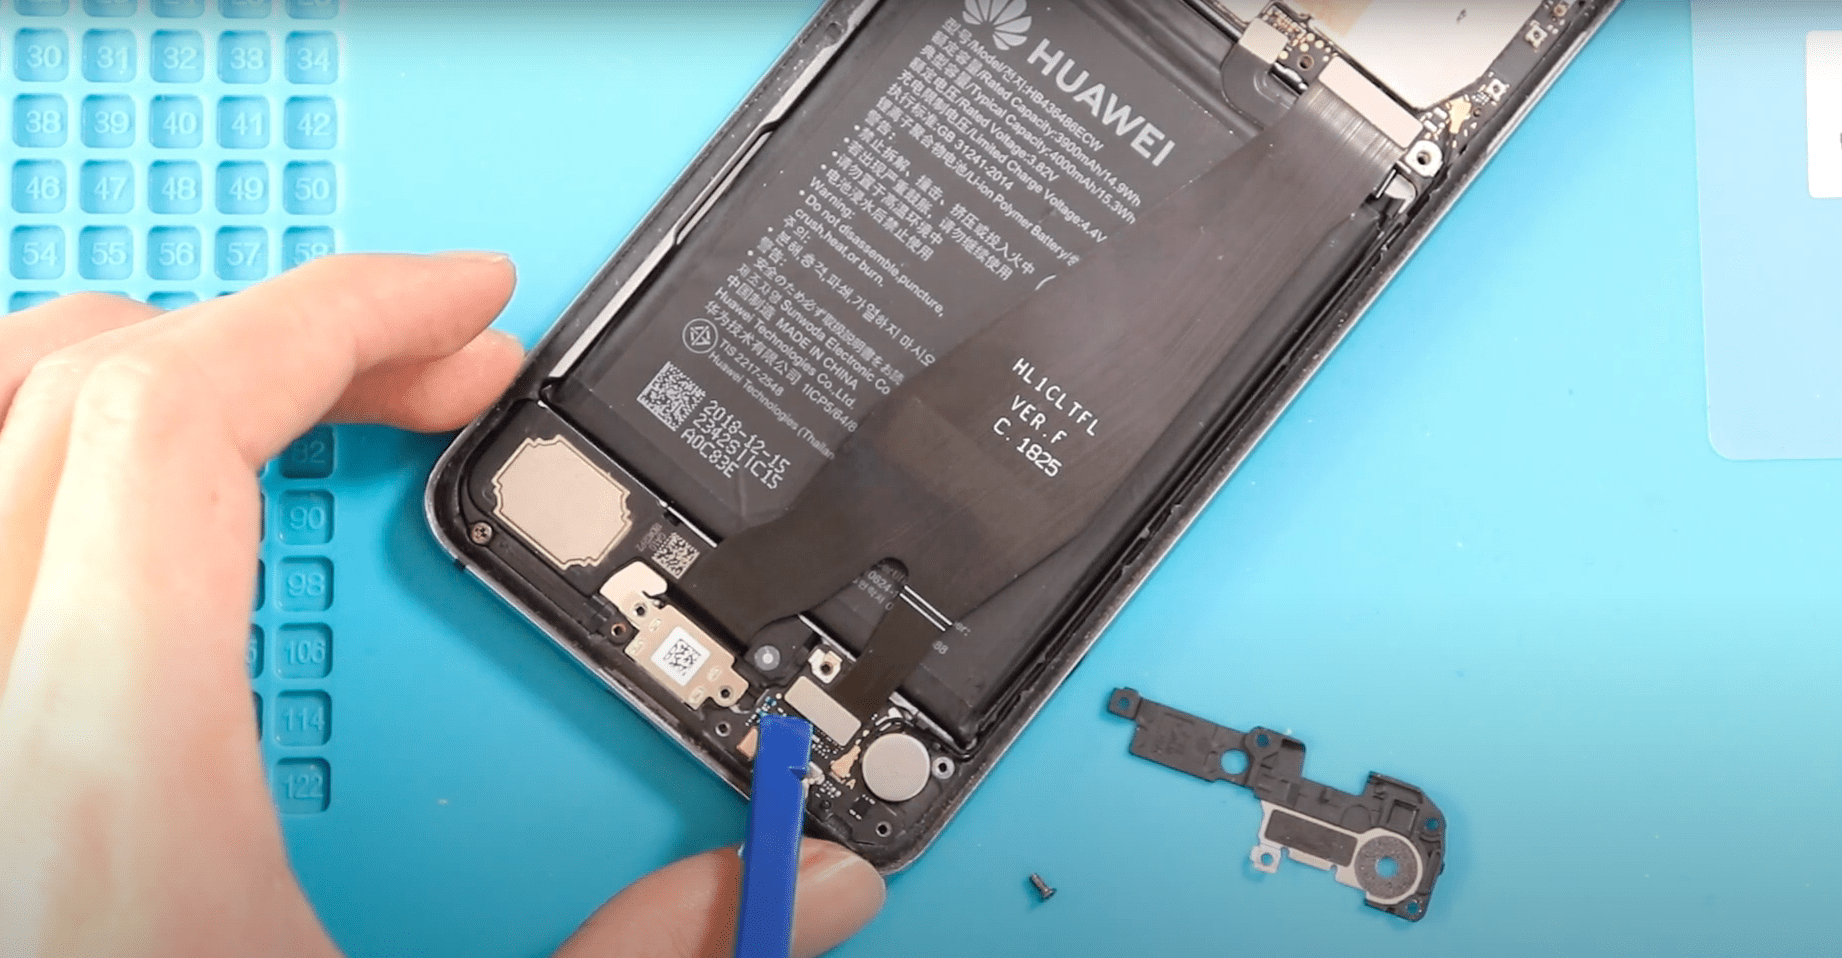
Step 2 — Heat and Remove the Back Cover
Apply gentle heat around the rear cover edges to soften adhesive glue.
You can use:
- Heating pad (recommended)
- Heat gun
- Hair dryer
Once heated, attach a suction cup to create an opening between the frame and back cover.
Insert a plastic pry card carefully around the edges to cut adhesive.
Lift and remove the back cover slowly.
Step 3 — Remove the Midframe
Remove all screws securing the midframe assembly.
Using a plastic pry tool:
- Work gently around edges.
- Release plastic clips carefully.
Remove the midframe from the body.
Step 4 — Remove the Faulty Front Camera
Locate the front selfie camera module.
Disconnect its connector carefully using a plastic pry tool.
Lift and remove the faulty front camera from the device.
Step 5 — Remove the Logic Board
Disconnect necessary connectors attached to the motherboard.
Undo the securing screw.
Carefully lift the logic board from the device body.
Avoid pulling antenna cables aggressively.
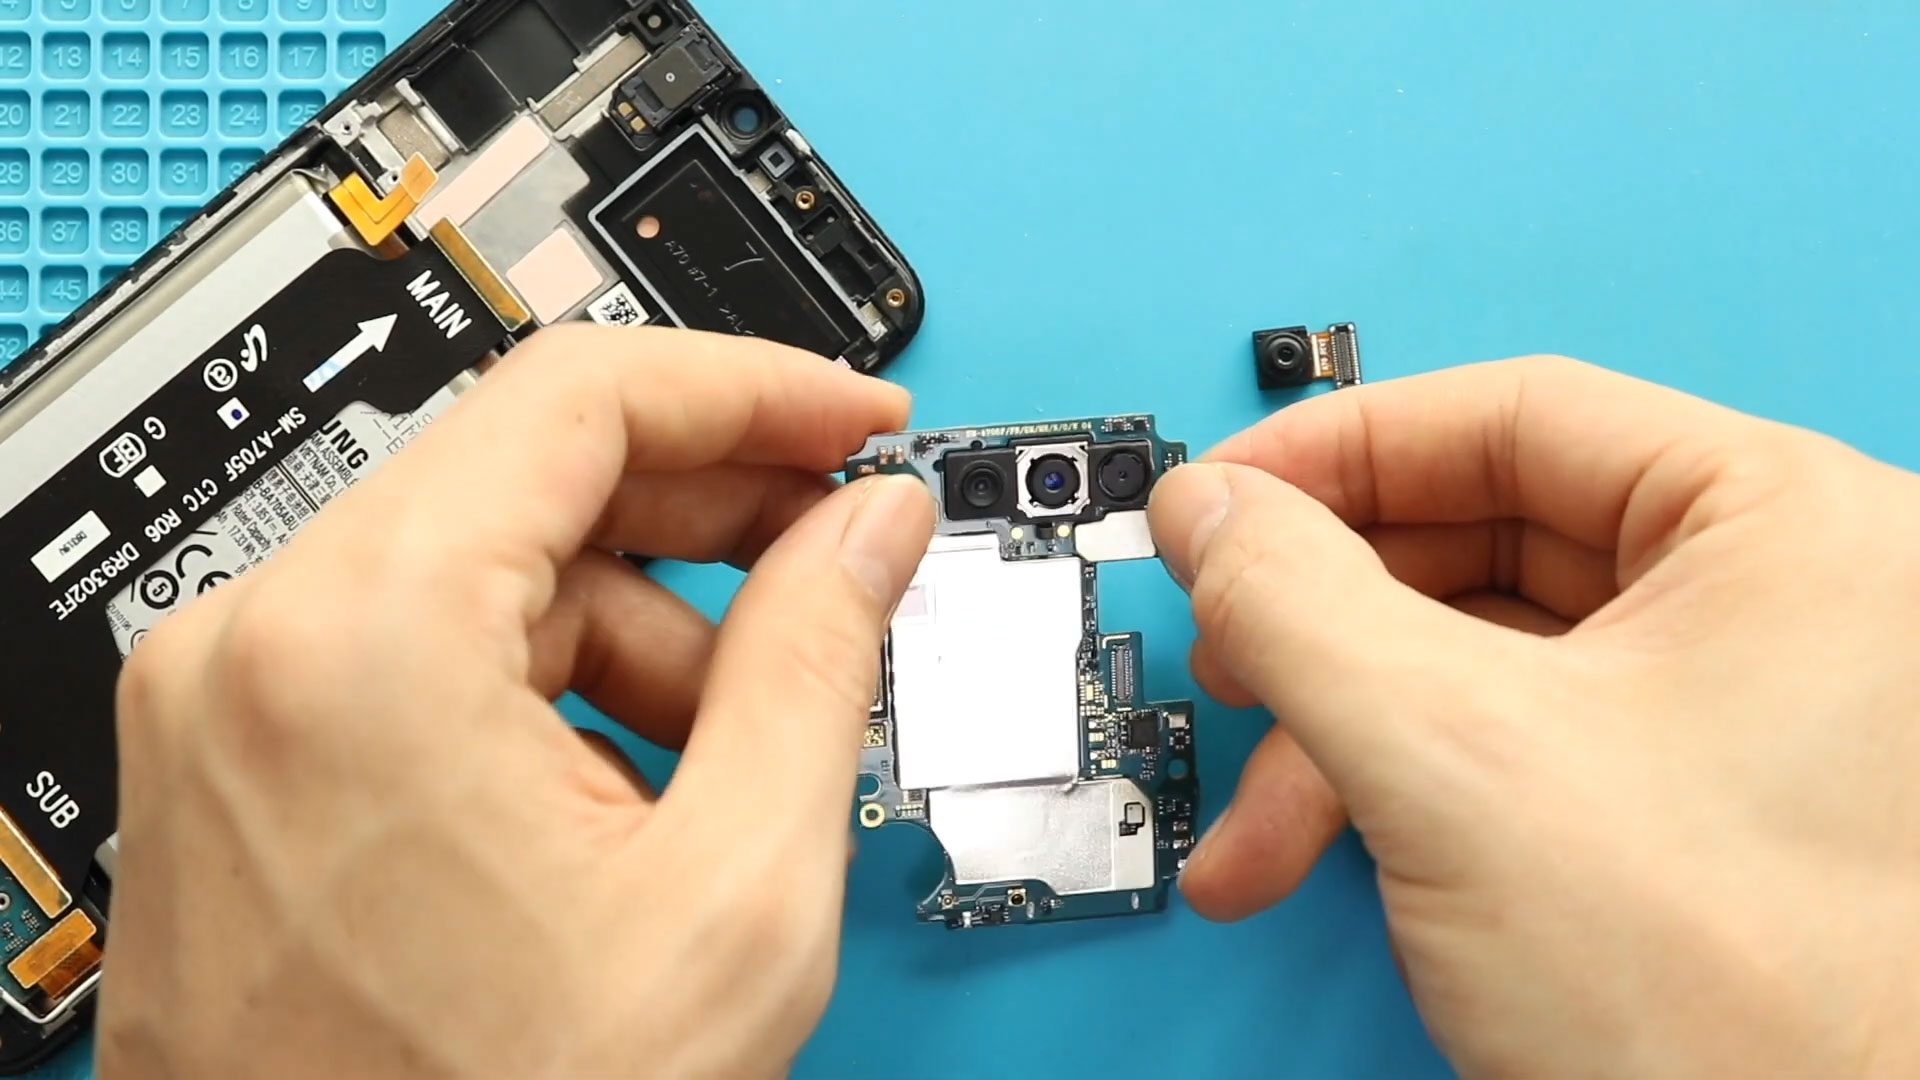
Step 6 — Remove the Rear Camera Module
Disconnect the rear camera unit from the logic board.
Lift the damaged rear camera carefully using tweezers or a plastic tool.
Step 7 — Install the New Rear Camera
Place the replacement rear camera module into position.
Ensure it sits correctly inside the housing.
Reconnect the connector securely.
Step 8 — Reinstall the Logic Board
Place the logic board back into the device.
Reconnect antenna cables carefully.
Secure the motherboard screw.
Ensure all connectors align correctly.
Step 9 — Install the New Front Camera
Place the replacement front camera module into position.
Reconnect the camera connector firmly.
Step 10 — Reinstall the Midframe
Position the midframe back onto the device.
Ensure clips lock properly before tightening screws.
Secure all screws evenly.
Step 11 — Seal and Install Back Cover
Before closing the phone:
- Check adhesive condition.
If adhesive is weak:
- Apply B7000 glue, or
- Install new double-sided adhesive tape.
Align the back cover carefully and press firmly.
Use bonding clips or rubber bands to hold pressure while adhesive cures.
Frequently Asked Questions (FAQ)
Q1. Can I replace only one camera instead of both?
Yes. The front and rear cameras are separate modules and can be replaced individually.
Q2. Why is my camera blurry even after cleaning the lens?
Internal lens damage or sensor failure may require module replacement.
Q3. Do I need heating tools?
Heating is strongly recommended to prevent cracking the back cover during removal.
Q4. Will camera replacement erase my data?
No. Camera replacement does not affect stored data.
Q5. Should I test the phone before sealing the back cover?
Yes. Always test camera functionality before final assembly.
Troubleshooting After Camera Replacement
Q1. Camera app not opening?
Reconnect camera connectors and restart the device.
Q2. Rear camera not focusing?
Check connector alignment and clean dust around the module
Q3. Front camera showing black screen?
Ensure logic board connectors are fully secured.
Q4. Flashlight not working?
Rear camera connectors may not be seated properly.
Q5. Back cover lifting after repair?
Remove old adhesive residue and apply fresh adhesive evenly
Related Guides
Check More Samsung Galaxy A70/A70 Repair Guides