Now Reading: Samsung Galaxy A70 Charging Port Replacement Guide | Galaxy A70s
-
01
Samsung Galaxy A70 Charging Port Replacement Guide | Galaxy A70s

If your Samsung Galaxy A70 is no longer charging properly, experiencing microphone problems during calls, or the headphone jack stops working, the charging port board may be faulty. The charging board assembly in this device also controls important functions such as USB charging communication, microphone input, and audio jack connectivity.
Replacing the charging port board is a practical and cost-effective repair that can restore normal charging performance and fix audio-related problems without replacing the entire motherboard.
In this step-by-step DIY repair guide, you will learn how to safely remove the back cover, disconnect internal components, and install a new charging port board using proper repair techniques.
Protect Your Galaxy A70
- Best Rated Case https://amzn.to/42GYY28
- Screen Protector https://amzn.to/3KS1kFu
Repair Overview
Device Type: Smartphone
Repair Type: Charging Port Board Replacement (Charging / Microphone / Headphone Jack Repair)
Repair Difficulty ⭐⭐⭐☆☆ — Moderate Difficulty
Estimated Repair Time: 35 — 45 Minutes
Reasons for Samsung Galaxy A70 Charging Port Board Replacement
You may need this repair if you experience:
- Phone not charging or charging intermittently
- Loose charging cable connection
- Slow charging problems
- Microphone not working during calls or recordings
- Headphone jack not detecting earphones
- USB connection not recognized by computer
- Moisture or corrosion damage near charging area
Before You Begin
Compatibility and Model Numbers
- Samsung Galaxy A70
- Samsung Galaxy A70S
This repair guide based on Samsung Galaxy A70 Model.
Model Numbers | SM-A705F, SM-A705FN, SM-A705GM, SM-A705MN, SM-A7050, SM-A705W, SM-A705YN, SM-A705X, SM-A705U, SM-A707F, SM-A707FN, SM-A707GM, SM-A707MN, SM-A7070, SM-A707W
Tools Required
- Mobile phone heating pad or hairdryer/heat gun
- Plastic pry tool / card pry
- Suction cups
- Phillips #00/#000 screwdrivers
- Tweezers (for connectors)
- B7000 glue or double-sided adhesive (for back cover)
- Rubber bands or bonding clips to secure the back cover
Using proper tools reduces the risk of damaging the phone.
How to Find Tools and Parts
- Heating pad – https://amzn.to/3H0tHzJ
- Portable Heat Gun – https://amzn.to/4mszih1
- Clamps https://amzn.to/3GYJT4w
- STREBITO 142 Piece Repair Tool Kit https://amzn.to/3UO1jUx
- Glue | Adhesive https://amzn.to/46exVxe
- Compatible Parts –
- Battery – https://amzn.to/4ogQEhS
- Screen – https://amzn.to/43nafEZ
- Other Parts – https://amzn.to/4oqla9h
- Silicone Work Repair Mat https://amzn.to/45Emz5l
Step-by-Step Samsung Galaxy A70 Charging Port Board Replacement
Step 1 — Power Off the Phone
Turn off the phone completely before beginning the repair to prevent electrical damage.
Remove the SIM tray if necessary.
Step 2 — Heat the Back Cover
Apply gentle heat around the edges of the rear cover to soften adhesive glue.
Recommended heating options:
- Heating pad (preferred method)
- Heat gun
- Hair dryer
Place the back side of the device onto the heating pad and allow heating to complete.
Step 3 — Remove the Rear Cover
Attach a suction cup to create a small opening between the frame and the back cover.
Insert a plastic card pry tool into the gap and carefully slide around the edges to cut adhesive.
Slowly lift and remove the rear cover.
Step 4 — Remove the Midframe
Remove the 14 Phillips screws located across the top and bottom sections.
Using a plastic pry tool:
- Work gently along the edges.
- Release all plastic locking clips.
Remove the midframe assembly.
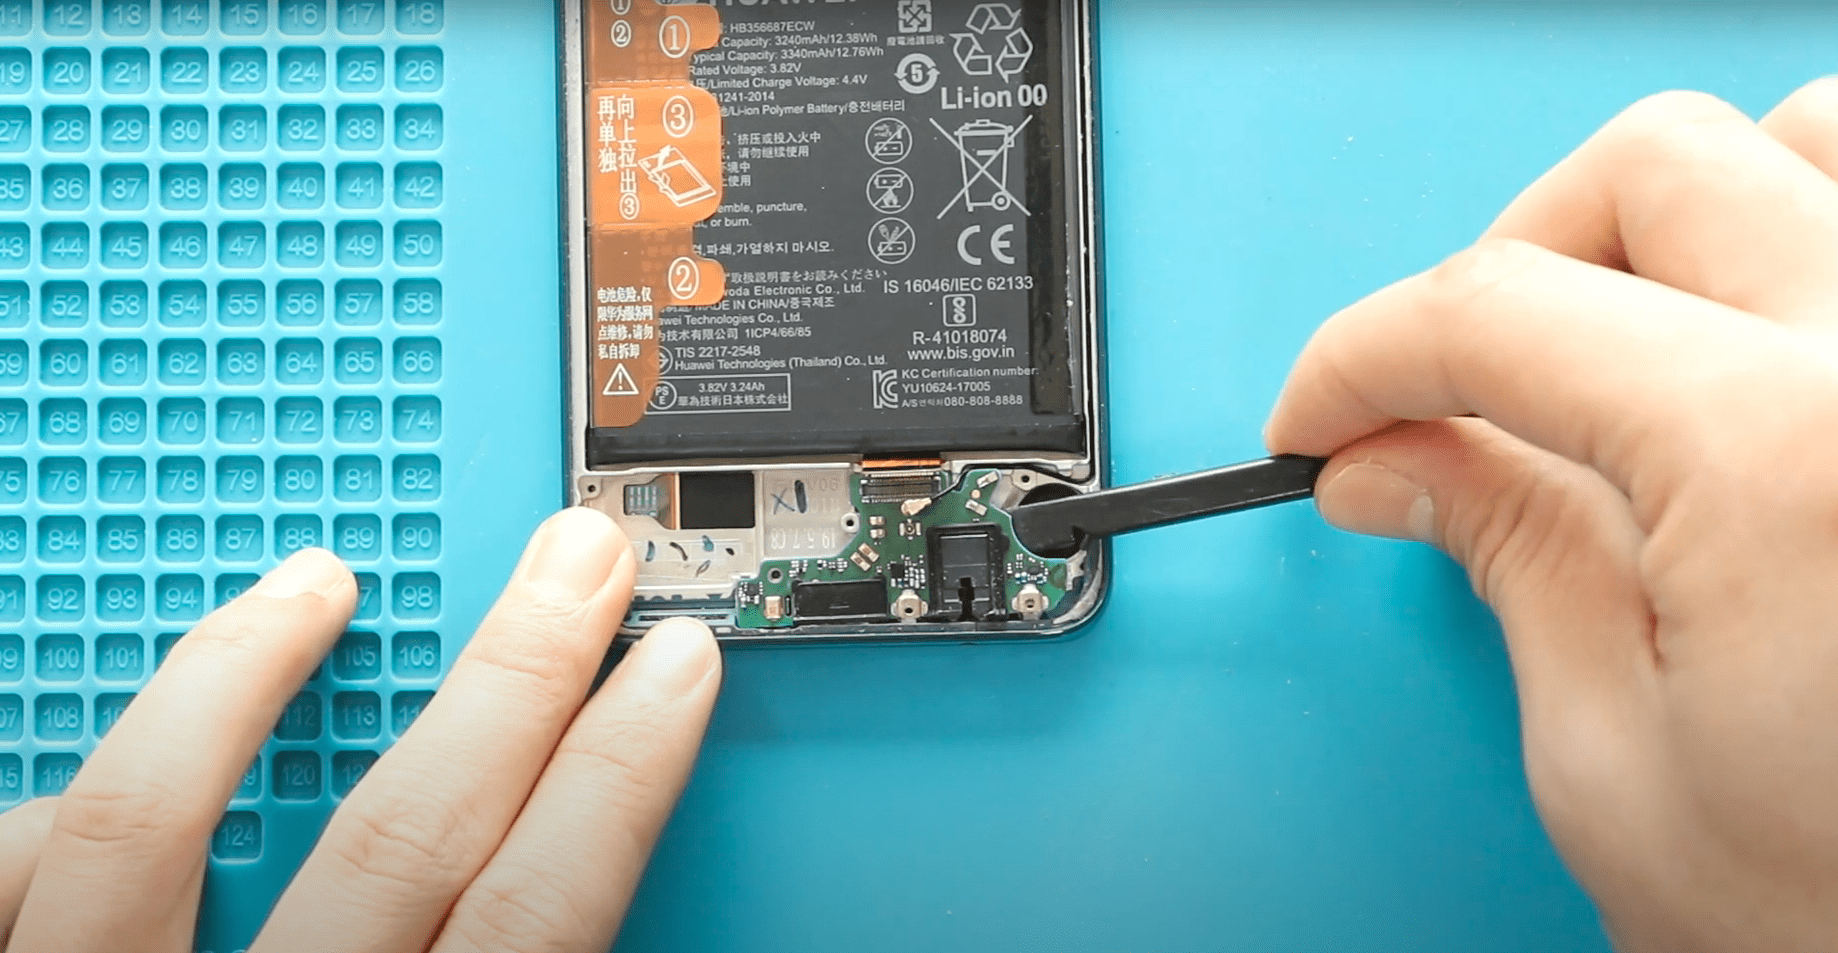
Step 5 — Disconnect Battery Connector
Locate the battery connector and disconnect it carefully using a plastic pry tool.
Disconnecting power prevents accidental short circuits.
Step 6 — Disconnect Bottom Board Connectors
Move to the lower section of the phone and disconnect:
- Touch ID (fingerprint sensor) connector
- Main flex cable
- LCD display connector
- Antenna head connection
Work slowly to avoid damaging connectors.
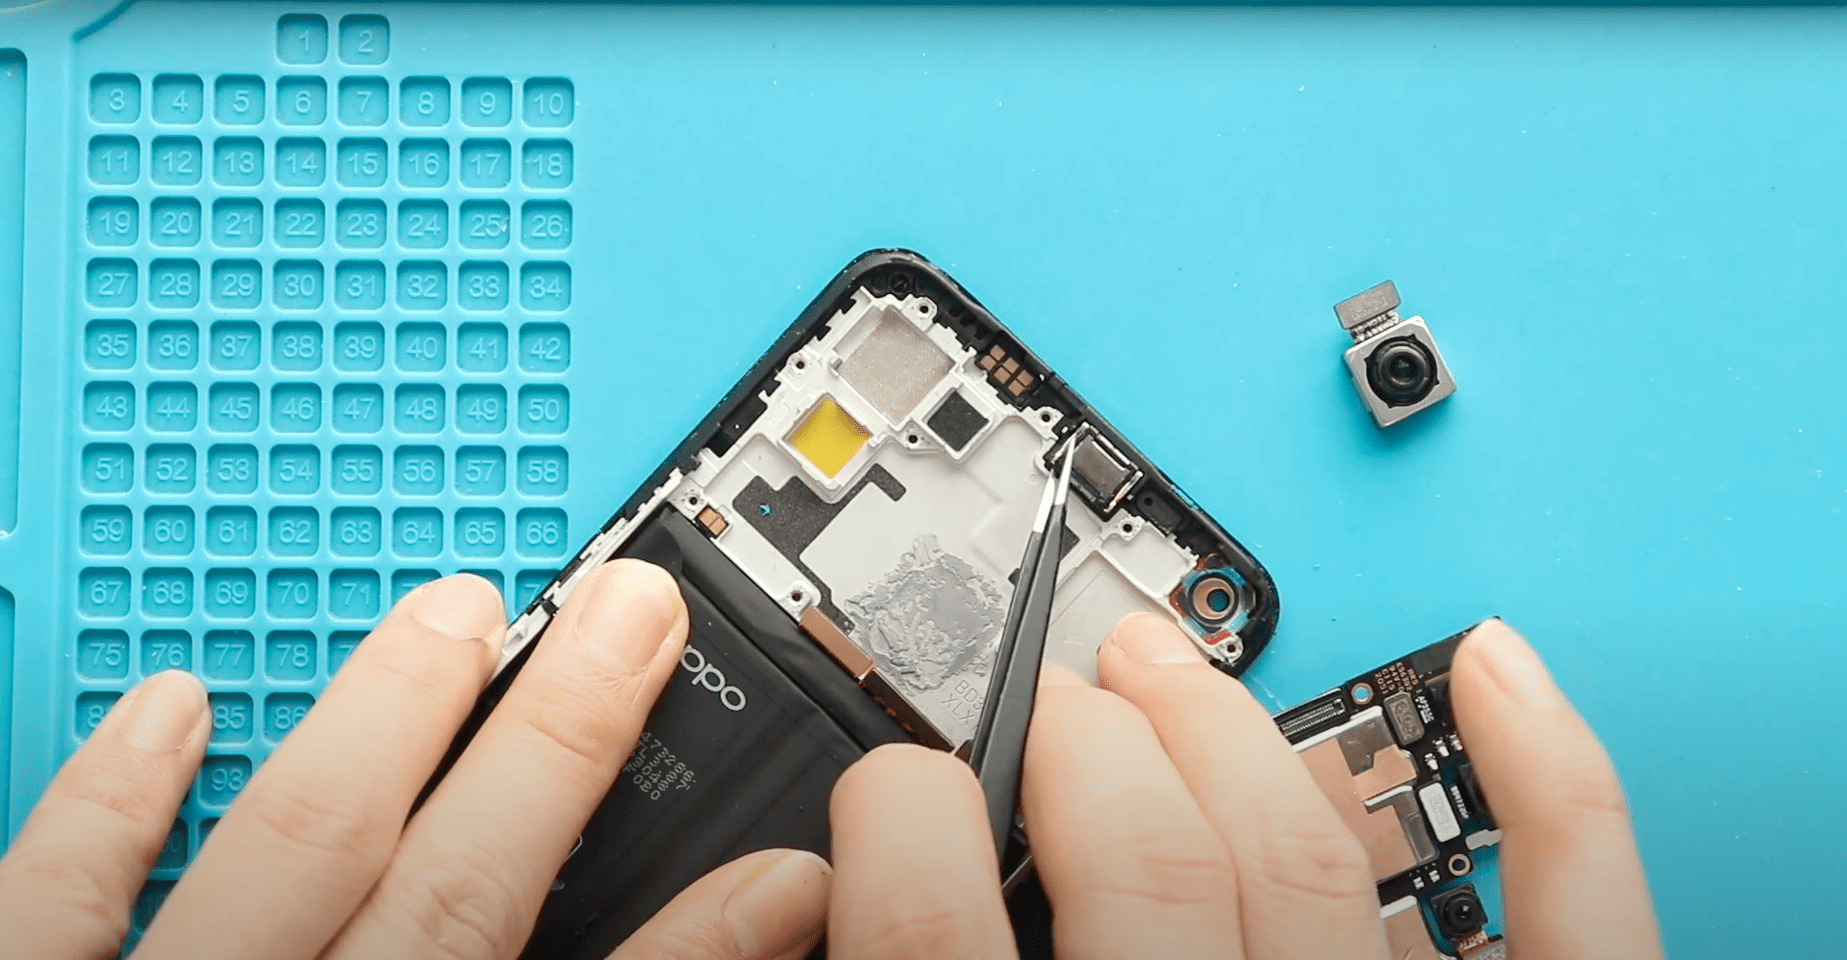
Step 7 — Remove the Charging Port Board
Carefully lift the battery slightly if required to access the board area.
Gently remove the faulty charging port board from the device body.
Avoid bending cables or damaging nearby components.
Step 8 — Install the New Charging Port Board
Place the replacement charging port board correctly into position.
Ensure proper alignment with charging port openings.
Step 9 — Reconnect Connectors
Reconnect:
- LCD connector
- Touch ID connector
- Main flex cable
- Antenna head
Make sure all connectors snap firmly into place.
Step 10 — Reconnect Battery and Reassemble
Reconnect the battery plug.
Place the midframe back into position.
Ensure clips lock properly before tightening screws.
Secure all 14 screws.
Step 11 — Seal the Back Cover
Check the adhesive condition on the rear cover.
If adhesive is weak:
- Apply B7000 glue, or
- Install new double-sided adhesive tape.
Align the back cover carefully and press firmly.
Use bonding clips or rubber bands to apply pressure while adhesive cures.
Leave secured for some time.
Frequently Asked Questions (FAQ)
Q1. Does replacing the charging port fix microphone problems?
Yes. The charging board assembly includes the bottom microphone in most cases, so replacing it can fix microphone issues.
Q2. Can this repair fix headphone jack problems?
Yes. Faulty headphone detection or audio connection problems are often related to the charging port board assembly.
Q3. How long does the repair take?
Most users complete the repair within 35 to 45 minutes depending on experience.
Q4. Is heating necessary to remove the back cover?
Yes. Heating softens adhesive and prevents cracking the back panel.
Q5. Do I need professional tools?
Basic smartphone repair tools are enough if handled carefully.
Troubleshooting After Charging Port Replacement
Q1. Phone still not charging?
Check the main flex cable and battery connector again. Ensure connectors are fully secured.
Q2. Microphone still not working?
Inspect antenna and board connectors for proper alignment.
Q3. USB cable feels loose?
Ensure the board is seated correctly and screws or brackets are properly aligned.
Q4. Back cover not sticking properly?
Remove old adhesive residue and apply fresh adhesive evenly.
Q5. Phone not turning on?
Reconnect battery connector and inspect flex cables again.
Related Guides
Check Other Samsung Galaxy A70 Repair Guides