Now Reading: Samsung Galaxy S20 5G Screen Replacement Guide
-
01
Samsung Galaxy S20 5G Screen Replacement Guide
Samsung Galaxy S20 5G Screen Replacement Guide
Hi everyone, welcome back to DIYGeardo.
Today, we will show you how to replace the LCD assembly on the Samsung Galaxy S20 5G & 4G mobile phones.
If your Galaxy S20 screen is cracked, unresponsive, flickering, or displaying black spots, replacing the LCD assembly is the most effective solution. This guide is based on the LCD assembly with the frame and buttons installed, which makes the repair easier and reduces the risk of damaging delicate components.
Before starting, make sure you have all the tools listed below, and work on a clean, static-free surface. Take your time during the repair to avoid damaging the back cover, battery, or logic board.
Compatibility and Model Numbers
This repair guide based on Samsung Galaxy S20 5G device, but it also compatible with Galaxy S20 4g models too.
Compatible Mode Numbers l SM-G980, SM-G980F, SM-G980F/DS, SM-G981, SM-G981F, SM-G981F/DS, SM-G981B/DS, SM-G981U, SM-G981U1, SM-G981N, SM-G981B, SM-G9810, SM-G981W, SC-51A, SCG01
Repair Time & Difficulty
- Estimated Repair Time: 60–90 minutes
- Repair Difficulty: Medium to High
Tools to open Galaxy S20 Series
- Mobile phone heating pad or hairdryer/heat gun
- Plastic pry tool / card pry
- Suction cups
- Phillips #00 / #000 screwdriver
- Tweezers (for connectors)
- B7000 glue or double-sided adhesive (for back cover)
- Rubber bands or bonding clips to secure the back cover
How to Find Tools and Parts
- Heating pad – https://amzn.to/3H0tHzJ
- Portable Heat Gun – https://amzn.to/4mszih1
- Clamps https://amzn.to/3GYJT4w
- STREBITO 142 Piece Repair Tool Kit https://amzn.to/3UO1jUx
- Glue | Adhesive https://amzn.to/46exVxe
- Silicone Work Repair Mat https://amzn.to/45Emz5l
- Compatible Parts
- Battery https://amzn.to/46cHUmK
- Screen https://amzn.to/461912Y
- Other Parts https://amzn.to/4pOwJIM
👉 How to Use Tools for the Repair
Protect Your Galaxy S20 Series Phone (4G & 5G)
- Protector For The Screen https://amzn.to/3JPERYP
- Best Cases For Your Phone https://amzn.to/45FaQUh
Step-by-Step LCD Assembly Replacement Instructions
Step 1: Power Off & SIM Tray Removal
Power off the phone completely.
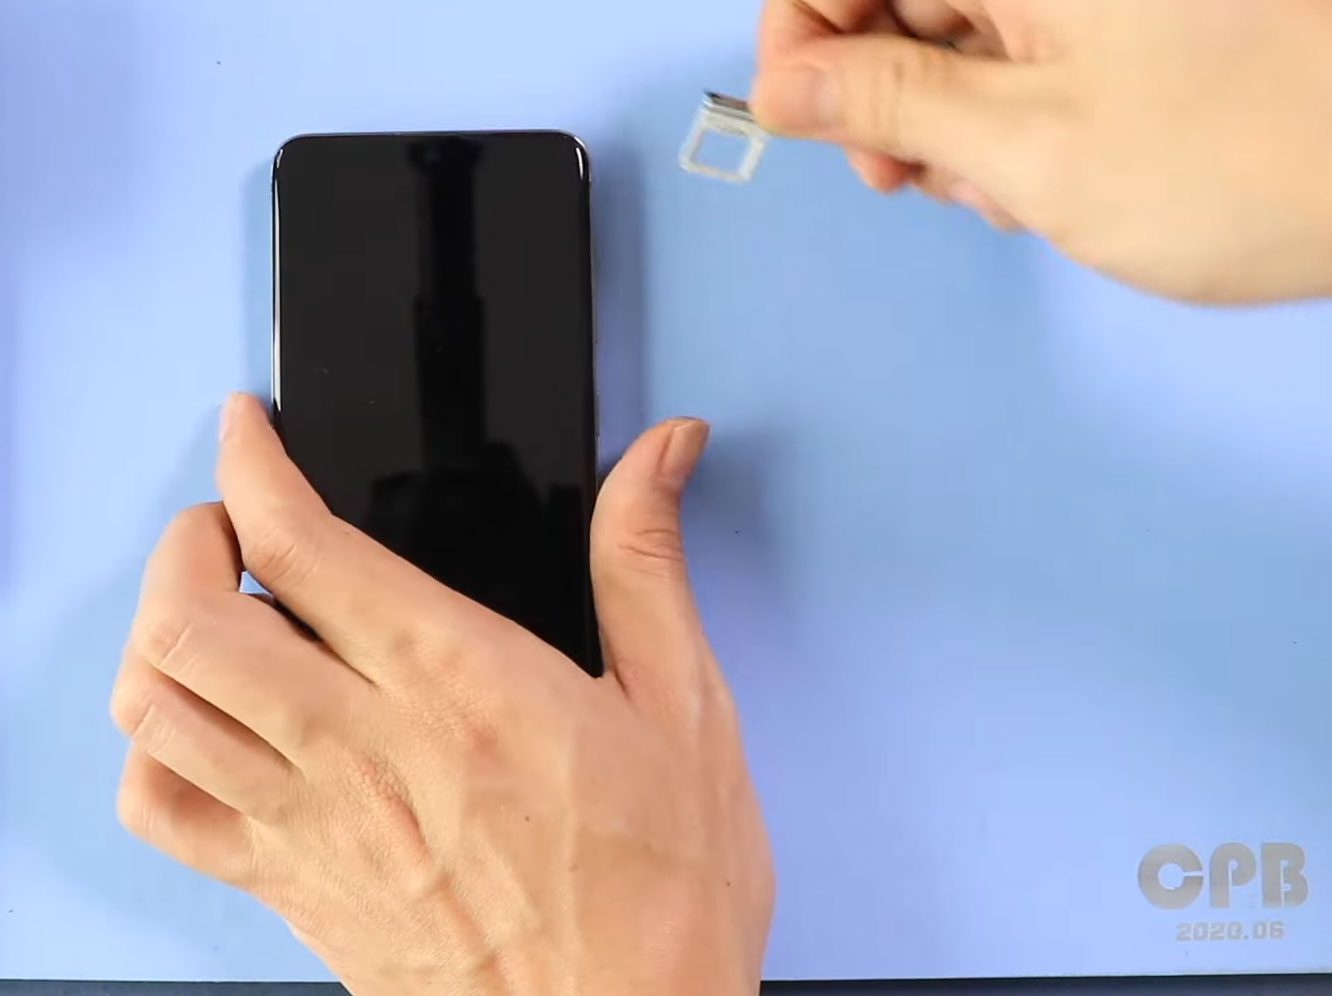
Remove the SIM tray and keep it aside.
Step 2: Back Cover Removal
Gently heat around the back cover edges until the adhesive softens.
For this repair, we are using a heating pad. Place the back cover side on the pad, select the mobile phone heating option, and allow the cycle to complete.
Alternatively, a heat gun or hairdryer can be used, but avoid overheating one spot.
Use a suction cup to create a small gap and then insert a plastic card or pry tool to cut the adhesive along the edges. Carefully remove the back cover.
Step 3: Wireless Pad & Battery Disconnection
Undo five screws securing the wireless charging pad. Disconnect its connector and remove the pad.
Disconnect the battery connector to safely cut power.
If Your Galaxy S20 5G Battery is Draining fast,here is the Solution
Step 4: Logic Board Frame & Front Camera Removal
Undo five screws to remove the logic board frame.
Disconnect and remove the front camera.
Step 5: Logic Board Removal
Disconnect six connector plugs from the logic board.
Lift the board gently using a pry tool or tweezers.
Step 6: Earpiece & Sensor Flex Removal
Apply light heat to soften adhesive and remove the earpiece unit along with the sensor flex.
Step 7: Bottom Assembly Removal
Undo five screws to remove the secondary board cover with the speaker.
Disconnect and remove both main ribbon flex cables.
Undo three screws and remove the charging port board.
Apply light heat and remove the vibrator motor.
Step 8: Battery Removal
Apply gentle heat to soften the battery adhesive.
Use a plastic card to cut under the battery and a pry tool to lift it out safely.
Step 9: LCD Assembly Replacement
The remaining component is the broken LCD screen assembly with frame and buttons.
There are several screen types available:
- Original service pack with frame and buttons (recommended)
- Original without frame (more difficult and time-consuming)
- Refurbished or used screens with or without frame
We recommend using a screen with frame and buttons, which can be original, refurbished, or used, as it simplifies installation and is commonly available.
Step 10: Reassemble Components on the New Screen
- Place the sensor flex and earpiece on the new screen frame.
- Place the logic board and secure six connector plugs.
- Reinstall the SIM tray and front camera.
- Place the battery in the body and apply adhesive if needed.
- Secure four logic board connector plugs and the frame screws (five screws).
- Install the vibrator motor at the bottom.
- Place the charging port board and secure with three screws.
- Connect both main ribbon flex cables and place the secondary board cover with five screws.
Before placing the wireless pad, reconnect the battery plug and power on the device to test screen functionality.
Once testing passes, place the wireless pad and secure its connector.
Step 11: Back Cover Installation
Ensure the back cover has enough adhesive. If not, use B7000 glue or a new double-sided back cover adhesive.
Place the back cover carefully on the body.
Use screen binding clips to hold it firmly, or use rubber bands if clips are unavailable. Leave them for some time to allow proper adhesion.
Technical FAQs
1. Can I use a screen without a frame for this repair?
Yes, but it is more difficult and time-consuming. Using a screen with frame and buttons is recommended.
2. Will the replacement affect touch sensitivity or display quality?
No, if the LCD assembly is genuine or properly refurbished and connectors are correctly installed.
3. Do I need to recalibrate the screen after replacement?
Most modern Galaxy S20 screens work immediately, but running a touch test ensures proper functionality.
4. Can I reuse the original adhesive for the back cover?
It’s not recommended. Using fresh adhesive ensures proper sealing and structural stability.
5. Does this repair affect water resistance?
Yes. Opening the phone reduces water resistance, even with new adhesive.
6. Can the front camera, earpiece, or sensor flex be reused?
Yes, carefully reinstalling these components on the new LCD frame is recommended to maintain functionality.
Troubleshooting FAQs
1. Screen not responding or touch issues after replacement
Check all LCD flex cables and connectors. Re-seat if necessary.
2. Display shows black or flickering
Ensure LCD assembly is compatible and connectors are properly attached.
3. Front camera, earpiece, or sensor not working
Recheck flex cables and ensure proper placement during reassembly.
4. Phone does not power on after assembly
Check the battery connection and logic board connectors.
Related Repair Guides