Now Reading: Samsung Galaxy S20 Plus 5G Wireless Charging Pad Replacement Guide
-
01
Samsung Galaxy S20 Plus 5G Wireless Charging Pad Replacement Guide

Samsung Galaxy S20 Plus 5G Wireless Charging Pad Replacement Guide
Hi everyone, welcome back to DIYGeardo.
Today we’ll show you how to replace the wireless charging pad on the Samsung Galaxy S20+. If your device is not charging wirelessly, or the charging is inconsistent, the wireless pad could be faulty. This guide will help you replace it safely and restore proper wireless charging functionality.
Compatibility and Model Numbers
This repair guide based on Samsung Galaxy S20 Plus (S20+) 5G mobile phone, but it is also compatible with Galaxy S20 Plus 4g version too.
Compatible Mode Numbers l SM-G986, SM-G986F, SM-G986F/DS, SM-G986U, SM-G986U1, SM-G9860, SM-G986B/DS, SM-G986N, SM-G986B, SM-G986W, SM-G985, SM-G985F, SM-G985F/DS
Tools You Need
- Heating pad / heat gun / hairdryer
- Suction cup
- Plastic card pry tools / opening picks
- Phillips PH000 screwdriver
- Philips PH00 screwdriver – For smaller internal screws (optional)
- Adhesive (B7000 or double-sided back cover adhesive)
- Bonding clips or rubber bands (optional but recommended)
How to Find Tools and Parts
- Heating pad – https://amzn.to/3H0tHzJ
- Portable Heat Gun – https://amzn.to/4mszih1
- Clamps https://amzn.to/3GYJT4w
- STREBITO 142 Piece Repair Tool Kit https://amzn.to/3UO1jUx
- Glue | Adhesive https://amzn.to/46exVxe
- Compatible Parts https://amzn.to/47VYx7t
- Silicone Work Repair Mat https://amzn.to/45Emz5l
How to Select the Best Tools for the Repair
Step 1: Opening the Galaxy S20+
Before starting, power off your phone completely and remove the SIM tray. This is important to avoid any short circuits during the repair. Have your tools ready — full list is in the description.
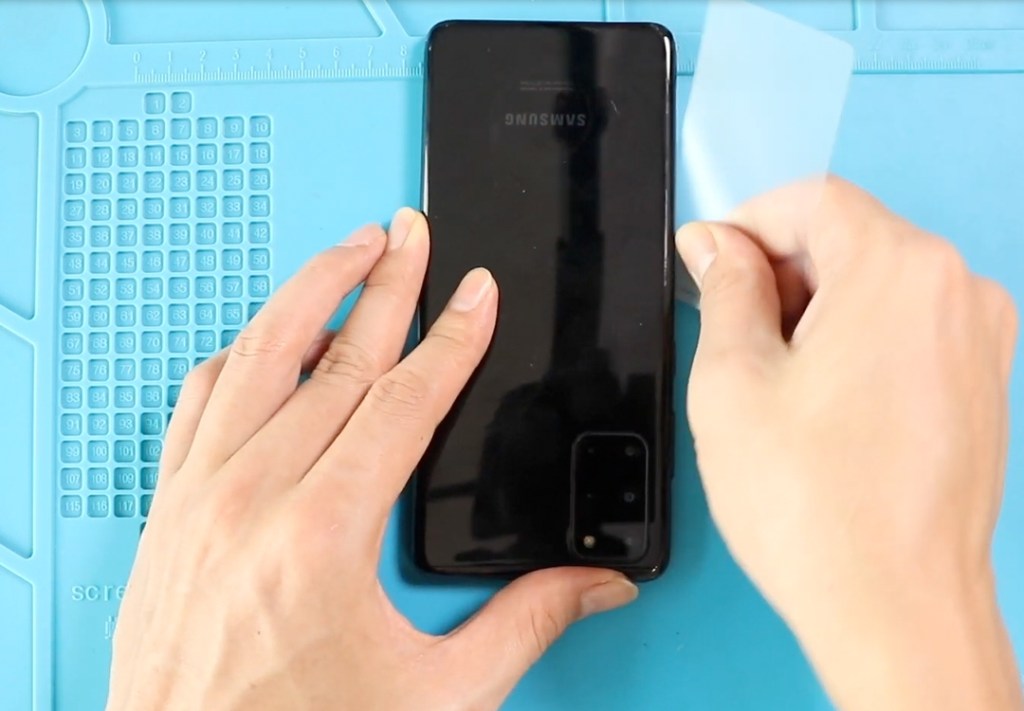
Step 2: Removing the Back Cover
To remove the back cover, gently heat the edges to soften the adhesive. We are using a heating pad, but a heat gun or hairdryer works too. Once heated, use a suction cup to create a small gap between the frame and the rear cover. Insert a plastic pry tool and carefully cut the adhesive all around. Lift the back cover slowly to avoid cracking it.
Change Cracked Camera Lens Glass in This Step
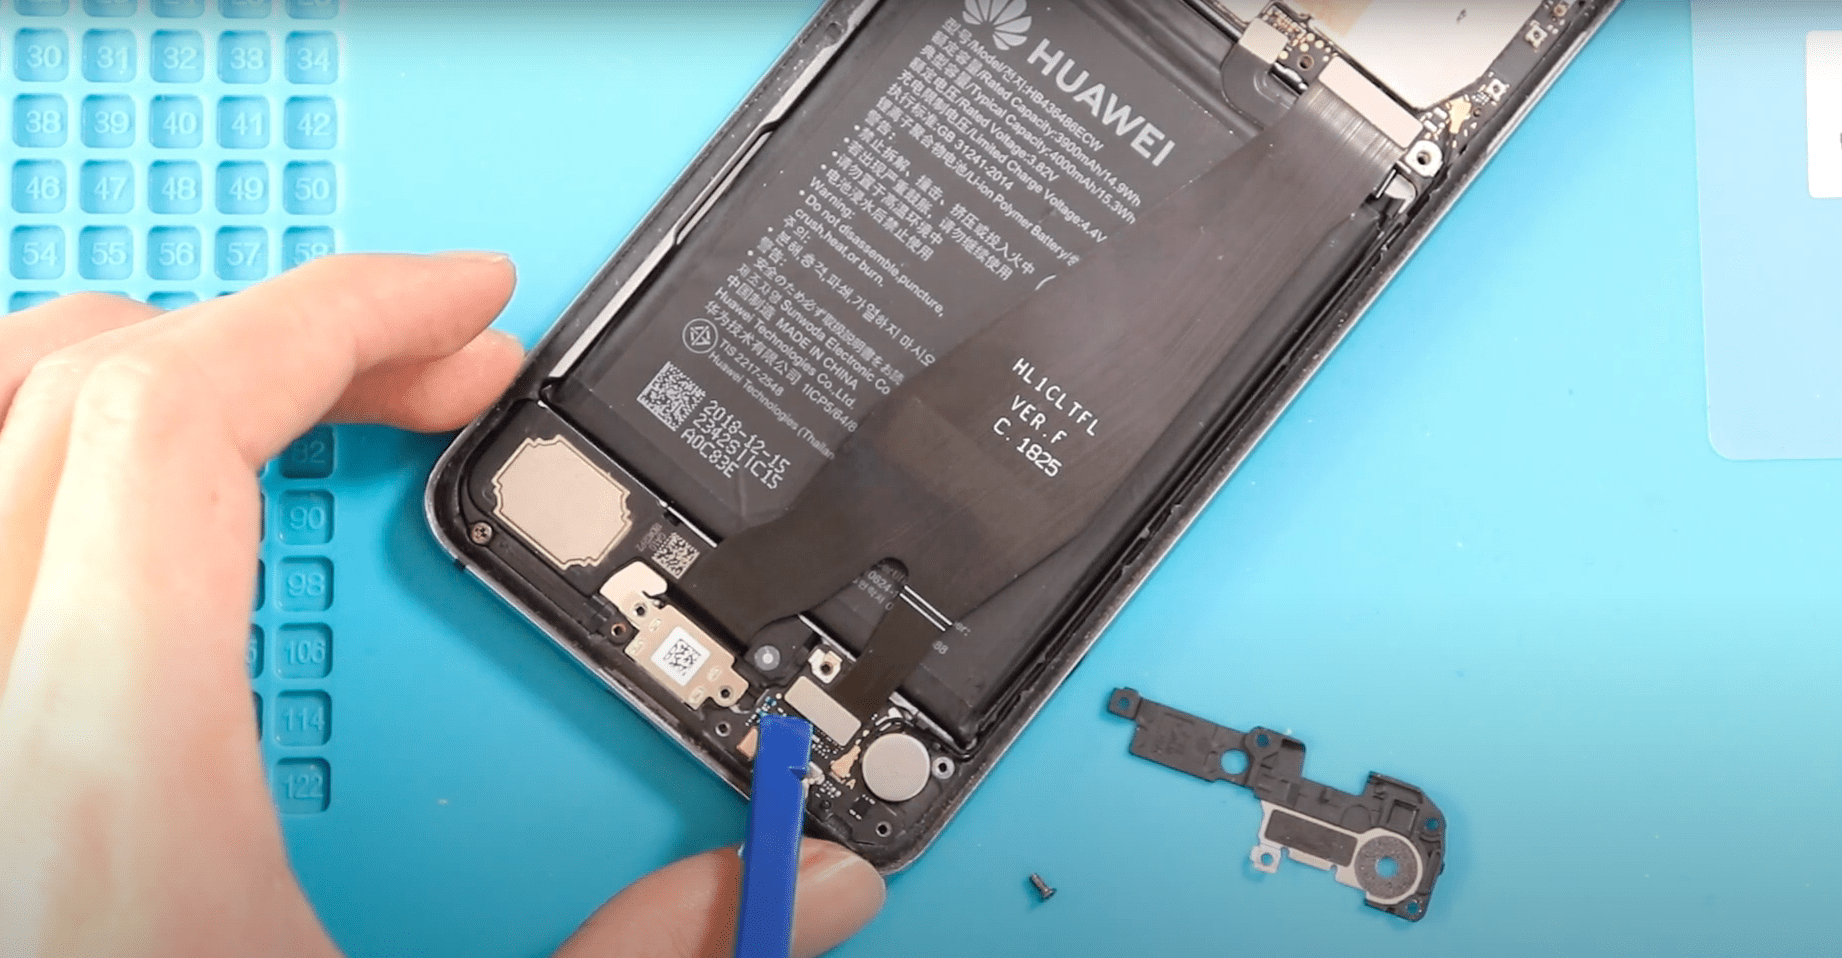
Step 3: Removing the Not Working Wireless Pad
Once the back cover is removed, locate the wireless charging pad. Disconnect its connector carefully and lift the pad from the body. Check for any loose screws or adhesive that might still hold it in place.
Step 4: Placing the New Wireless Pad
Take the new wireless charging pad and place it in the exact position of the old one. Connect the flex cable firmly and ensure it sits flat on the phone’s body. Double-check that there is no obstruction and the connectors are properly aligned.

Step 5: Closing & Back Cover Installation
Before sealing the phone, check the back cover adhesive. If the glue is weak, use B7000 glue or a new double-sided adhesive. Place the back cover carefully on the frame, press around the edges, and secure it using screen binding clips or rubber bands while the glue cures. Leave it clamped for some time before powering on the phone.
Step 6: Final Check
Power on the phone and test wireless charging to confirm everything works correctly. Your Galaxy S20+ should now charge wirelessly without issues.
Frequently Asked Questions
Q1: How do I know if my Galaxy S20+ wireless pad is faulty?
A: Common signs include inconsistent wireless charging, slow charging, or the phone not charging at all on a wireless pad. If normal wired charging works, the wireless pad is likely the issue.
Q2: Can I replace the wireless pad without removing the back cover?
A: No, the wireless pad is located under the back cover. You must carefully heat and remove the rear glass to access and replace the pad.
Q3: Do I need special tools for this repair?
A: Yes, essential tools include a heating pad (or heat gun), suction cup, plastic pry tool, and screws screwdriver. Using the right tools prevents damage to the glass and internal components.
Q4: Is it necessary to disconnect the battery?
A: Yes. Disconnecting the battery before removing the wireless pad prevents short circuits and protects the logic board and other sensitive components.
Q5: Can I reuse the old adhesive on the back cover?
A: It’s recommended to use fresh B7000 glue or double-sided adhesive. Old adhesive may not hold the back cover properly and can lead to gaps or poor sealing.
Q6: Will replacing the wireless pad affect wireless charging speed?
A: If installed correctly, the new pad should restore the original wireless charging speed. Make sure the connectors are properly seated and the pad lies flat
Visit our site to view other repair guides for the Galaxy S20 Plus 5G.