
Now Reading: Samsung Galaxy Tab A 10.1 2019 T510 T515 LCD Touch Screen Replacement Guide
-
01
Samsung Galaxy Tab A 10.1 2019 T510 T515 LCD Touch Screen Replacement Guide
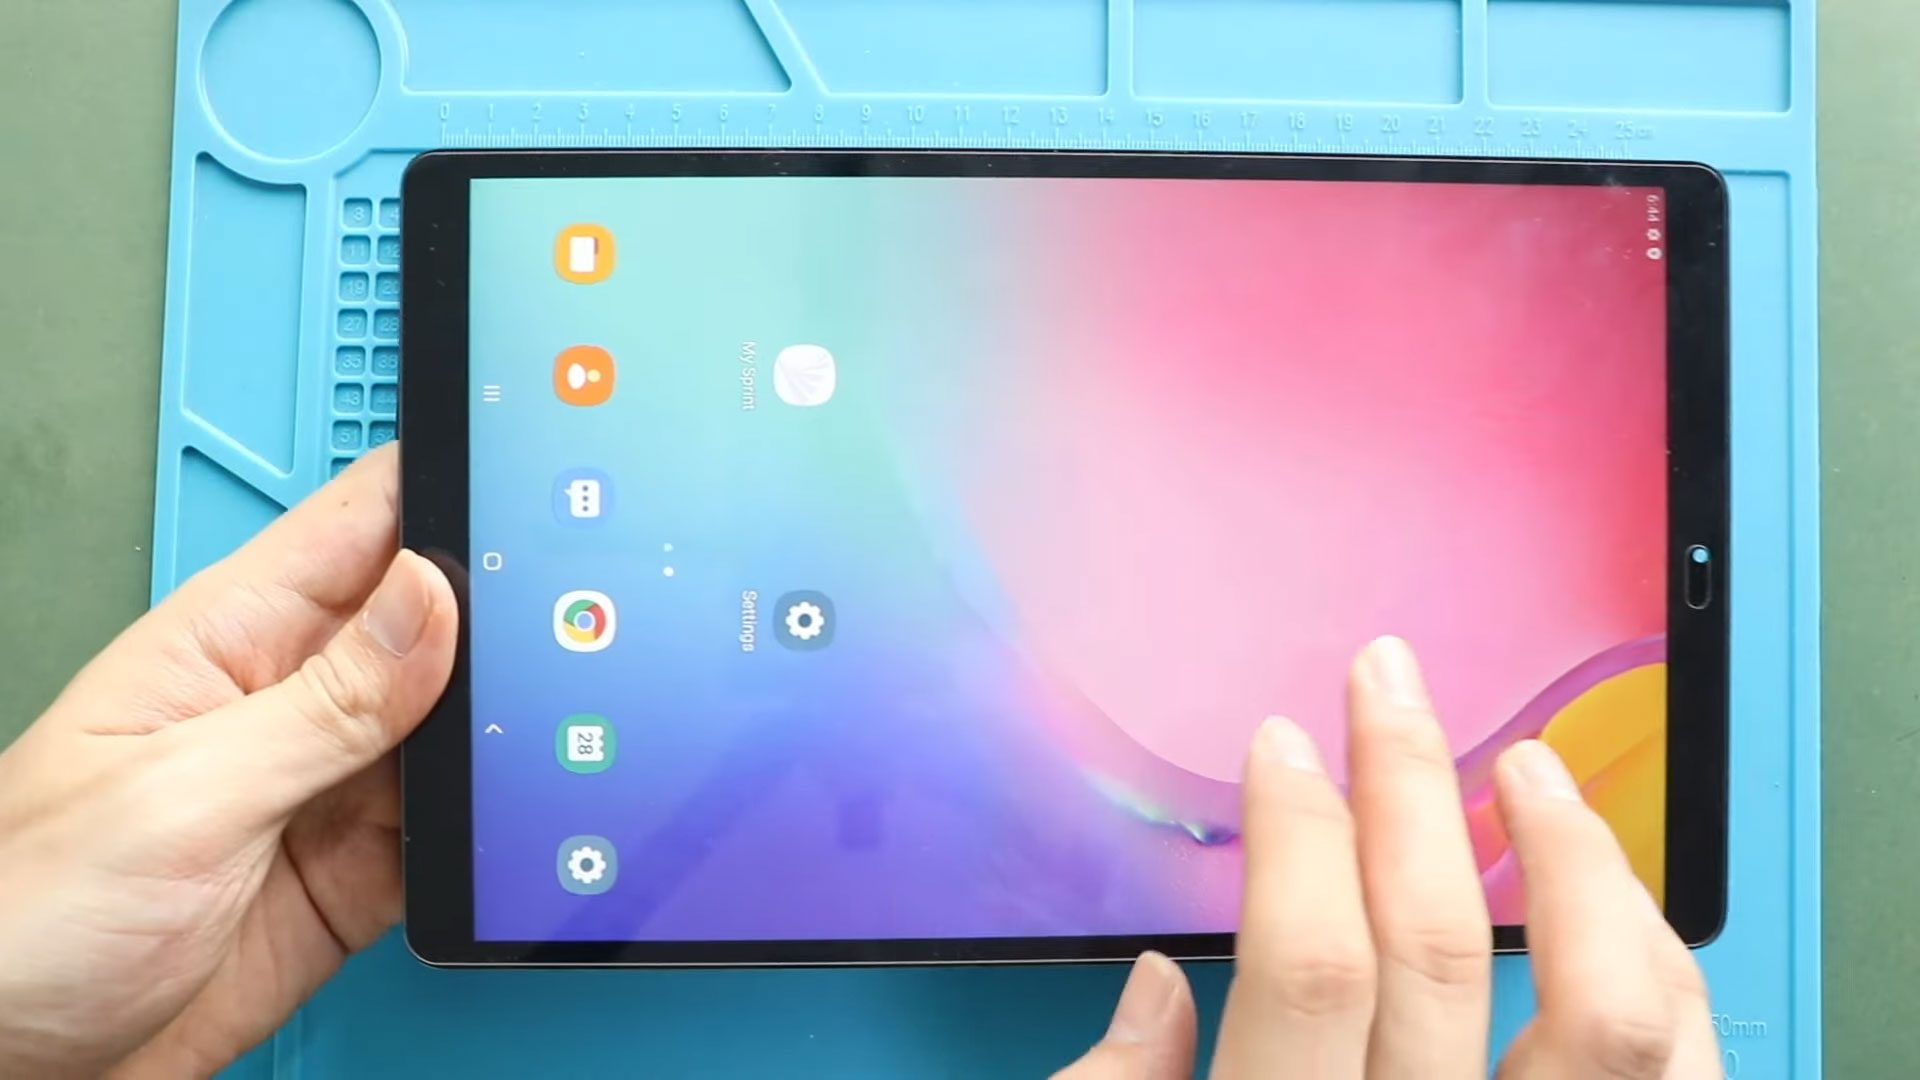
Samsung Galaxy Tab A 10.1 2019 T510 T515 LCD Touch Screen Replacement Guide
If your Samsung Galaxy Tab A 10.1 (2019) has a cracked display, flickering screen, unresponsive touch, or no image output, replacing the LCD screen is often the most effective solution. In this detailed, step-by-step repair guide, we walk you through the complete process of safely removing the damaged LCD and installing a brand-new screen on the Galaxy Tab A 10.1 T510/T515 models.
Repair Difficulty
Difficulty Rating: ⭐⭐⭐⭐☆ (4 out of 5)
Estimated Time: 45–60 minutes
Repair Type: Rear Camera Replacement
Skill Level: Intermediate
Reasons You May Need This Repair
- Cracked or shattered display
- Touchscreen not responding
- Lines, flickering, or black spots on the screen
- Screen not turning on but device vibrates
- Liquid damage affecting LCD visibility
- Poor display brightness or discoloration
If you’re facing any of these symptoms, replacing the LCD screen is the recommended solution.
Before You Begin
Compatibility and Model Numbers
This repair guide based on Samsung Galaxy Tab A 10.1 2019 T510 T515 Model.
Model Numbers | SM-T515, SM-T510
Required Tools
- Heating pad / heat gun / hairdryer
- Suction cup
- Plastic card pry tools / opening picks/ Tweezers
- Phillips screwdriver #00 / #000
- Adhesive (B7000 or double-sided back cover adhesive)
- Bonding clips or rubber bands (optional but recommended)
Make sure the tablet is turned off and the SIM tray is removed (For Cellular Version)before starting.
How to Find Tools and Parts
- Heat Mat / Heating Pad – https://amzn.to/3H0tHzJ
- Portable Heat Gun – https://amzn.to/4mszih1
- Clamps https://amzn.to/3GYJT4w
- STREBITO 142 Piece Repair Tool Kit https://amzn.to/3UO1jUx
- Suction Cup https://amzn.to/3UVb6YR
- Silicone Work Repair Mat https://amzn.to/45Emz5l
- Glue | Adhesive https://amzn.to/47UTKmE
- Compatible Repair Parts
- Battery https://amzn.to/4oD7ZT3
- Screen https://amzn.to/3JhPl39
- Other Parts https://amzn.to/45ikSuj
Protect Your Galaxy Tab A 10.1 2019 T510 T515
- Screen Protector Glass For The Screen https://amzn.to/45RG3Ub
- Best Cases For Your Galaxy Tab https://amzn.to/4mOfnto
Step-by-Step Samsung Galaxy Tab A 10.1 LCD Replacement Guide
Before you begin, ensure you have the correct tools—the essentials are listed in the video description.
Step 1. Power Off the Tablet
Always begin by turning off the device completely to avoid short circuits.
Step 2. Heat the LCD Screen
Gently heat the edges of the screen using:
- A heating pad (recommended)
- Or a heat gun / hairdryer (low-to-medium setting)
The adhesive must soften before removal.
Step 3. Lift the Screen
Use a suction cup to slightly lift the screen, then slide in a plastic pry tool or card and work around the frame to separate the adhesive.
Step 4. Disconnect the LCD Flex
Flip the screen upward carefully and unplug the LCD connector.
Step 5. Remove the Broken LCD
Once disconnected, remove the damaged screen entirely.
Step 6. Release Flex Cables
Lift both connector levers and pull out the flex cables from the LCD board connector.
Step 7. Remove the LCD Board Connector
Heat the adhesive under the LCD board connector and gently remove it from the old screen.
Step 8. Transfer the Connector to the New Screen
Attach the LCD board connector unit to your new replacement screen.
Step 9. Secure the Flex Cables
Reconnect both flex cables to the LCD board.
Step 10. Connect the LCD Flex
Plug the LCD flex into the new screen.
Step 11. Test the Device
Power on the tablet to verify:
- Display works
- Touchscreen responds
- No flickering, lines, or color issues
Only proceed if everything functions correctly.
Step 12. Apply New Screen Adhesive
You may use:
- Pre-cut LCD adhesive
- B7000 glue around the edges
Step 13. Install the New Screen
Slide the new LCD from bottom to top and press gently around the edges to secure it in place.
Step 14. Apply Bonding Pressure
Use:
- Bonding clips
- Or rubber bands
Leave them on for some time to ensure a firm seal.
Your Samsung Galaxy Tab A 10.1 LCD replacement is now complete!
Frequently Asked Questions (FAQ)
Q1: Do I need to remove the back cover to replace the LCD?
No. The Galaxy Tab A 10.1 LCD lifts from the front, so the back cover remains in place.
Q2: Can I use a heat gun instead of a heating pad?
Yes—just use low heat and avoid prolonged exposure to prevent damage.
Q3: How do I know if my LCD or touchscreen is broken?
If the image is distorted, displays black spots, or doesn’t show anything, it’s an LCD issue. If the display is fine but touch doesn’t respond, the digitizer may be faulty.
Q4: Will a T510 screen work on a T515 model?
Yes, both share the same LCD compatibility.
Q5: How long should I leave the bonding clips on?
Typically 30–60 minutes, but longer is better for adhesive curing.
🛠️ Troubleshooting After LCD Replacement
Q1: The screen stays black even after replacement. What should I check?
Ensure the LCD connector is fully seated. Loose connections are the most common cause.
Q2: Touchscreen isn’t responding.
Recheck the flex cable alignment and ensure the connector levers are locked properly.
Q3: Screen won’t sit flush in the frame.
The adhesive may not be fully cleared—clean leftover glue before installing the new screen.
Q4: Display flickers occasionally.
This may indicate a partially connected flex cable. Disconnect and reconnect firmly.
Q5: Screen shows vertical/horizontal lines.
This usually means the LCD cable is damaged or not securely attached.
Final Thoughts
Replacing the LCD Touch Screen on the Galaxy Tab A 10.1 2019 (T510 / T515) is an effective way to restore display clarity and touch responsiveness. With patience and careful handling, this repair can be completed successfully at home.
For more tablet and smartphone repair tutorials, visit DIYGeardo.
More Repair Guides


-
 01Samsung Galaxy A16 5G Battery Replacement | Full DIY Repair Guide
 -
02Samsung Galaxy A16 5G Screen Replacement | Step-by-Step Guide
-
03Google Pixel 6 Power Button Replacement Guide | Volume Button Flex Repair Guide- DIY Repair
-
04Samsung Galaxy A16 5G Back Cover & Camera Lens Frame Replacement Guide | DIY Repair
-
05Why a Heating Pad Is Essential for Mobile Phone Repairs (And How to Use it)
-
06How to Use a Heat Gun or Hair Dryer for Phone/Tablet Repairs
-
07Essential Repair Tools for Phone, Tablet & Laptop Repairs


