Now Reading: Xiaomi Redmi 10 Camera Lens Glass Replacement | Back Cover Repair Guide
-
01
Xiaomi Redmi 10 Camera Lens Glass Replacement | Back Cover Repair Guide

Xiaomi Redmi 10 Camera Lens Glass Replacement | Back Cover Repair Guide
If the camera lens glass on your Xiaomi Redmi 10 is cracked or broken, it can affect image quality and expose the camera to dust and moisture. In this DIY guide, we’ll show you how to replace the camera lens glass and reinstall the back cover safely, restoring both protection and appearance.
This repair is straightforward and does not require removing internal components like the logic board or battery.
Repair Overview
Device: Xiaomi Redmi 10
Repair Type: Camera Lens Glass & Back Cover Replacement
Estimated Time: 20–30 minutes
Repair Difficulty ⭐⭐☆☆☆ (2/5)
Beginner-friendly repair with minimal disassembly.
Common Signs You Need a Camera Lens Replacement
- Cracked or shattered camera lens glass
- Blurry or hazy photos
- Dust visible inside the camera lens
- Sharp edges around the camera module
- Back cover adhesive coming loose
Before You Begin
Compatibility and Model Numbers
- Redmi 10 (2021)
- Redmi 10 (2022)
- Redmi 10 Prime
Model Numbers : 21061119AG, 21061119DG, 21061119AL, 21121119SG, 22011119UY, 21121119VL, 22011119TI
Tools Required
- Mobile phone heating pad or hairdryer/heat gun
- Plastic pry tool / card pry
- Suction cups
- Phillips #00/#000 screwdrivers
- Torx (T2/T3/T4) screwdrivers
- Flathead screwdriver
- Tweezers (for connectors)
- B7000 glue or double-sided adhesive (for back cover)
- Rubber bands or bonding clips to secure the back cover
How to Find Tools and Parts
- Heating pad – https://amzn.to/3H0tHzJ
- Portable Heat Gun – https://amzn.to/4mszih1
- Clamps https://amzn.to/3GYJT4w
- STREBITO 142 Piece Repair Tool Kit https://amzn.to/3UO1jUx
- Glue | Adhesive https://amzn.to/46exVxe
- Compatible Parts –
- Battery – https://amzn.to/4o4KC48
- Screen – https://amzn.to/47AklVA
- Other Parts – https://amzn.to/48JAWrg
- Silicone Work Repair Mat https://amzn.to/45Emz5l
Protect Your Redmi 10 Series
- Best Premium Case https://amzn.to/4neZMTd
- Screen Protector https://amzn.to/4qtDKza
Step-by-Step Xiaomi Redmi 10 Camera Lens Glass Replacement
Step 1: Power Off the Device
Turn off your Xiaomi Redmi 10 completely before starting the repair.
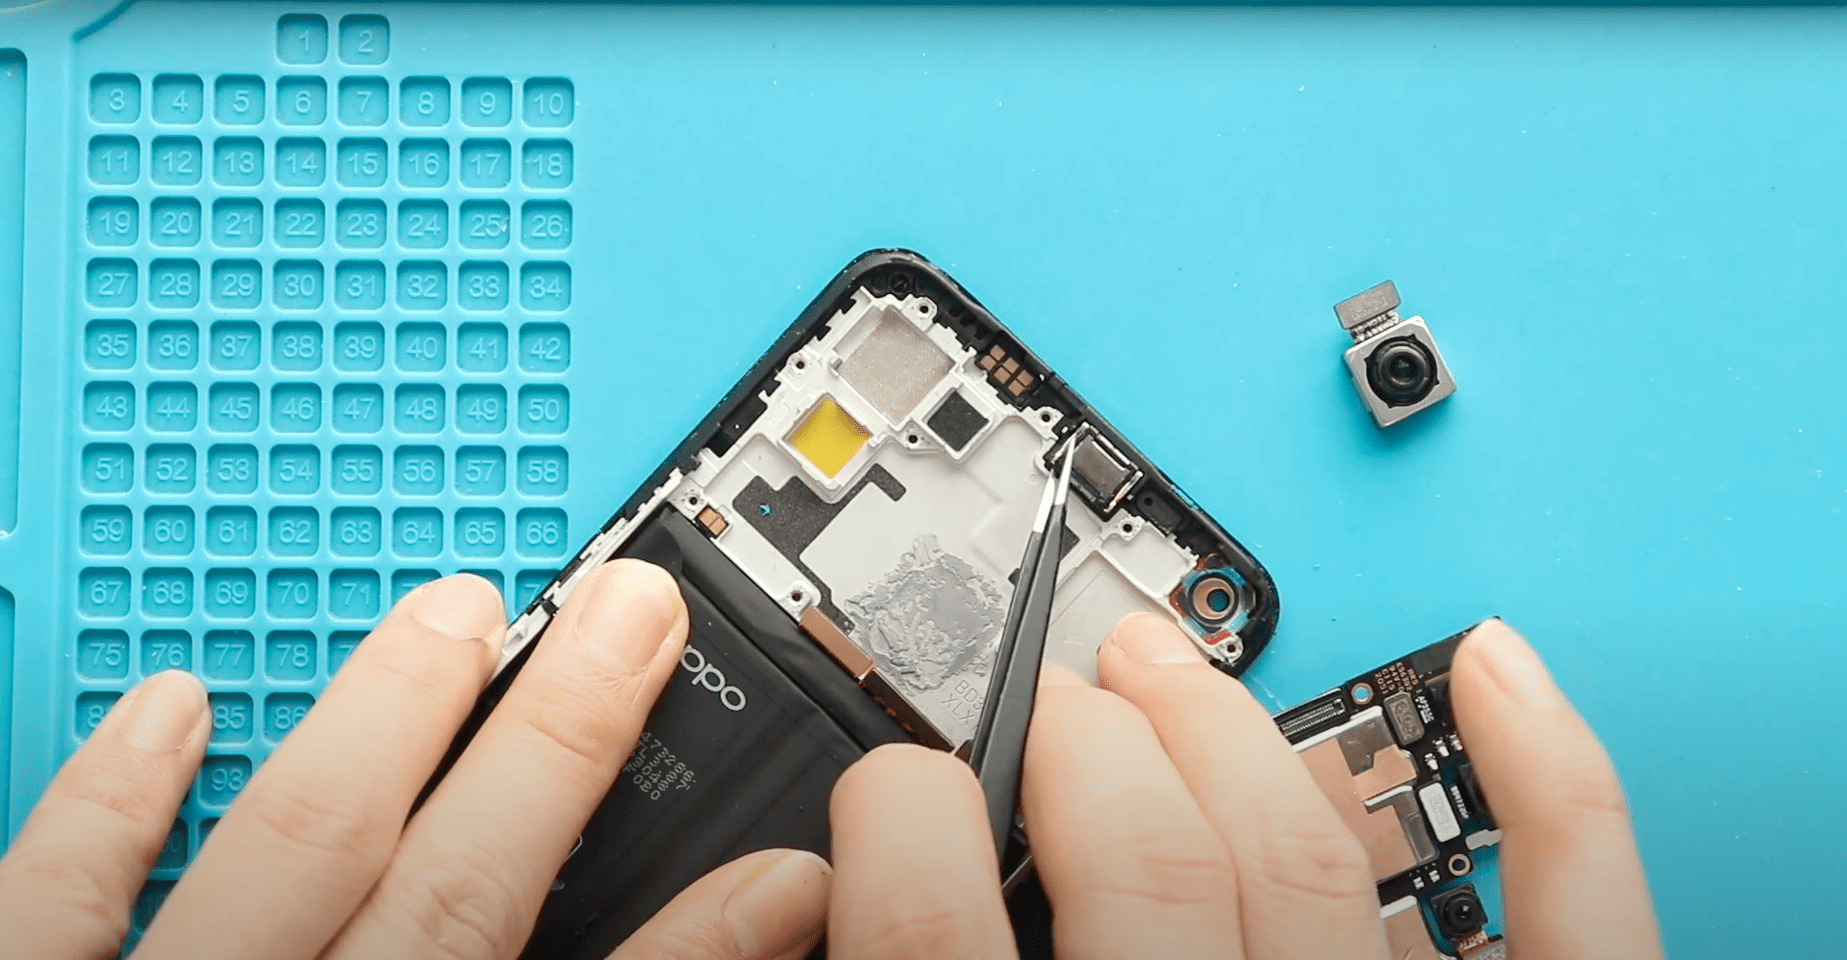
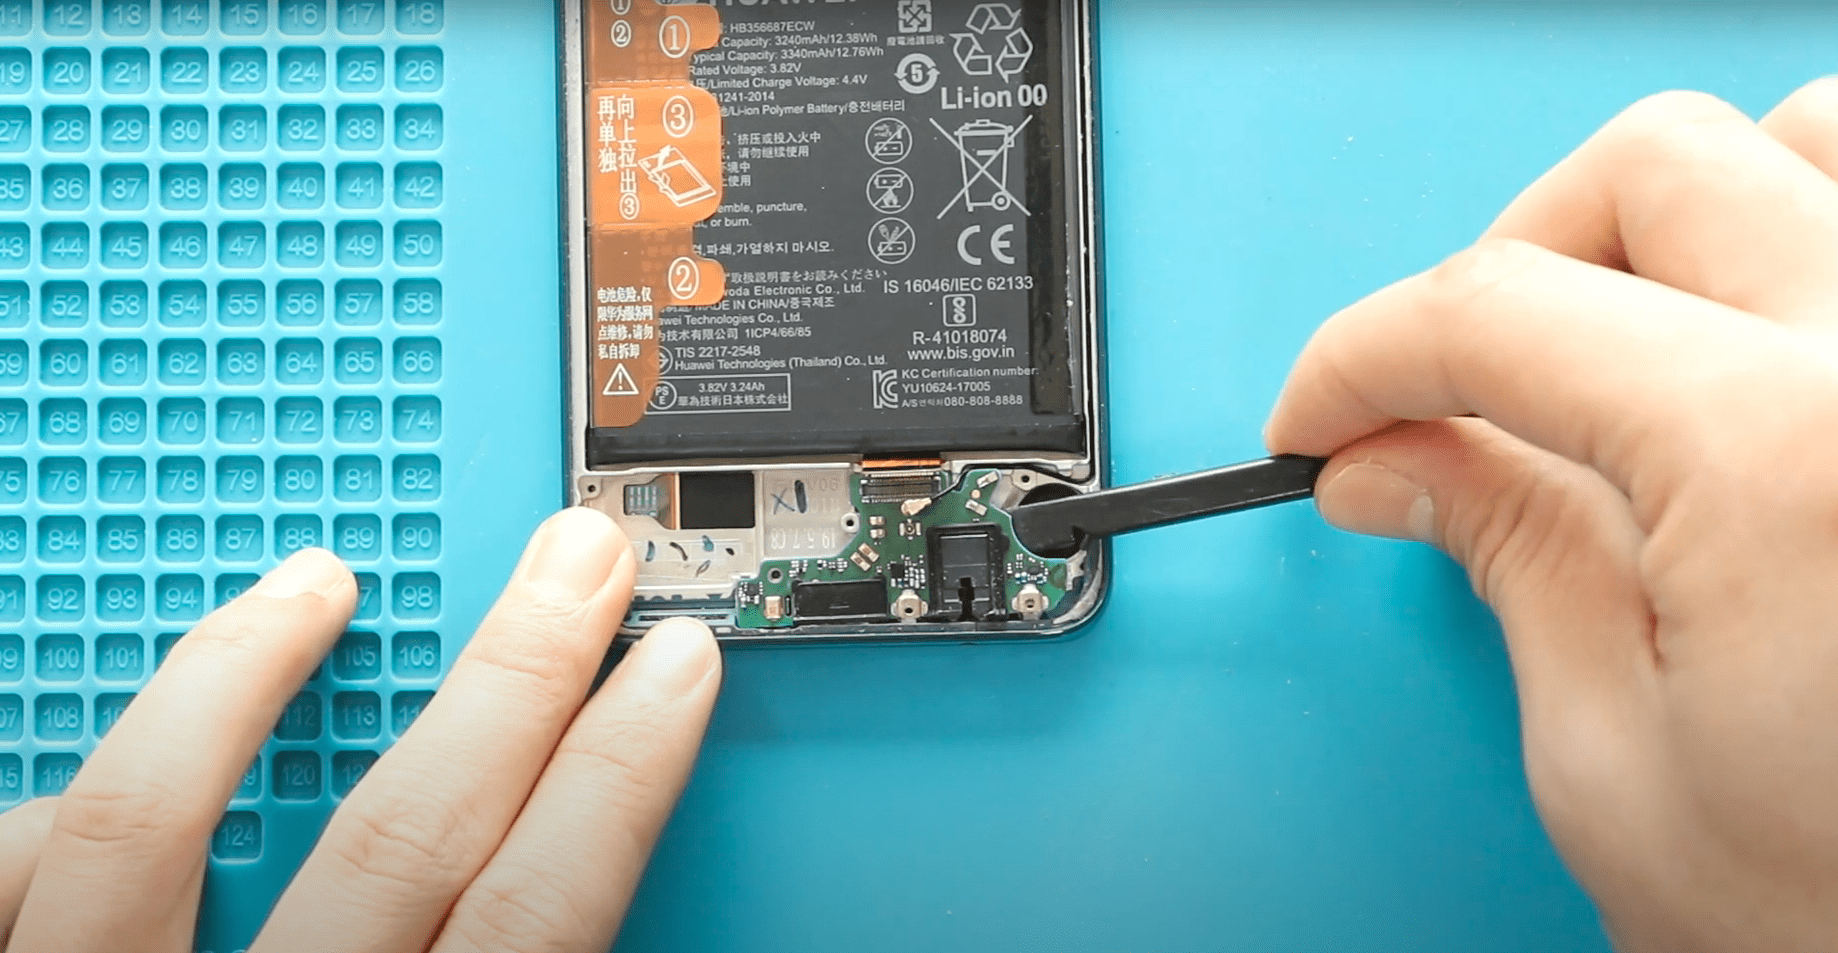
Step 2: Remove the Back Cover
Apply gentle heat around the edges of the back cover to soften the adhesive.
Use a suction cup and a plastic pry tool to carefully cut through the adhesive and remove the back cover from the body.
Step 3: Remove the Camera Lens Frame
Undo five screws securing the camera lens frame.
Lift the camera lens frame carefully and set it aside.
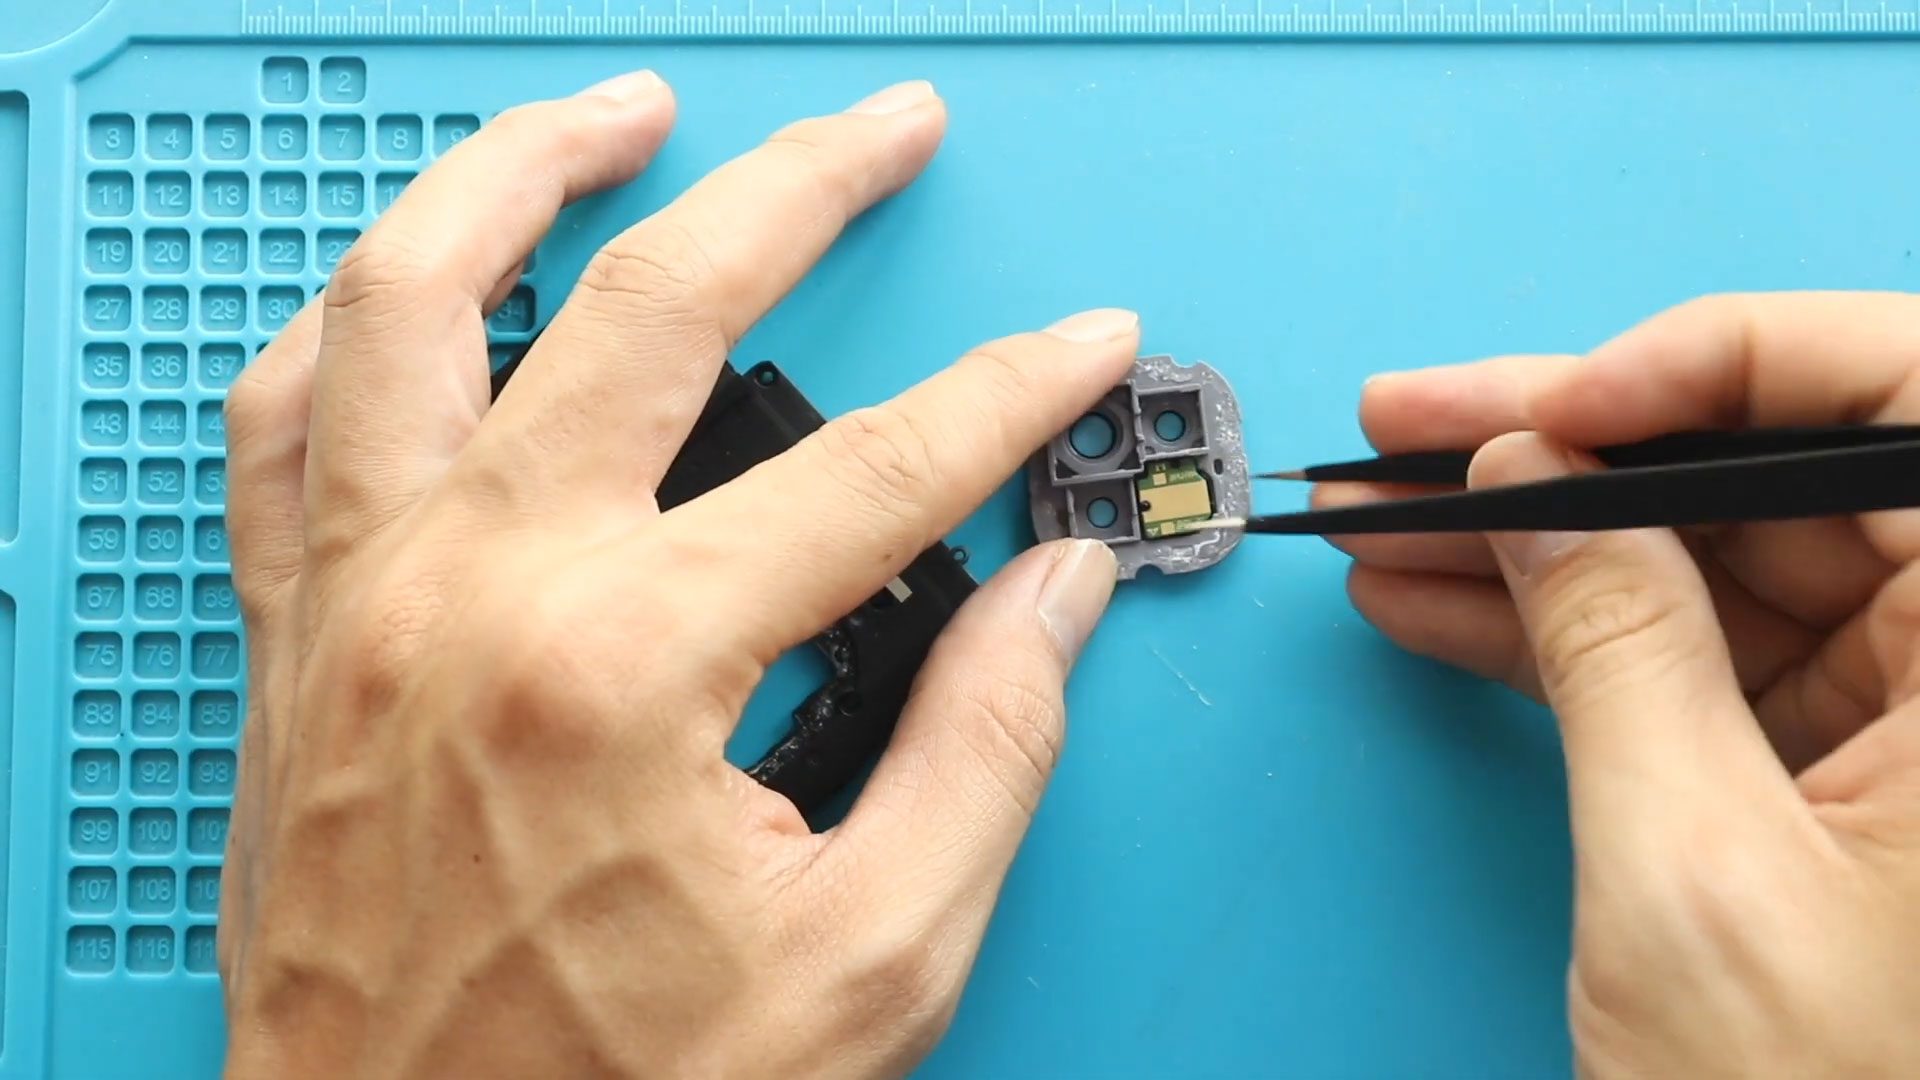
Step 4: Remove the Broken Camera Lens Glass
Apply heat to the camera lens area to loosen the adhesive.
Push the broken lens out gently from the rear side of the frame.
If the lens glass is shattered, carefully remove the pieces one by one using tweezers. Take extra care to avoid scratching the camera sensor.
Step 5: Clean the Camera Lens Area
Clean the surface thoroughly to remove old adhesive, dust, or glass fragments.
Ensure the area is completely clean before installing the new lens.
Step 6: Install the New Camera Lens Glass
Place the new camera lens glass into position using its pre-applied adhesive or additional glue if required.
Press firmly to ensure a proper seal.
Replacement Options:
You can choose a camera lens with frame or camera lens without frame.
Both versions are available, but a lens with frame can make installation easier.
Step 7: Reinstall the Camera Lens Frame
Place the camera lens frame back into position and secure it using five screws.
Step 8: Reinstall the Back Cover
Before installing the back cover, check if the adhesive is still strong.
If needed, apply B7000 glue or a new double-sided back cover adhesive.
Align the back cover carefully and press it into place.
Step 9: Secure the Back Cover
Use bonding clips or rubber bands to hold the back cover tightly against the frame.
Leave it secured for some time to allow the adhesive to cure properly.
Final Note
After completing the repair, test the camera before regular use to ensure there is no dust, blur, or light leakage affecting image quality.
Avoid applying pressure near the camera area until the adhesive is fully cured. Proper sealing will help protect the camera from future dust and moisture damage.
Related