Now Reading: iPhone 12 Charging Port Replacement Guide | DIY Repair Steps
-
01
iPhone 12 Charging Port Replacement Guide | DIY Repair Steps

Hi everyone, welcome back to GEARDO.
In today’s guide, we’ll walk you through the complete step-by-step process of replacing the iPhone 12 Charging Port Flex Cable. This repair helps fix issues such as charging failure, USB connection problems, mic not working, and liquid-damage related malfunction around the dock area.
Before starting the repair, make sure you have the correct tools. All the required tools are listed in the description.
Compatibility and Model Numbers
This repair guide based on iPhone 12 mobile phone. But this guide also compatible with iPhone12 Pro mobile phone (please be aware with slight connector changes).
Compatible Mode Numbers l A2403, A2172, A2402, A2404, A2407, A2341, A2406, A2408
Tools You Need
- Heating pad / heat gun / hairdryer
- Suction cup
- Plastic card pry tools / opening picks
- Phillips PH000 screwdriver
- Pentalobe P2 Screwdriver (for bottom screws)
- Tri-Point Y000 Screwdriver
- Adhesive (B7000 or double-sided frame adhesive)
- Bonding clips or rubber bands (optional but recommended)
How to Select tools For the Repair
How to Find Tools and Parts
- Heating pad – https://amzn.to/3H0tHzJ
- Portable Heat Gun – https://amzn.to/4mszih1
- Clamps https://amzn.to/3GYJT4w
- STREBITO 142 Piece Repair Tool Kit https://amzn.to/3UO1jUx
- Glue | Adhesive https://amzn.to/46exVxe
- Compatible Parts https://amzn.to/3Hx6sxo
- Silicone Work Repair Mat https://amzn.to/45Emz5l
Step 1 – Power Off & Remove SIM Tray
Turn off the iPhone, remove the SIM tray, and then remove the two bottom screws using a Pentalobe screwdriver.
Step 2 – Soften the Screen Adhesive
To remove the screen, gently heat the edges to soften the adhesive.
We are using a heating pad here, but you can also use a heat gun or hairdryer.

Step 3 – Lift the Screen
Use a double-sided suction cup to lift the front panel.
Alternatively, use a standard suction cup and a plastic card or triangle pry tool to separate the screen and loosen the rubber gasket around the frame.
Lift the screen like opening a book.
Remove:
- 2 screws on the bottom shield
- 4 screws on the top shield
Then disconnect:
- Battery
- Earpiece flex
- Two display connectors
Now you can separate the screen from the phone.
Step 4 – Remove Internal Components
Remove the small shield by undoing 2 screws.
Next:
- Undo 4 screws and remove the SIM connector slot
- Undo 4 screws and remove the loudspeaker buzzer
- Undo 3 screws and remove the Taptic Engine and its connector
- Undo 2 screws to remove the small bracket on the charging port flex
Now remove the 11 screws securing the charging port flex.
In this Step You Can Easily Replace the faulty Taptic Engine Motor or Speaker
Step 5 – Disconnect the Logic Board
Disconnect 12 connector plugs from the logic board.
Undo 4 screws that secure the board.
Tip: When disconnecting the 4th plug, gently move the adhesive and loosen the cable to avoid damage.
Lift the board at about 45 degrees, or remove it completely if needed, to free the charging port connector from the underside.
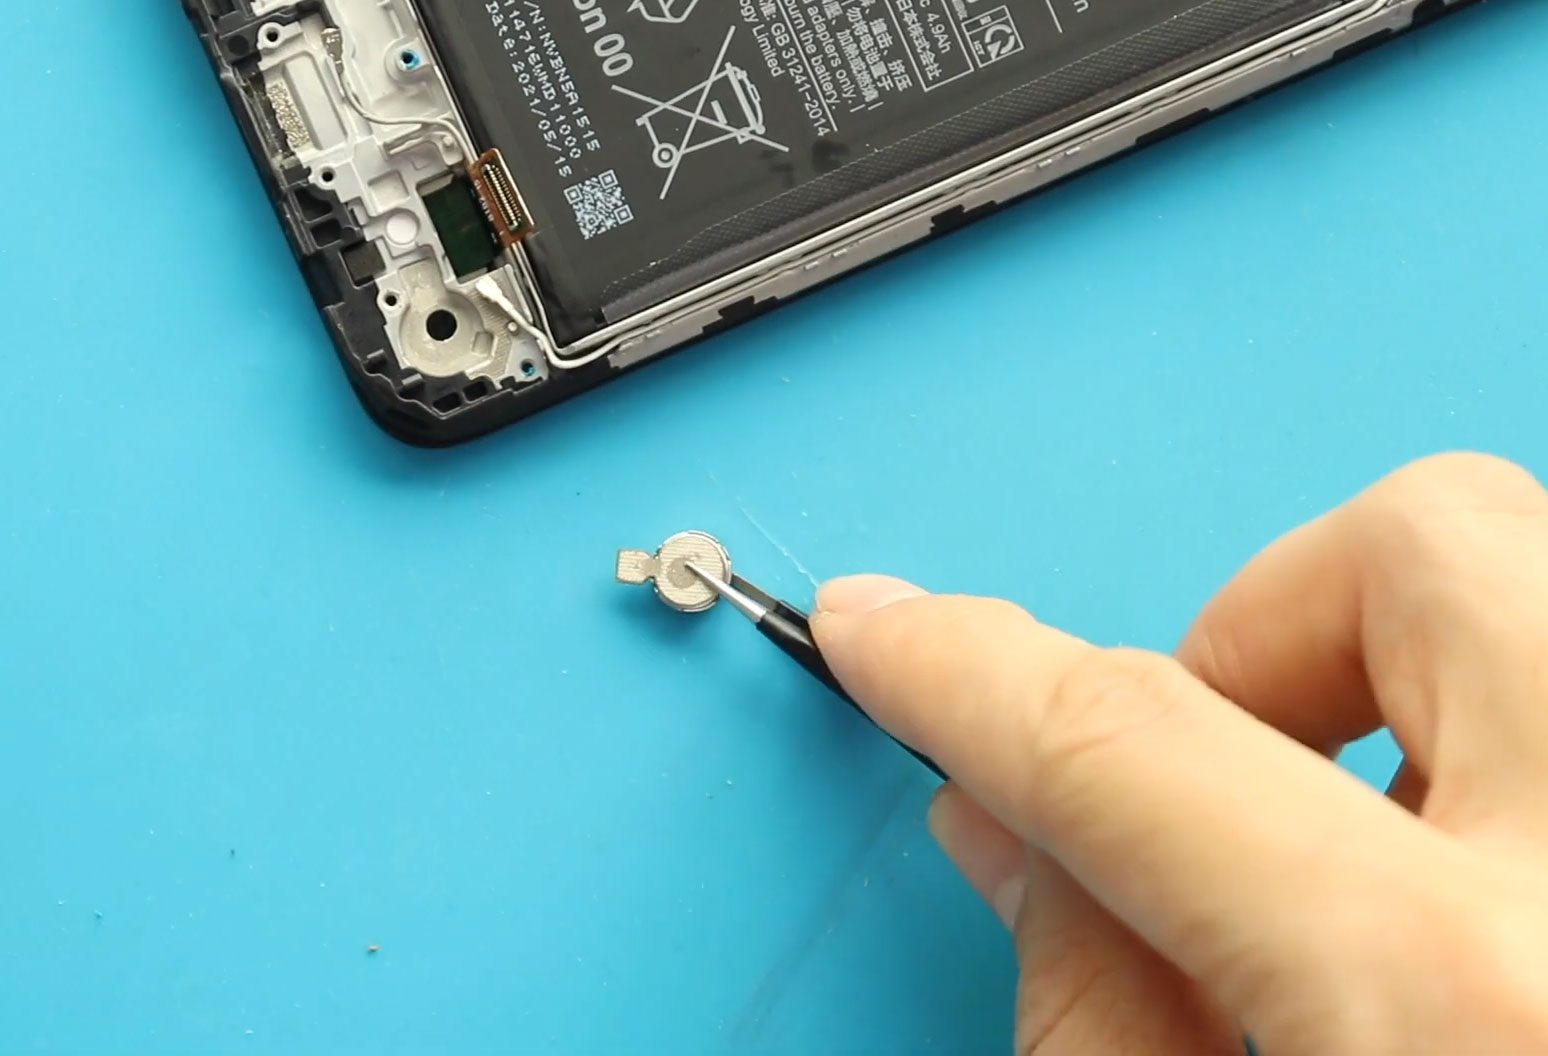
Step 6 – Remove the Broken Charging Port Flex
Peel the damaged charging port flex away from the frame.
Do this gently — use tweezers to lift from the corners and microphone grill areas.

Step 7 – Install the New Charging Port Flex
Place the new charging port flex into position and secure it with 11 screws.
Make sure the microphone grills and corners are aligned correctly.
Lift the logic board to 45 degrees again and insert the connector.
Secure the logic board by installing the 4 screws and reconnect all 12 connectors, including the charging port connector.
Install the small bracket on the charging port flex with 2 screws.
Reinstall:
- Taptic Engine (3 screws + connector)
- SIM connector slot (6 screws + both shields)
- Loudspeaker buzzer (4 screws)
Step 8 – Reassemble the Phone
Apply the pre-cut water seal adhesive onto the frame.
Note: This adhesive only provides basic splash protection, not full waterproofing.
Reconnect:
- Earpiece assembly
- Two display connectors
- Battery connector
Install both display shields with their screws.
Align the top section of the screen first, then press along the sides and bottom to close it properly.
Finally, install the two Pentalobe screws at the bottom.
Final Step
Your iPhone 12 charging port replacement is complete.
Thanks for watching.
If you have any questions, feel free to comment.
Please like, share, and subscribe to GEARDO
Frequently Asked Questions
1. Does replacing the charging port fix microphone issues?
Yes. The iPhone 12 bottom microphone is integrated into the charging port flex. Replacing it often fixes mic problems during calls, video recording, and voice memos.
2. How long does this repair take?
For beginners, around 45–60 minutes. Experienced technicians can complete it in 20–30 minutes.
3. Do I lose waterproofing after the repair?
The pre-cut adhesive helps, but the original water resistance cannot be fully restored.
4. Is this repair safe for beginners?
Yes, if you follow the steps carefully and use the correct tools.
5. How do I know my charging port flex is faulty?
Common signs include slow charging, no charging, accessories not detected, bottom mic not working, or unstable USB connections.
Related Repair Guides