Now Reading: Motorola Moto G Stylus (2021) Front & Rear Camera Repair Guide
-
01
Motorola Moto G Stylus (2021) Front & Rear Camera Repair Guide
Hi everyone, Welcome back to Geardo 👋
Today, we’ll show you how to replace both the front and rear cameras on the Motorola Moto G Stylus (2021). If your camera is blurry, not focusing, or completely not working, this guide will help you fix it step by step.
This is a beginner-friendly guide, but since it involves removing the logic board, take your time and follow carefully.
🔧 Repair Overview
Device Type: Smartphone
Repair Type: Front & Rear Camera Replacement
Repair Difficulty: ⭐⭐⭐⭐☆ (4/5 – Moderate)
⏱ Estimated Time: 60–90 minutes
Reasons for Camera Replacement
- Camera not opening or crashing
- Blurry or unfocused images
- Black screen when opening camera
- Dust or moisture inside camera module
- Physical damage to front or rear cameras
Before You Begin
Compatibility and Model Numbers
- Motorola Moto G Stylus (2021)
Model Numbers | XT2115, XT2115-1
Tools Required
- Mobile phone heating pad or hairdryer/heat gun
- Plastic pry tool / card pry
- Suction cups
- Phillips #00/#000 screwdrivers
- Torx T3 / T4 / T5 Screwdriver (Depends on the version)
- Flathead Screwdriver
- Tweezers (for connectors)
- B7000 glue or double-sided adhesive (for back cover)
- Rubber bands or bonding clips to secure the back cover
Using proper tools reduces the risk of damaging the phone.
How to Find Tools and Parts
- Heating pad – https://amzn.to/3H0tHzJ
- Portable Heat Gun – https://amzn.to/4mszih1
- Clamps https://amzn.to/3GYJT4w
- STREBITO 142 Piece Repair Tool Kit https://amzn.to/3UO1jUx
- Glue | Adhesive https://amzn.to/46exVxe
- Compatible Parts –
- Battery – https://amzn.to/3OcAdXH
- Screen – https://amzn.to/4vqRGw6
- Other Parts – https://amzn.to/4833H0P
- Silicone Work Repair Mat https://amzn.to/45Emz5l
🔧 Step-by-Step Front & Rear Camera Replacement
Step 1: Heat the Back Cover
Gently heat around the edges of the back cover to soften the adhesive.
- Use a heating pad (recommended)
- Or a heat gun / hairdryer
Step 2: Create an Opening
- Use a suction cup
- Insert a plastic pry tool/card
- Carefully cut adhesive around edges
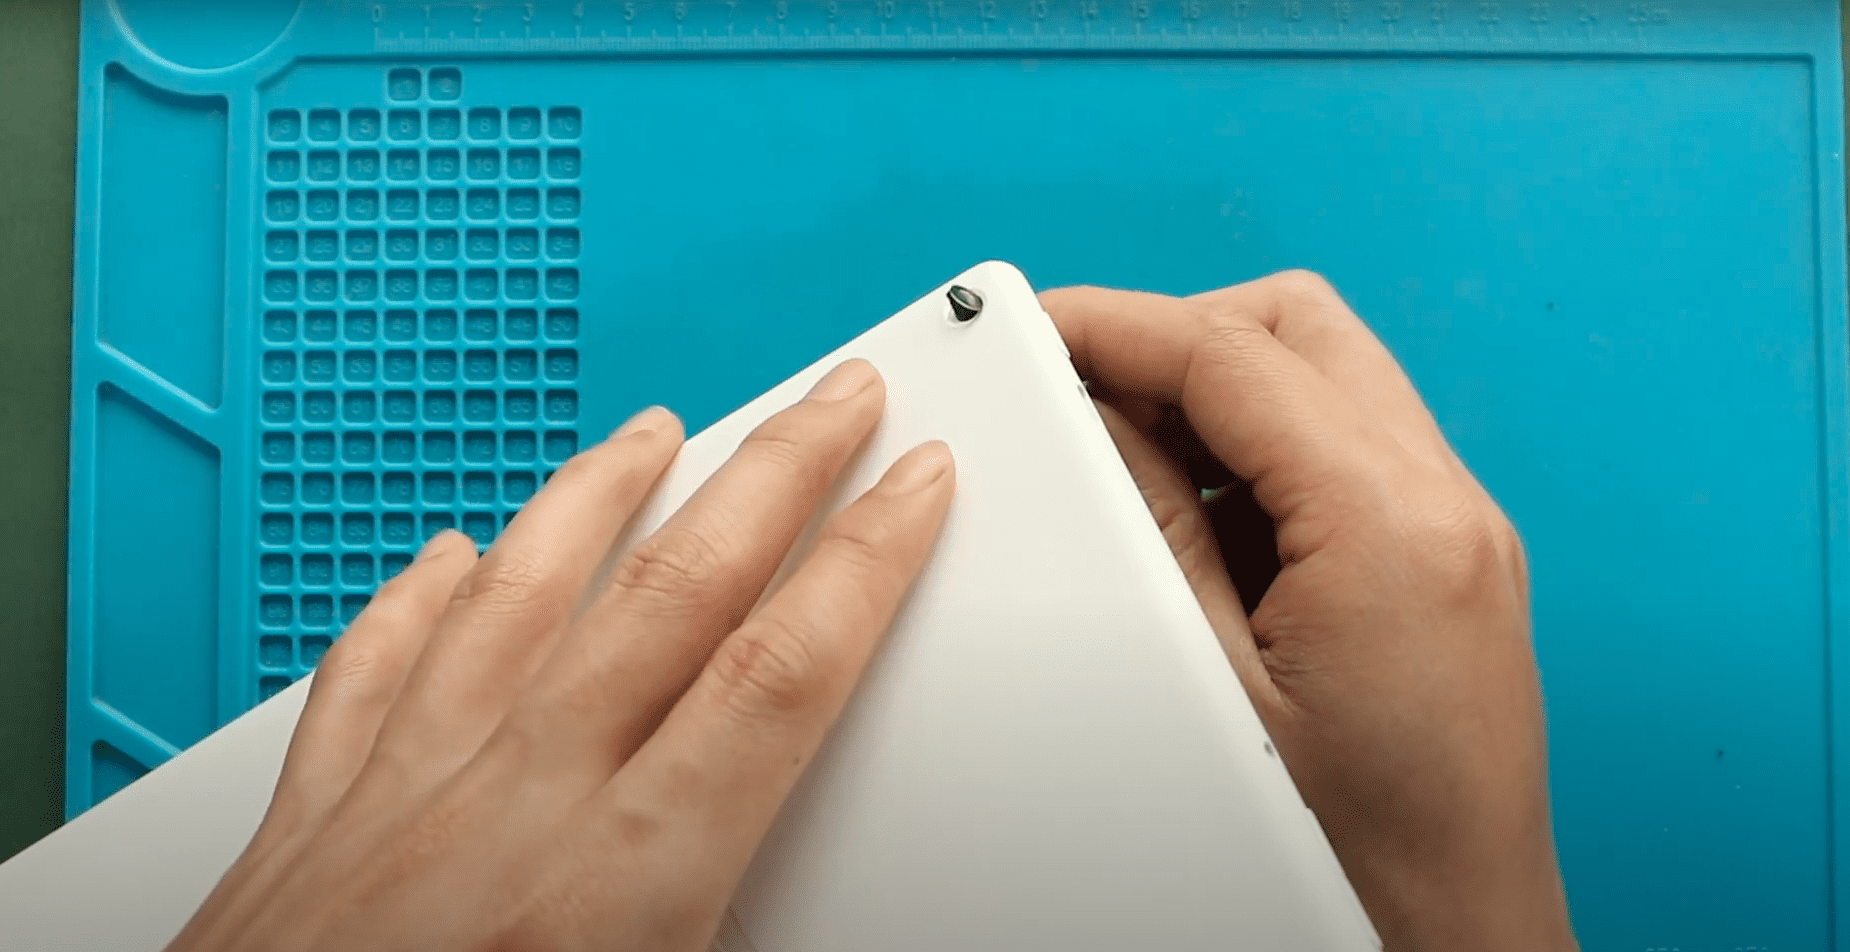
Step 3: Remove the Back Cover
Gently lift and remove the back cover once the adhesive is loose.
Step 4: Remove Logic Board Frame
- Unscrew 11 screws
- Remove the logic board frame (midframe)
Step 5: Disconnect Battery
Disconnect the battery connector to prevent any electrical damage.
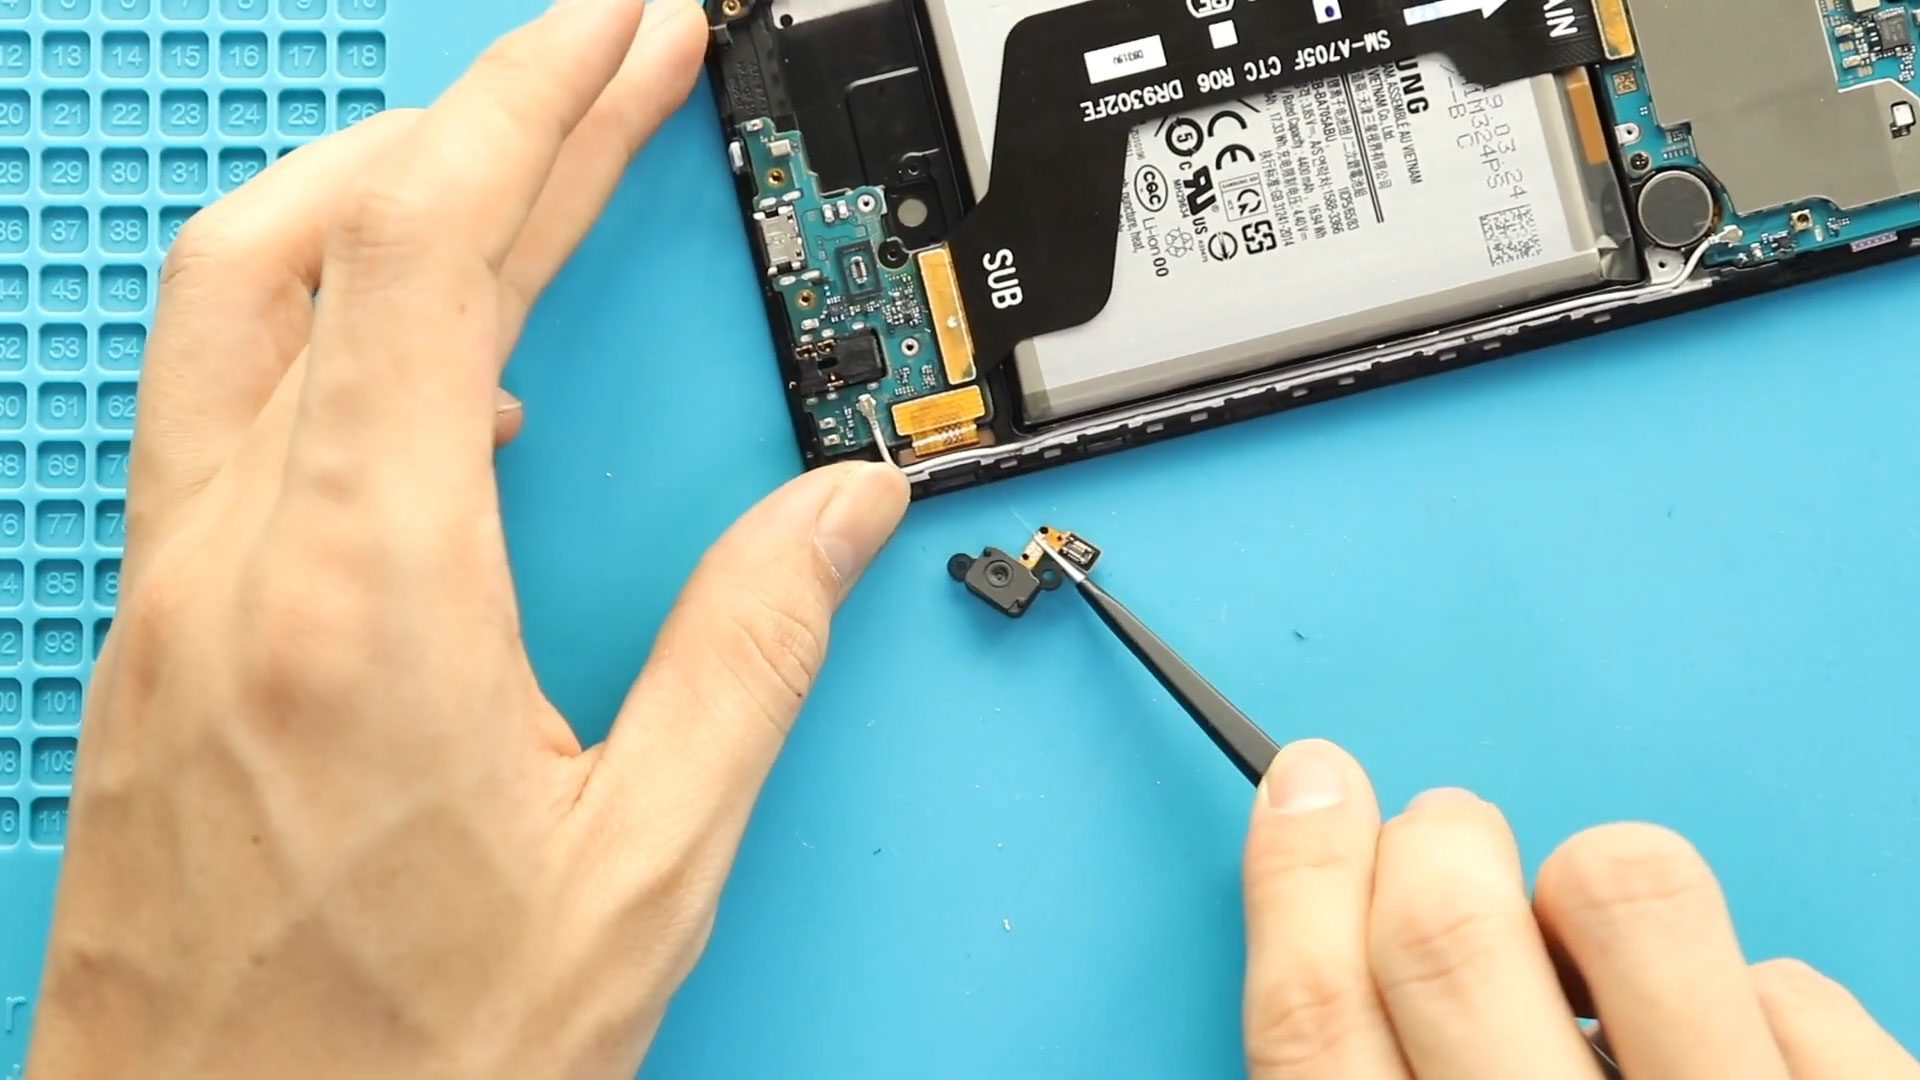
Step 6: Remove Front & Secondary Cameras
- Disconnect and remove the front camera
- Remove depth and macro cameras from the board
Step 7: Prepare for Logic Board Removal
- Eject the SIM tray
- Disconnect:
- Antenna connectors
- LCD connector
- Main flex cable
- Button connector
Step 8: Remove Logic Board
- Unscrew 2 screws
- Gently lift and remove the logic board
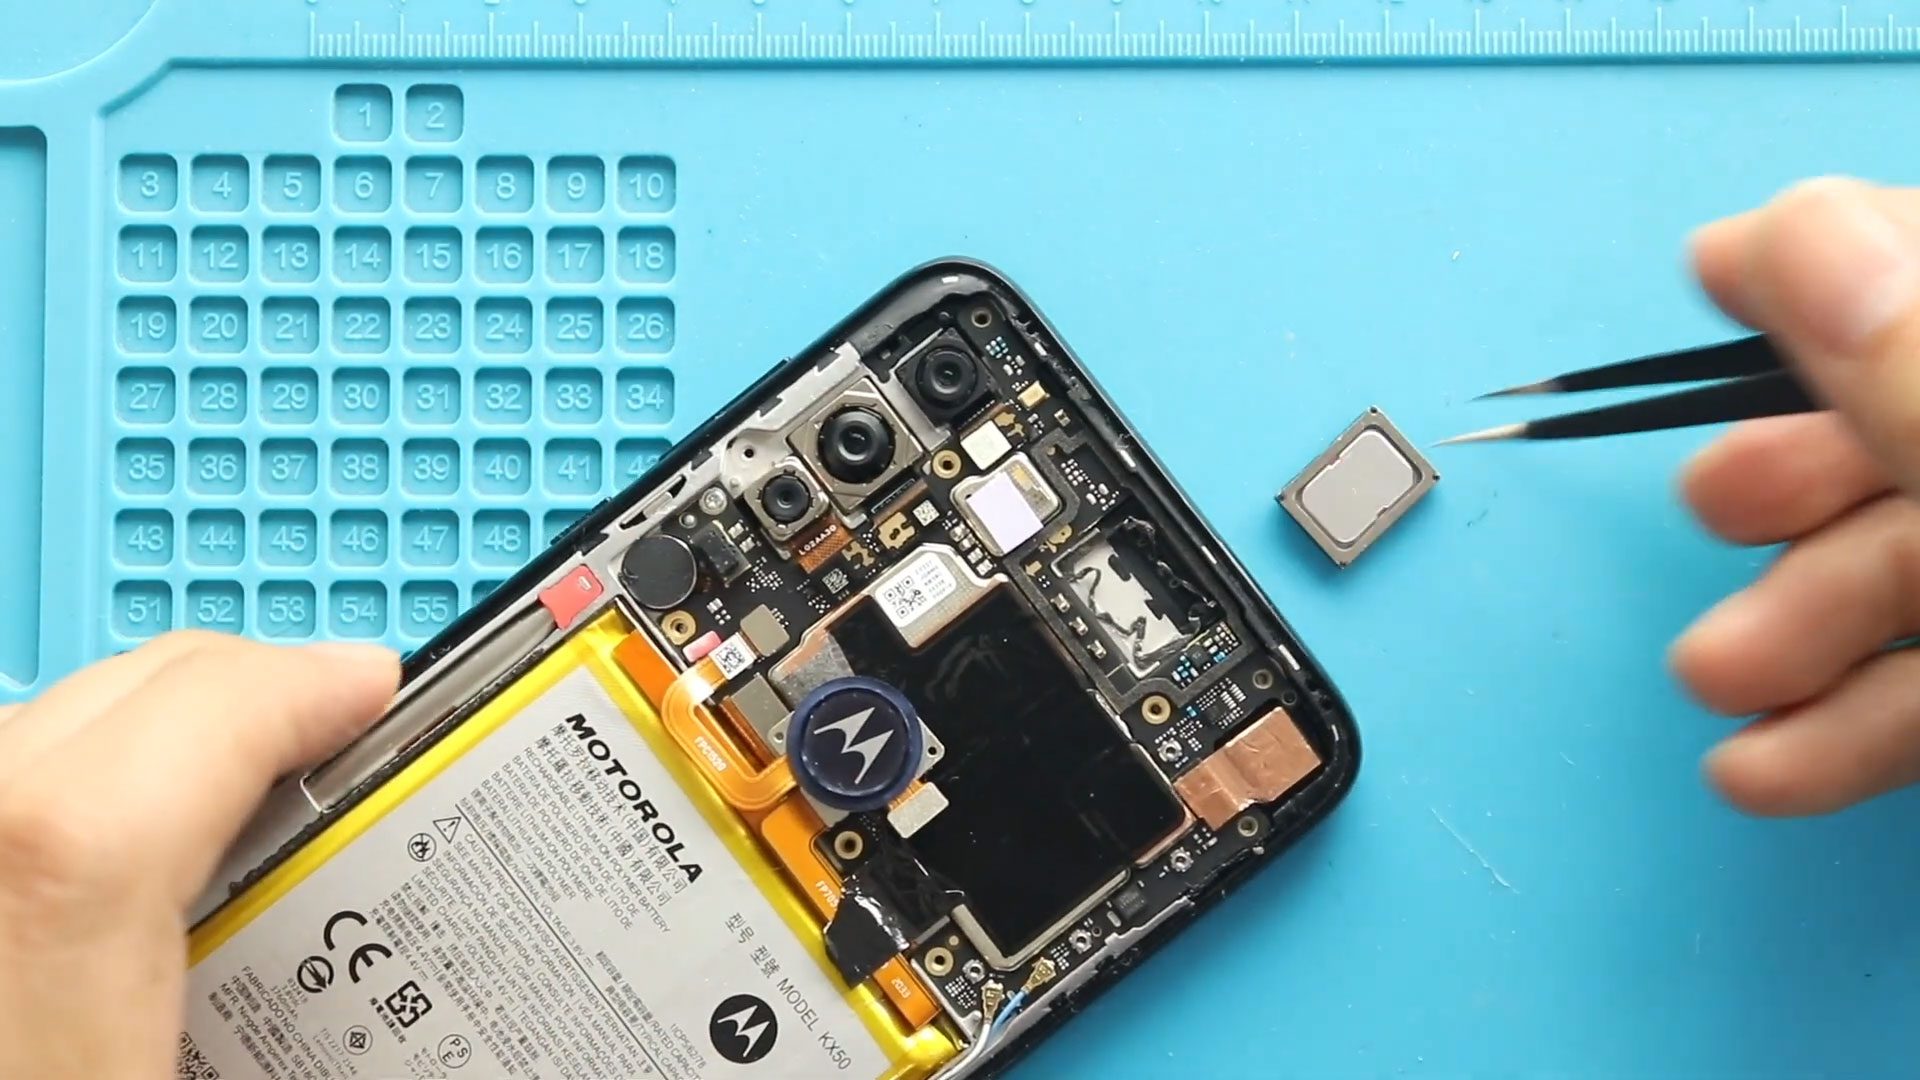
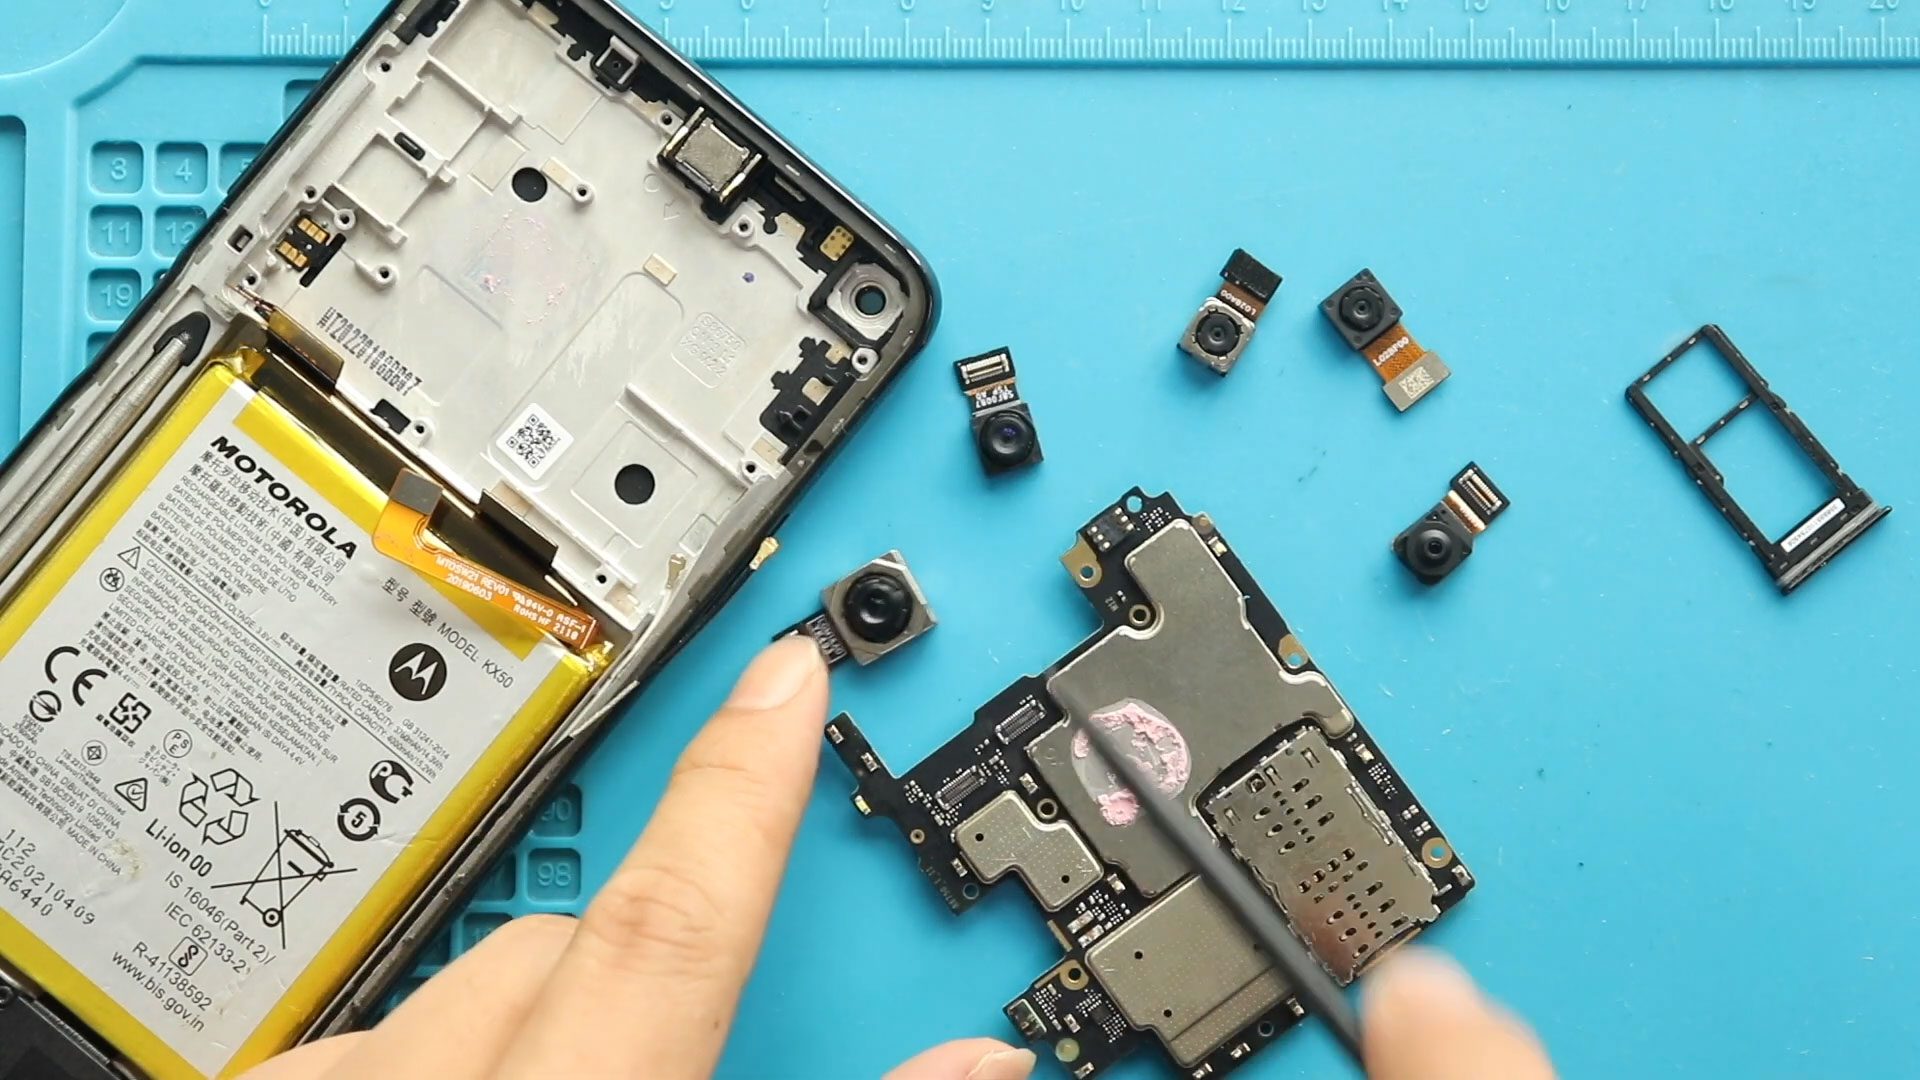
Step 9: Remove Main & Ultra-Wide Cameras
- Flip the board carefully
- Disconnect and remove:
- Main camera
- Ultra-wide camera
Step 10: Install New Rear Cameras
- Attach new main and ultra-wide cameras
- Ensure proper alignment and connection
Step 11: Reinstall Logic Board
- Place the logic board back into the frame
- Secure it with 2 screws
Step 12: Reconnect Components
Reconnect:
- Button connector
- Main flex cable
- LCD connector
- Antenna heads
Step 13: Install Remaining Cameras
- Insert depth and macro cameras
- Install the front camera
Step 14: Reassemble the Phone
- Reconnect battery
- Reinstall logic board frame
- Tighten 11 screws
Step 15: Seal the Back Cover
- Check adhesive condition
- Apply B7000 glue or new adhesive if needed
- Use clips or rubber bands to secure
Frequently Asked Questions (FAQ)
Q1: Do I need to replace all cameras at once?
No, you can replace only the faulty camera module if needed.
Q2: Why is my camera still blurry after replacement?
Check for dust on the lens or improper installation.
Q3: Is this repair risky?
It involves removing the logic board, so careful handling is required.
Q4: Can I damage the phone during this repair?
Yes, especially connectors and cables—handle everything gently.
Q5: Will this fix camera app crashes?
If the issue is hardware-related, yes. Otherwise, it may be software.
🛠 Troubleshooting
Q1: Camera not detected after repair?
Reconnect camera modules and check all connectors.
Q2: Phone not turning on?
Ensure battery connector is properly connected.
Q3: No signal or network issues?
Check antenna connectors are properly attached.
Q4: Screen not working?
Verify LCD connector is securely connected.
Q5: Dust inside camera?
Open again and clean carefully before sealing.
Related Guides