Now Reading: OnePlus Nord N200 5G Battery Replacement Guide – DIY Repair
-
01
OnePlus Nord N200 5G Battery Replacement Guide – DIY Repair
If your OnePlus Nord N200 5G is draining quickly, shutting down unexpectedly, or no longer holding a proper charge, replacing the battery can restore performance and extend the life of your device. Instead of buying a new phone, a DIY battery replacement is a cost-effective solution that can make your device feel like new again.
In this detailed step-by-step repair guide, we’ll show you how to safely remove and replace the battery on the OnePlus Nord N200 5G. Follow carefully, use the correct tools, and take your time to avoid damage.
Repair Overview
- Battery Model: BLP813
- Model: OnePlus Nord N200 5G
- Type of Repair: Internal Battery Replacement
Repair Difficulty ★★★★★☆☆☆☆☆ (5/10 – Moderate)
Estimated Time Required : 45–60 Minutes
Reasons for Battery Replacement
You may need to replace your battery if:
- Battery drains very fast
- Phone shuts down even with charge remaining
- Device overheats during charging
- Battery swelling (screen lifting or back cover bulging)
- Phone not powering on unless plugged in
Before You Begin
Compatibility and Model Numbers
- Oneplus Nord N200 5G
- Oppo A93 5G – Simliar Design (Can use Reference to repair)
This repair guide based on OnePlus N200 5G.
Model Numbers | DE2118, DE2117
Tools Required
- Mobile phone heating pad or hairdryer/heat gun
- Plastic pry tool / card pry
- Suction cups
- Phillips #00/#000 screwdrivers
- Torx T3 / T4 Screwdriver
- Flathead Screwdriver
- Tweezers (for connectors)
- B7000 glue or double-sided adhesive (for back cover)
- Rubber bands or bonding clips to secure the back cover
Using proper tools reduces the risk of damaging the phone.
How to Find Tools and Parts
- Heating pad – https://amzn.to/3H0tHzJ
- Portable Heat Gun – https://amzn.to/4mszih1
- Clamps https://amzn.to/3GYJT4w
- STREBITO 142 Piece Repair Tool Kit https://amzn.to/3UO1jUx
- Glue | Adhesive https://amzn.to/46exVxe
- Compatible Parts –
- Battery – https://amzn.to/3IgZ75c
- Screen – https://amzn.to/46iYhNy
- Other Parts – https://amzn.to/47Hh2N3
- Silicone Work Repair Mat https://amzn.to/45Emz5l
✅ Protect Your Oneplus Nord N200 5G
- Protector For The Screen https://amzn.to/4mcsLq9
- Best Rated Case https://amzn.to/46acCf2
Step-by-Step OnePlus Nord N200 5G Battery Replacement
Step 1: Power Off the Device
Turn off the phone completely before starting the repair to prevent electrical damage.
Step 2: Heat the Back Cover
The back cover is secured with adhesive.
- Gently heat around the edges of the rear cover using a heating pad.
- Select the mobile heating option and wait until complete.
- Alternatively, use a heat gun or hair dryer.
Heating softens the adhesive, making removal easier and safer.
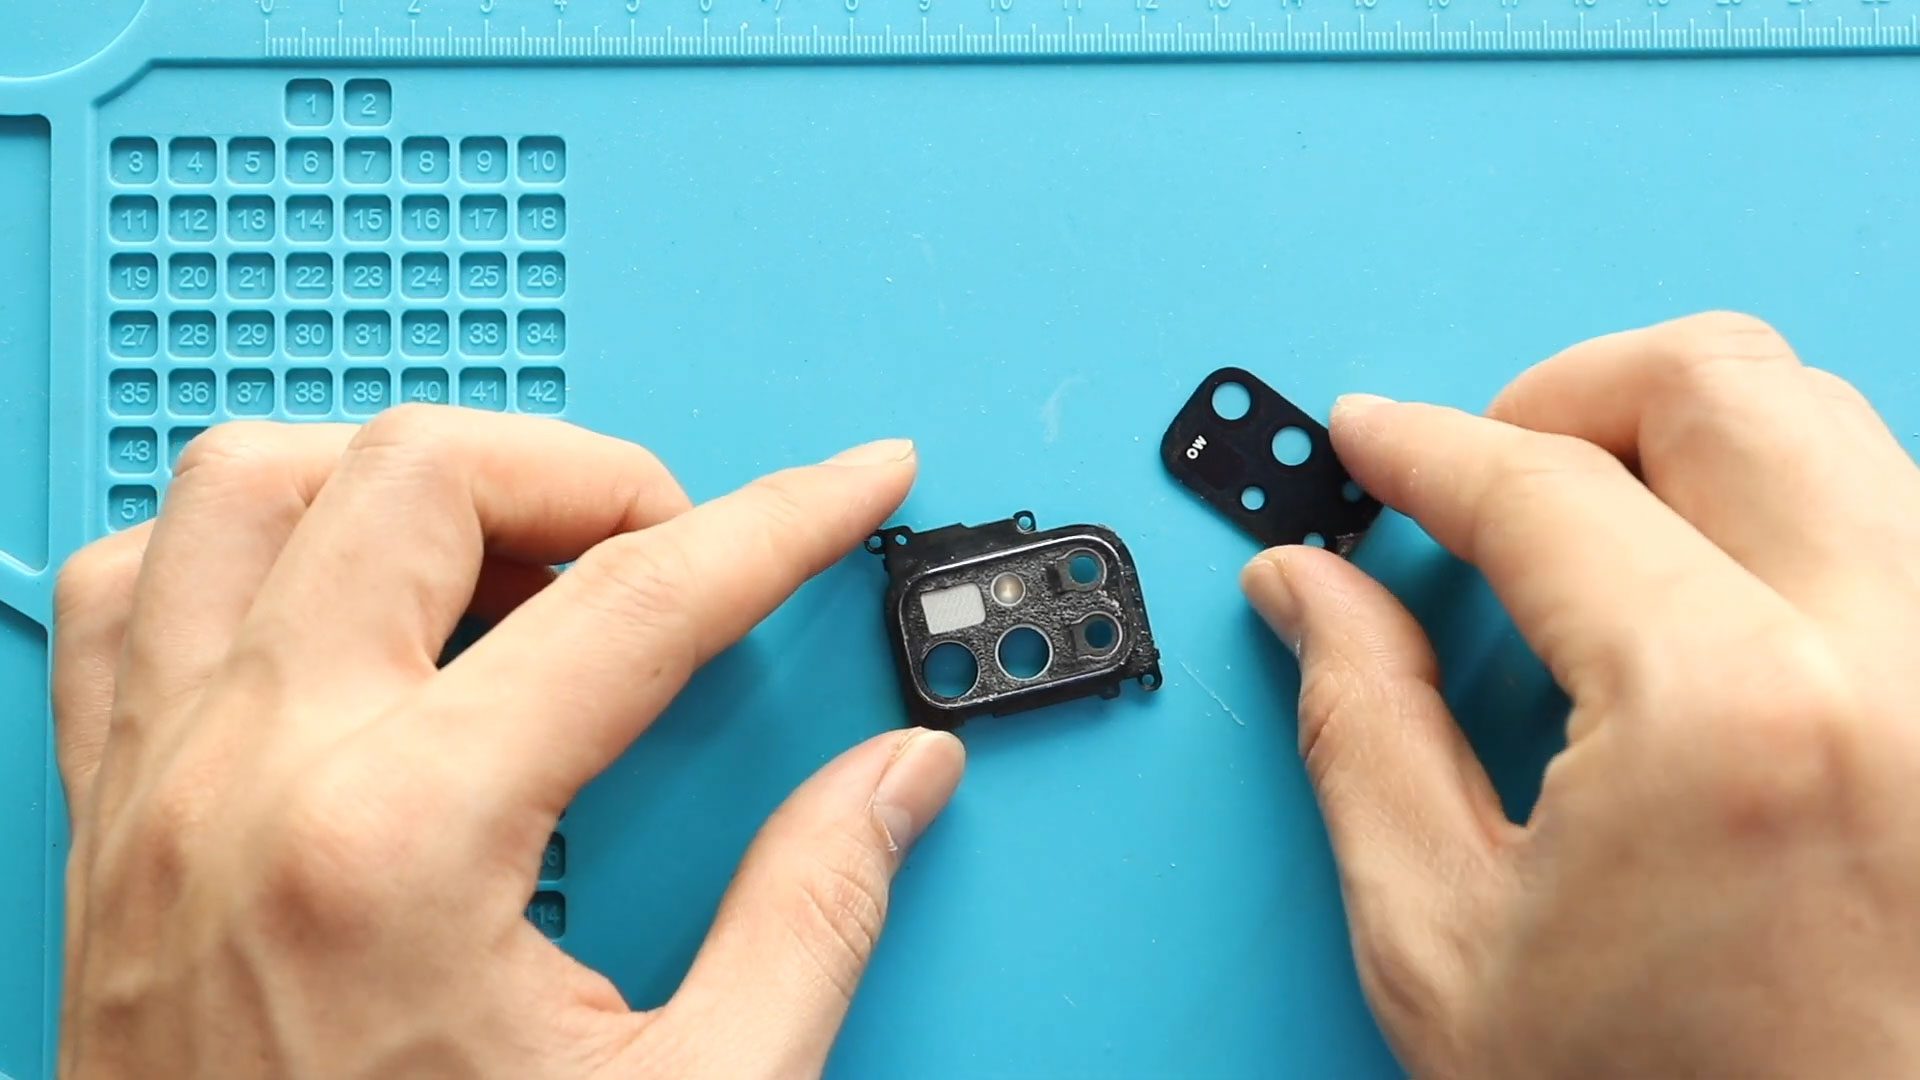
Step 3: Remove the Back Cover
- Use a suction cup to create a small gap between the frame and back cover.
- Insert a plastic card pry tool into the gap.
- Carefully slide around the edges to cut through the adhesive.
- Lift and remove the back cover.
⚠️ Be patient and avoid inserting tools too deep.
Step 4: Remove the Midframe
- Remove the SIM tray first.
- Unscrew the seventeen Phillips screws from the top and bottom sections.
- Use a plastic pry tool to gently separate the midframe.
- Work around the edges to release plastic clips carefully.
Step 5: Disconnect Battery and Fingerprint Cables
- Disconnect the battery connector first.
- Then disconnect the fingerprint sensor connector.
- Remove the midframe completely.
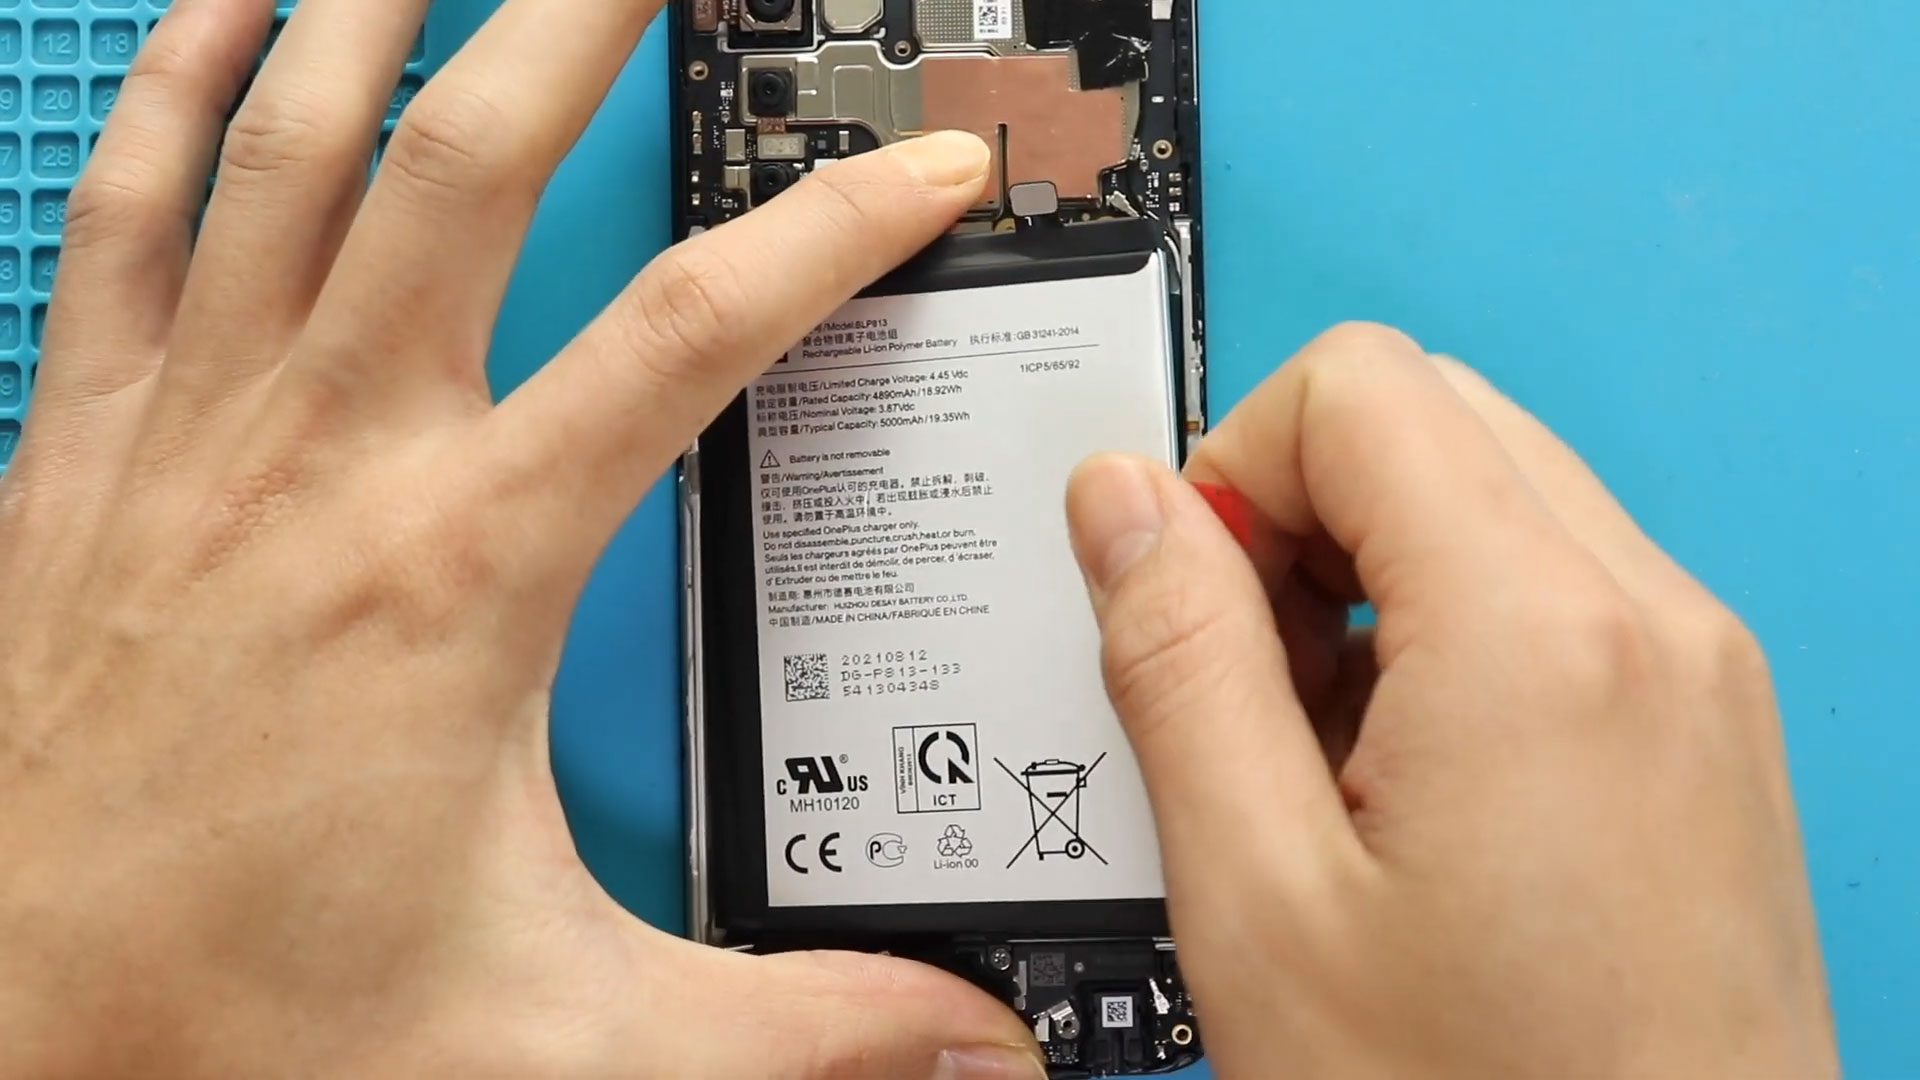
Step 6: Remove the Old Battery
- Loosen adhesive from the sides of the battery.
- Pull using the red adhesive tab slowly.
- Gently lift and remove the battery.
⚠️ Do not bend or puncture the battery.
Step 7: Install the New Battery
- Place the new battery into position.
- Secure it properly using adhesive.
- Reconnect the battery connector.
- Reconnect the fingerprint connector.
Step 8: Reinstall the Midframe
- Position the midframe correctly.
- Ensure all plastic clips are fully secured.
- Insert and tighten the seventeen screws.
- Reinsert the SIM tray.
Step 9: Reattach the Back Cover
- Check if enough adhesive remains.
- If needed, apply B7000 glue or new double-sided adhesive.
- Align the back cover properly.
- Press firmly around the edges.
Use binding clips or rubber bands to secure the cover and leave it for some time to allow proper bonding.
Frequently Asked Questions (FAQ)
Q1: Can I replace the OnePlus Nord N200 5G battery myself?
Yes, if you have proper tools and basic repair skills. The repair is moderate in difficulty.
Q2: How do I know if my battery needs replacement?
If your battery drains quickly, shuts down randomly, or swells, replacement is recommended.
Q3: Is heating necessary to remove the back cover?
Yes, heating softens adhesive and prevents cracking the back cover.
Q4: What glue should I use to reseal the back cover?
B7000 glue or a pre-cut double-sided adhesive designed for this model works best.
Troubleshooting After Battery Replacement
Q1: Phone not turning on after replacement?
- Check if the battery connector is properly connected.
- Try charging for 15–20 minutes before powering on.
Q2: Fingerprint sensor not working?
- Ensure the fingerprint flex cable is securely reconnected.
Q3: Back cover not sticking properly?
- Apply additional adhesive.
- Use binding clips for longer curing time.
Q4: Battery percentage jumping?
- Perform a full charge to 100%.
- Let it discharge to around 5% once to recalibrate.
If you have any questions about your OnePlus Nord N200 5G battery repair, feel free to ask in the comments. Happy repairing!
Related Guides